And here it is....
Well, it has been quite some time since I got this updated so it's time to throw open the doors and get the minions going again on some more models here at the Manufacturing Plant. Here is my latest small update on what little I was able to get done within the past few days.
I'll start with the Austratt turret base. I just did a dry-brush on this to see if I could get a better appearance on the cement base. Later I hope to try a green and brown dot filter to add some streaking and weathering to this. I want to wait till the weather cools down more outside before I start airbrushing the turret and other models again. Until then, I'll just be working on the base:

I'm not that thrilled with it, but hopefully the filter will work to make it look better.
Next I worked on the one railroad flat car that I started in Ohio. This was my work in Ohio here working on the first truck. Basic assembly was here:
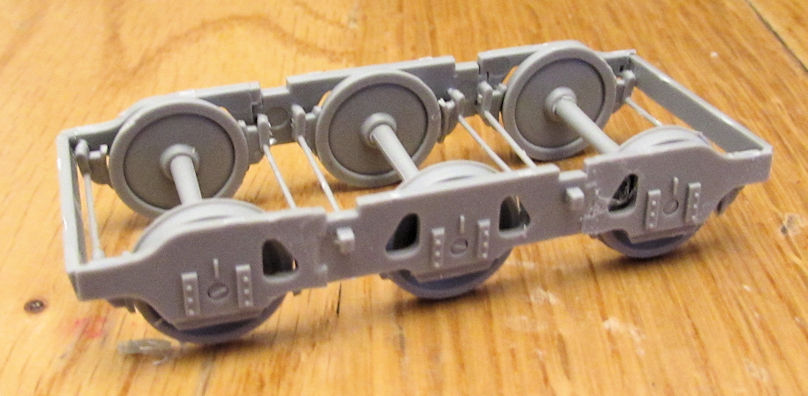
Talk about fiddly! Man that was a challenging thing to do. Later I tried a different sequence to assemble the second one to try and make it easier. It worked to a small degree... Meanwhile, this one still had some final parts to add:
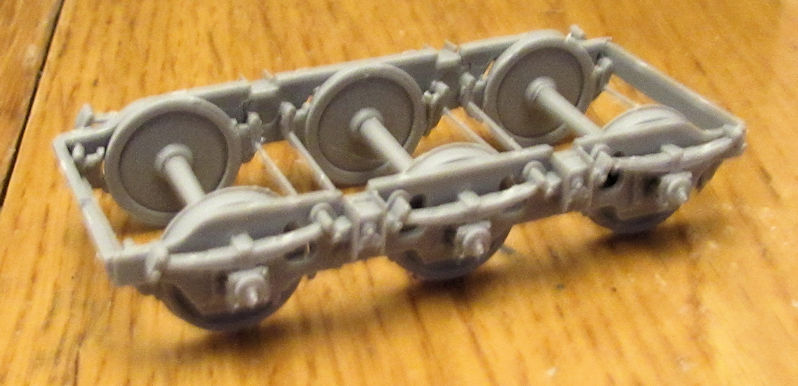
My apologies for the fuzziness. My camera was having a tough time focusing here.
After I got home I pulled this out again and decided that I was going to build the main part of this rail car. I assembled the whole upper deck. Here it is next to the original bogie I built in Ohio:

After finishing the second bogie, I installed them underneath the main deck:
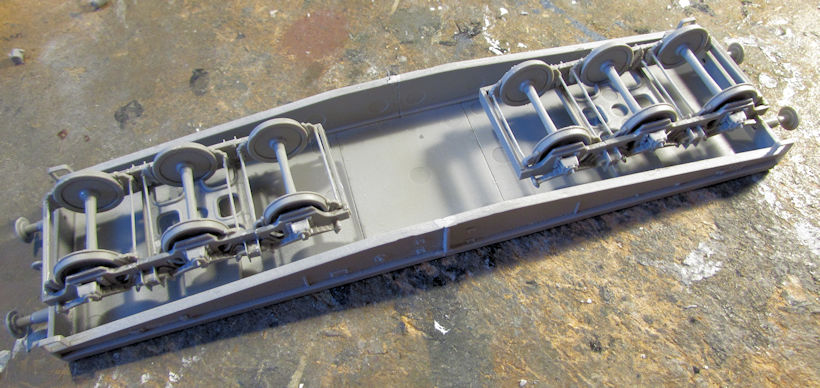
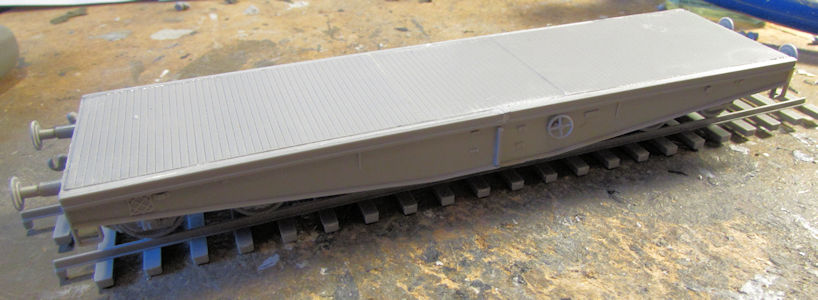
They are actually designed to turn so that this can be displayed on a curved track.Later I finished up almost all the detail parts. This is now ready for paint:
Since I was already working in a railroad subject, I decided to pull out this next one. This was a 1/72 scale Trumpeter Leopold Rail Gun that a friend had started. He had so much difficulty getting the main trucks to assemble correctly that he gave up and offered the model to me. I took it. The issues he had were that the parts for the main trucks were not seated in place properly so the wheels were all wonky and in a couple cases, falling out. I had to disassemble the forward truck in order to re-cement the pieces in place the way they are supposed to sit:
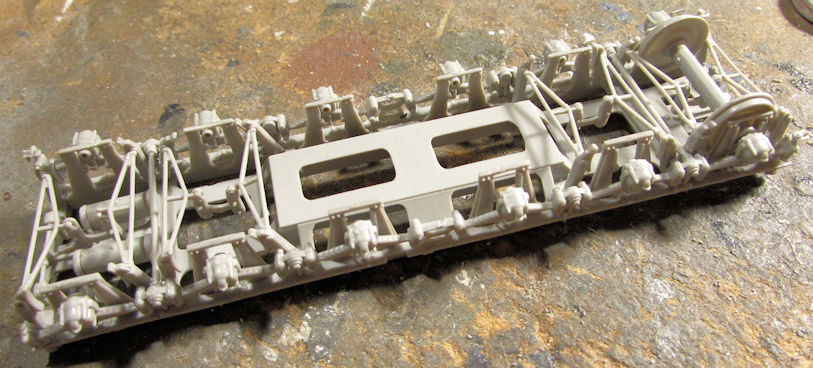
It took a lot of clamps on this; here is the first attachment I started on; before slowly gluing down the rest as I went:
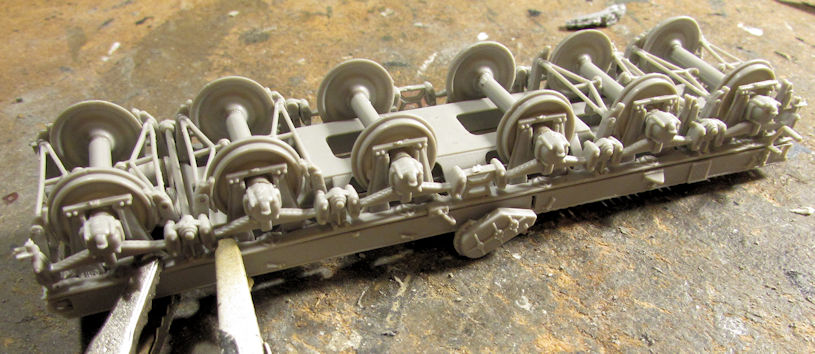
Here it is all clamped up on the one side. Later I had to glue the other side. Meanwhile as this was drying, I rebuilt the rear truck which hadn't been assembled as much as the forward truck was:
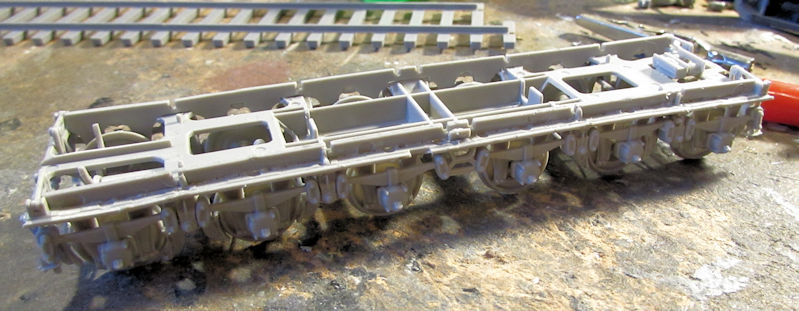
You can see that one in the background sitting on the track testing it for alignment:
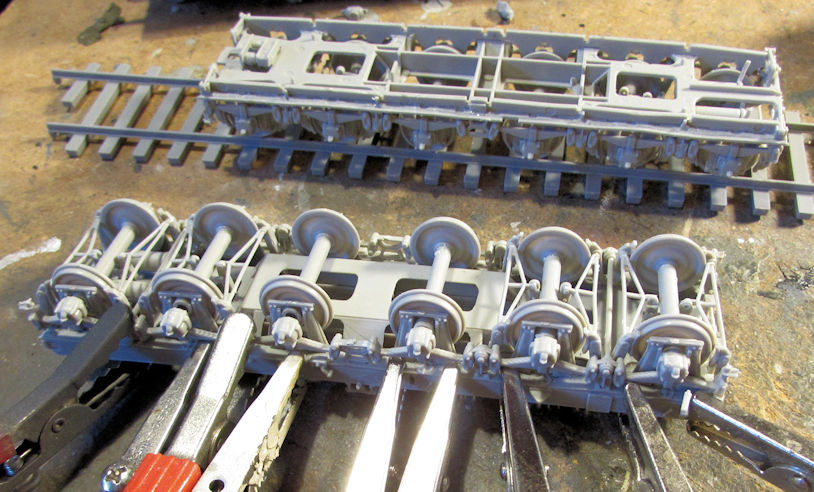
That worked for both of them. Here's the forward truck being tested for alignment:
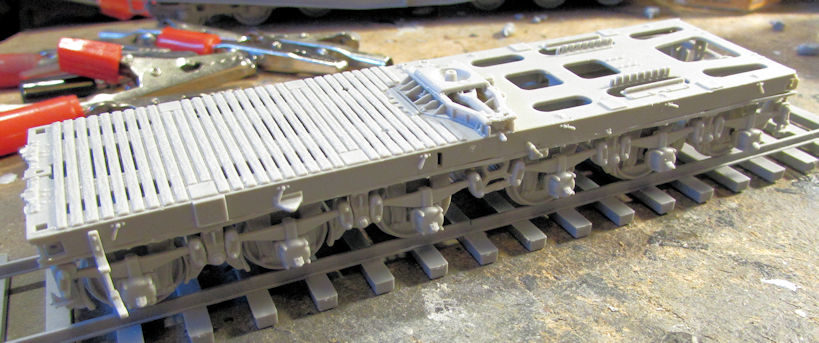
These truck are now done and ready for final fiddly bits.
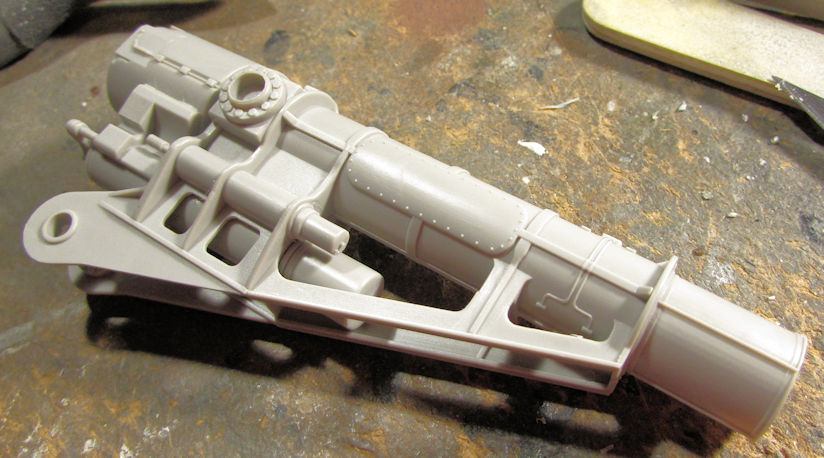
Later on I started the breech and pivot mount for this gun. Here is the basic assembly now:
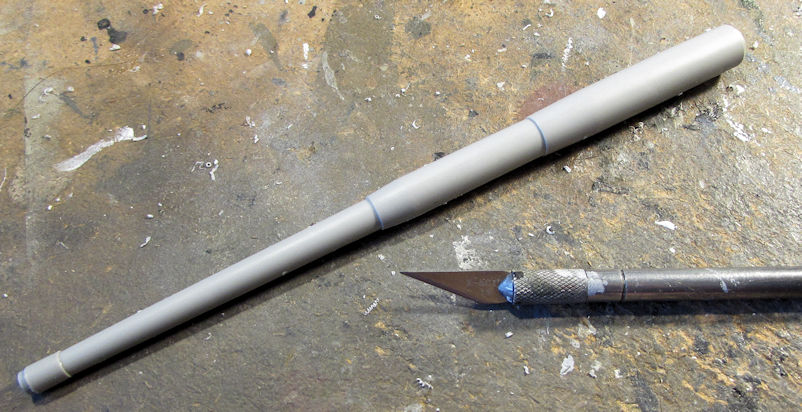
After that I cemented the two halves of the rest of the gun barrel together. You can see the Exacto blade there for size reference:
Later I started most of the sub-assemblies for the elevation mechanism. Here are the major parts all assembled for that:

While all that was drying, I skipped ahead again and started the loading deck box on the rear:
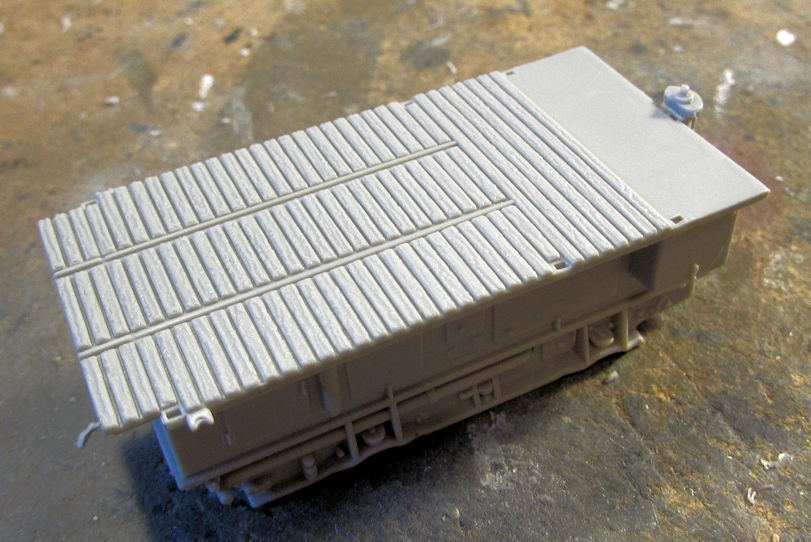
There's a lot more that goes on that but they are fiddly so I'll leave them off till later.
I know a lot of people panned Trumpeter railroad track pieces, but I gotta say that I love them! They gave me four in this kit:

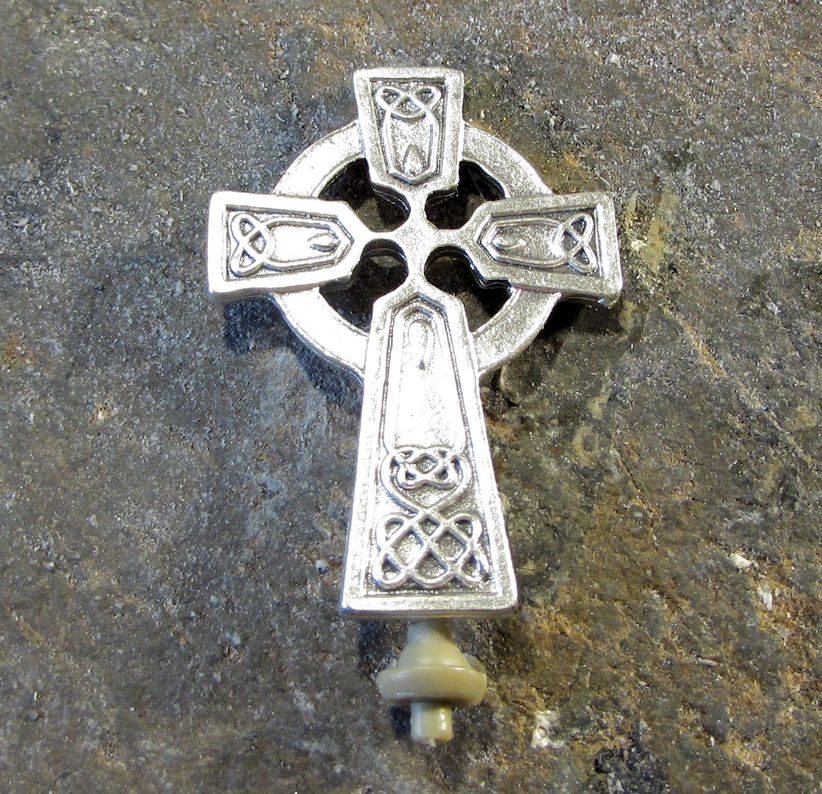
Finally, I decided to move forward on the church I'm building. I don't know if I posted this, but here's the cross I bought for this to replace the tiny one that came in the kit:
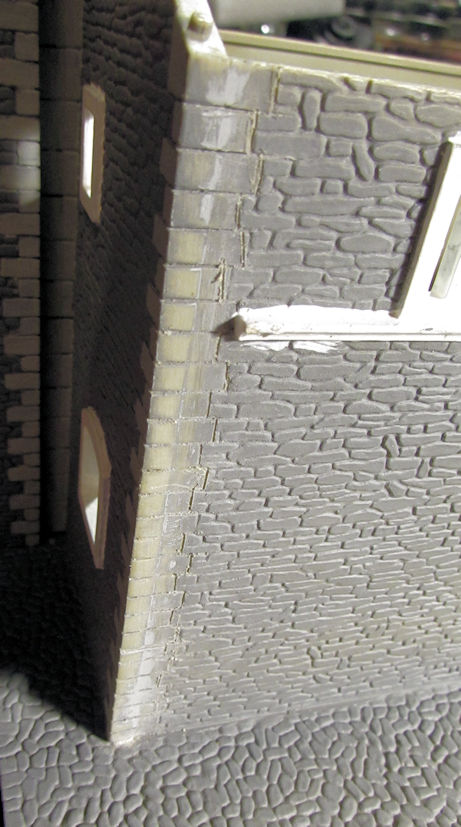
Anyway, after priming this church; I found a load of seams on almost all the corners where the walls joined; despite my best efforts to press everything together tightly enough to close them off. So, I filled them with Mr. Surfacer and then sanded them down as much as I could after the Mr. Surfacer had dried. Here were the worst ones:
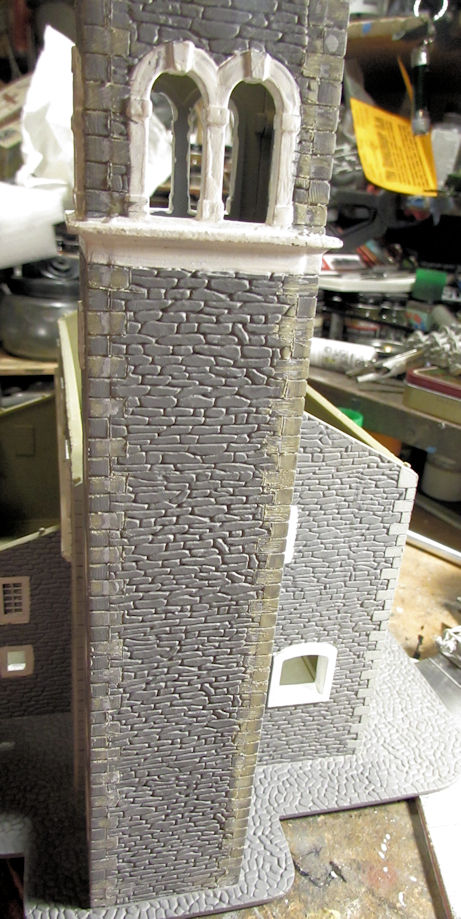
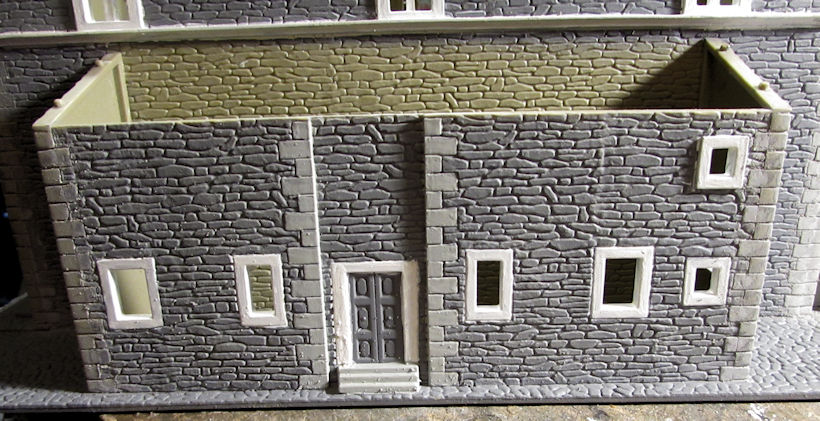
Once I finished all that sanding, I repainted everything; then touched up the rest of the stone work on the sides. I then painted the roof sections with Pollyscale Oily Black. This is coming along nicely now:

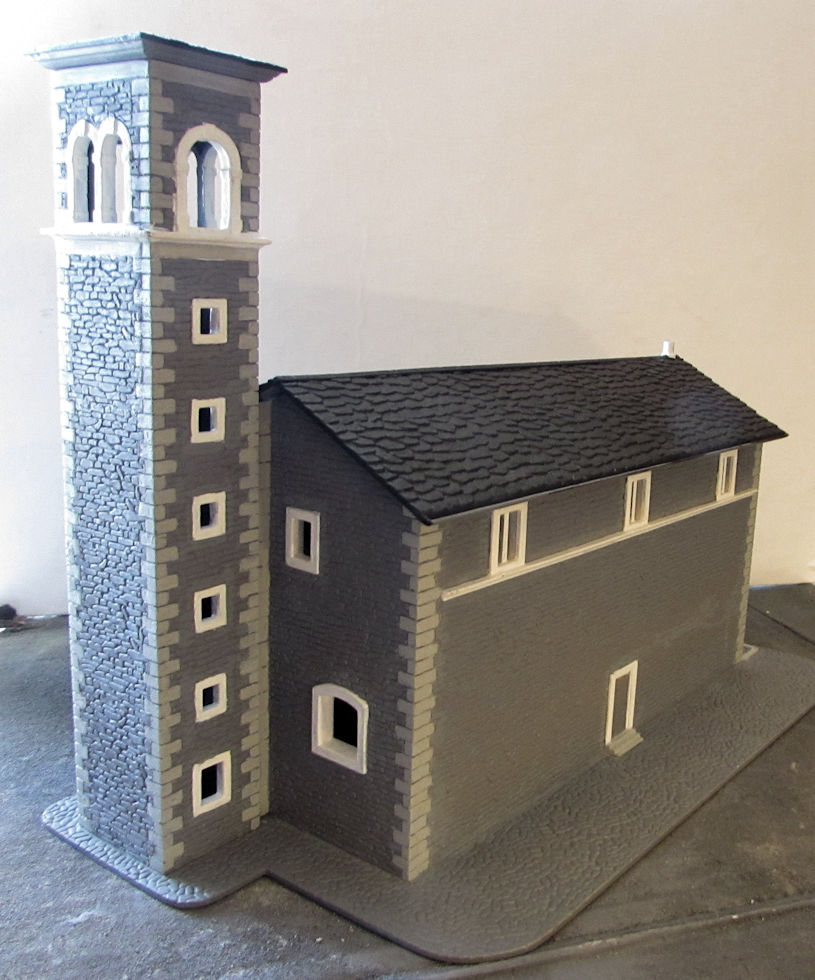
There is still some more basic painting to be done, particularly on the doors; but for the most part the base painting work is done. I do still need to source some stained glass window images now.
That is all I have now. It ain't much; just what I've been able to squeeze in between work, chores and friends. Enjoy the tour; thanks for looking in, comments are welcome.


 I take it that you won’t be at AMPS in August. Hopefully I’ll see you (and your latest builds and hopefully awards) at AMPS in September.


