1/32 Hasegawa Bf109K-4 Weisse 8

Post your work in progress of your aircraft builds in here.
Post Reply
User avatar
speedgraflex
Moderator
Posts: 11399
Joined: Fri Feb 10, 2017 11:08 pm
Contact:

Re: 1/32 Hasegawa Bf109K-4 Weisse 8

Post by speedgraflex »

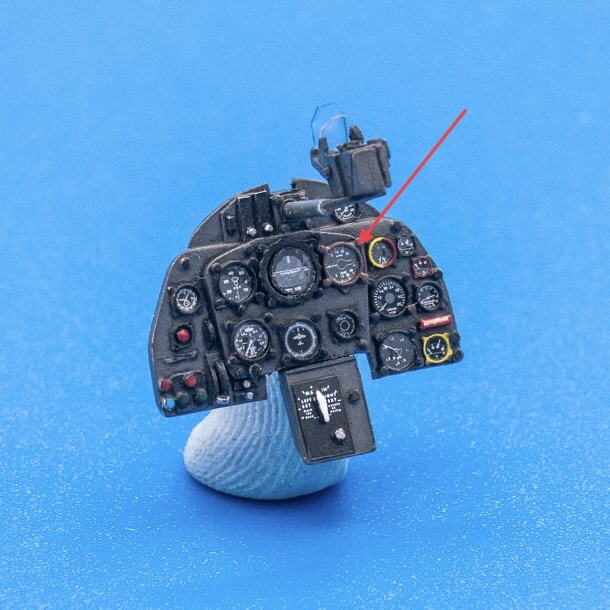
I would love to know how you paint these surrounds, and especially any details you might share about how you created this color...

Image

Brent mentioned the 109 Lair. I am sure you have been but when I read wiring colors above I thought, “Just in case.” So. Just in case:

http://109lair.hobbyvista.com/index1024.htm
Make more models!
User avatar
KennyX
Elite Member
Posts: 2631
Joined: Sun Dec 24, 2017 11:19 am

Re: 1/32 Hasegawa Bf109K-4 Weisse 8

Post by KennyX »

Bro, that cockpit and IP you’ve built-up are both exceptionally good.
Kenny X
Head Mother Trucker In-Charge @ Kenny X’s Reichs Winzigkleines Flugzeugewerks *and now* Airboat Records, too!
User avatar
LyleW
Admin
Posts: 15037
Joined: Fri Dec 13, 2013 7:25 am
Location: Mt. Washington KY

Re: 1/32 Hasegawa Bf109K-4 Weisse 8

Post by LyleW »

:giggles: Now you’re showing off! :giggles:

Wow. Just mind boggling work! Wow...
To make each build less crappy than the last one. Or, put another way, "Better than the last one, not as good as the next one!"..
User avatar
KSaarni
Elite Member
Posts: 5621
Joined: Sun Apr 06, 2014 7:13 am
Location: Gent, Belgium
Contact:

Re: 1/32 Hasegawa Bf109K-4 Weisse 8

Post by KSaarni »

Oh my, that IP is impressing!


- Kari
---
On the bench:

MiniArt 1:48 - Junkers F13 Float Plane


https://www.facebook.com/GrundAsk-Scale ... 721218708/
User avatar
mustang1989
Moderator
Posts: 5035
Joined: Tue Mar 18, 2014 8:35 pm

Re: 1/32 Hasegawa Bf109K-4 Weisse 8

Post by mustang1989 »

Good Lord!! The work on that cluster is simply outstanding. Very good replication John.

I'm with Clint on that leather boot at the base of the control column. What was your process for painting and effects on that?
User avatar
jkim
Elite Member
Posts: 4073
Joined: Mon Apr 10, 2017 4:03 pm

Re: 1/32 Hasegawa Bf109K-4 Weisse 8

Post by jkim »

Thanks for the comments, gentlemen!
speedgraflex wrote:I would love to know how you paint these surrounds, and especially any details you might share about how you created this color...

Brent mentioned the 109 Lair. I am sure you have been but when I read wiring colors above I thought, “Just in case.” So. Just in case:

http://109lair.hobbyvista.com/index1024.htm
For the dials, it was just careful brush painting. Paint consistency is very important when detail painting and I'd rather have it on thin side than too thick. Since Tamiya acrylics dry so quickly, I use the paint bottle lid as my palette and put a drop or two of iso alcohol to act as a thinner/retardant. Since the central part of the instrument is covered by a decal, you have some room for error. You can also use the punch to create circular masks but I chose to do this manually.

I don't remember which color I used for the brown dial, honestly. For browns, I primarily use Tamiya X-9 Brown, XF-64 Red Brown or XF-52 Flat Earth. I THINK I used the Flat Earth for that color. Whichever color it was, it was straight out of the bottle.
mustang1989 wrote:Good Lord!! The work on that cluster is simply outstanding. Very good replication John.

I'm with Clint on that leather boot at the base of the control column. What was your process for painting and effects on that?

The leather boot was first painted with my darkest brown, which is Tamiya X-9. I then highlighted the raised folds with a lighter brown, Flat Earth. I gave it a black pastel wash and then dry-brushed a light tan color (XF-59 Desert Yellow, I believe) on select highlights to finish it off.
John aka JKim
-----------<><
Image
User avatar
speedgraflex
Moderator
Posts: 11399
Joined: Fri Feb 10, 2017 11:08 pm
Contact:

Re: 1/32 Hasegawa Bf109K-4 Weisse 8

Post by speedgraflex »

Thanks so much, John! I sincerely appreciate your thoughts and details of how the surrounding frame was painted.
Make more models!
User avatar
jkim
Elite Member
Posts: 4073
Joined: Mon Apr 10, 2017 4:03 pm

Re: 1/32 Hasegawa Bf109K-4 Weisse 8

Post by jkim »

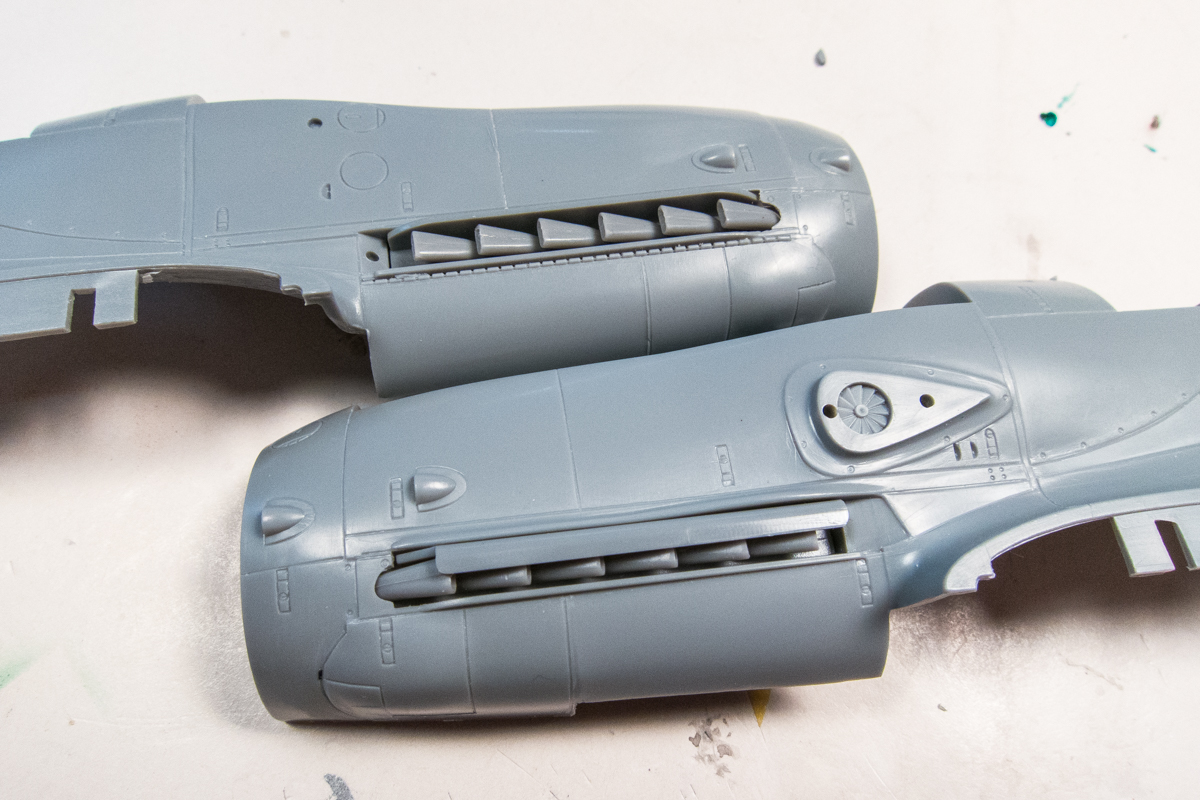
Thanks to the generosity of an LSP member, I've received resin exhaust chutes so I don't have to make my own. These have a curved surface on the downwind edge of the chute that would've been hard to replicate.
Image
Image

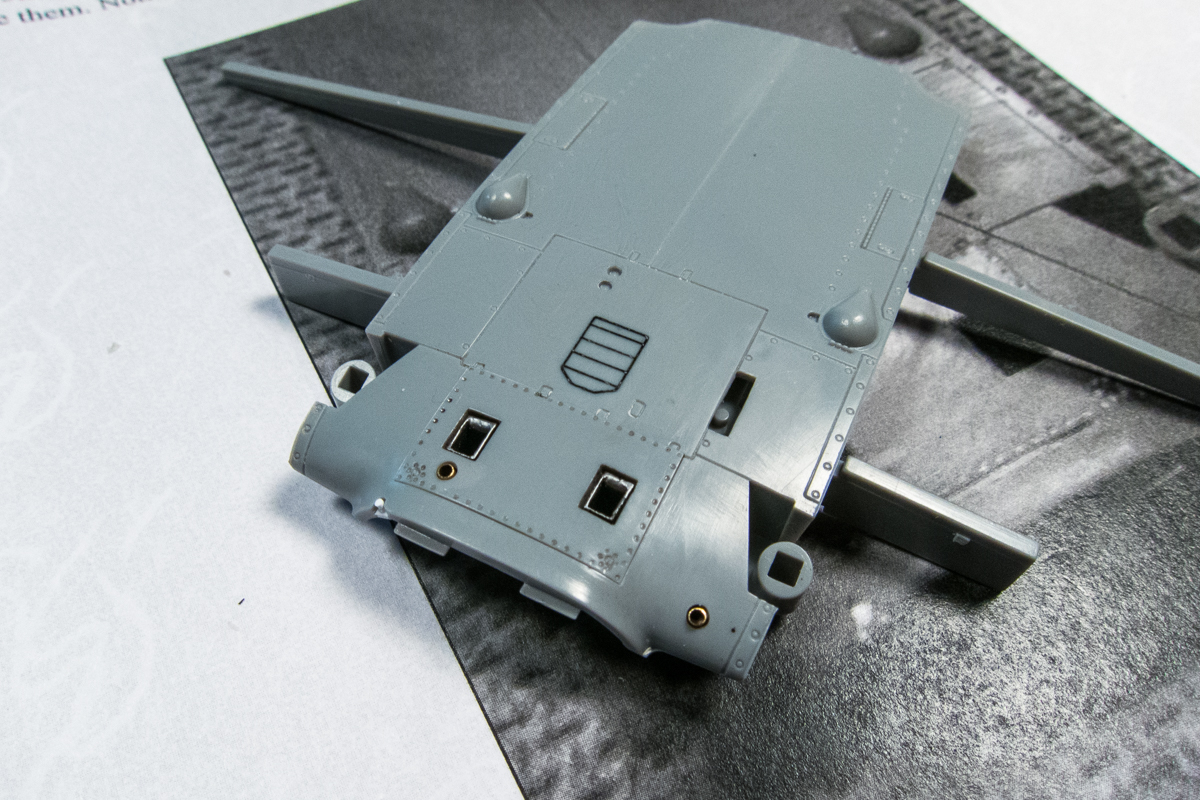
I've performed some corrections to the central belly portion based on an excellent article by Vince K. These include filling in the vent in the center, opening up the Mk 108 chute and putting in some breather outlets for the engine. Some questions were asked along the way regarding components of the correction and Vince himself was kind enough to elaborate on the reasoning behind these changes. As you can see, the Mk108 chute needs to be blocked off since the wing spar part is visible.
Image

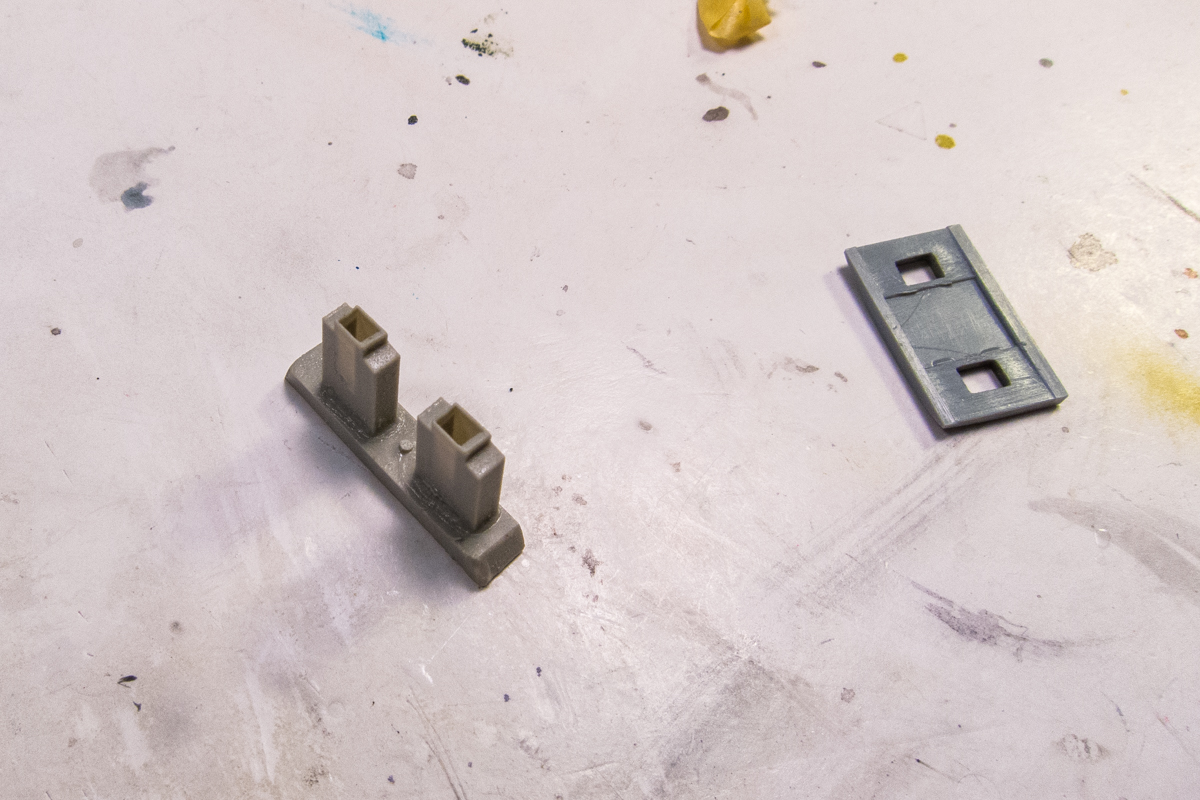
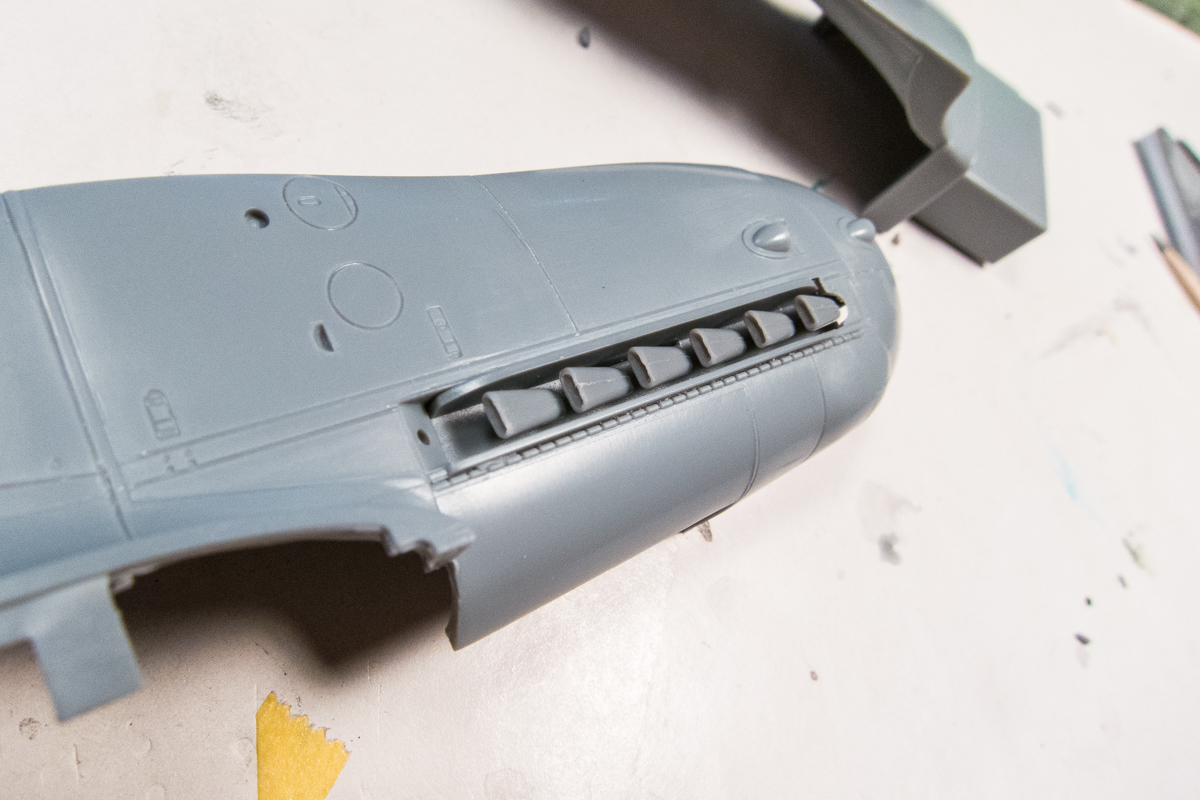
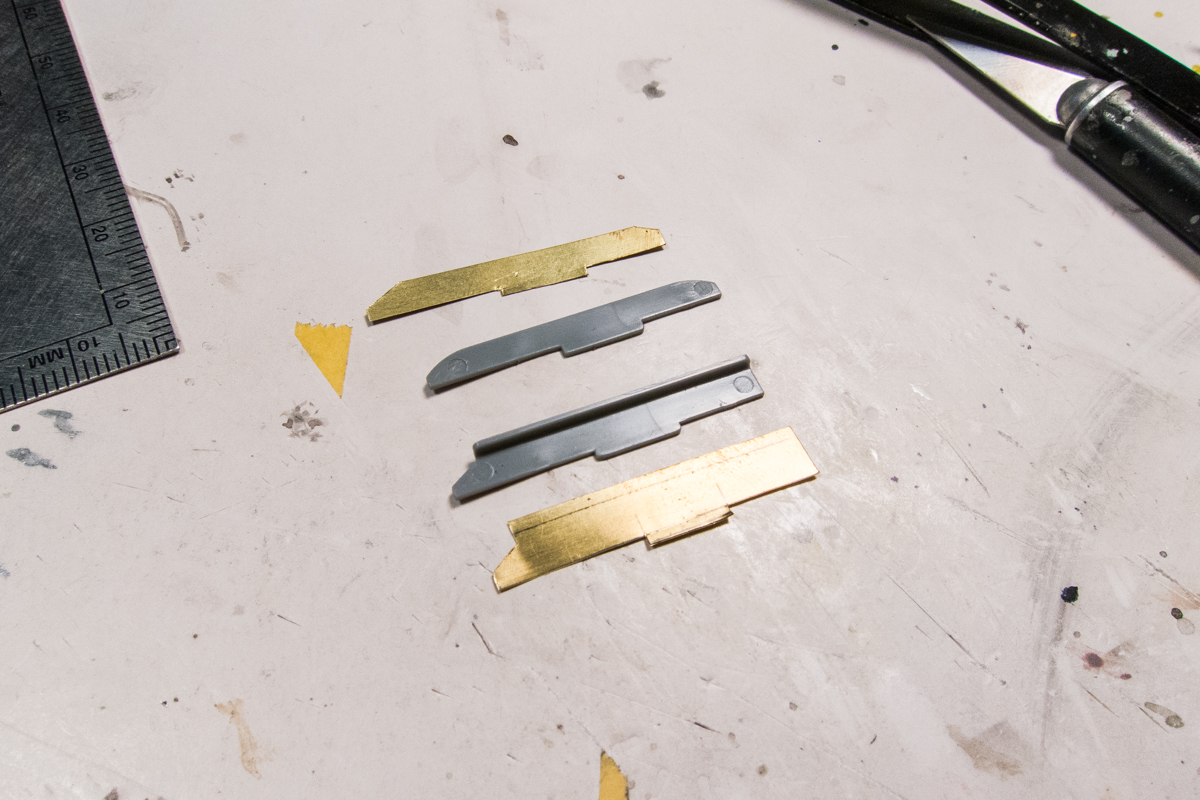
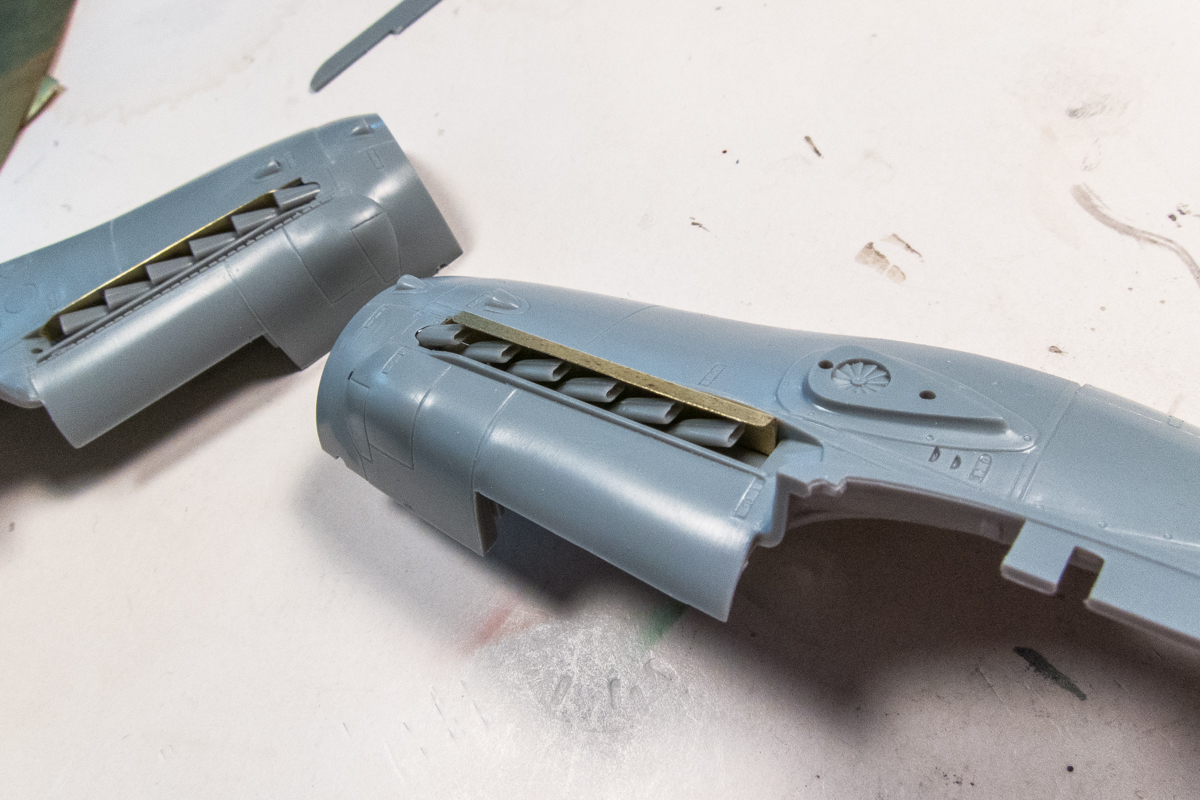
The exhaust tips have been previously hollowed out. There exhaust deflectors supplied as separate parts in this kit but they are on the thick side.
Image
Image

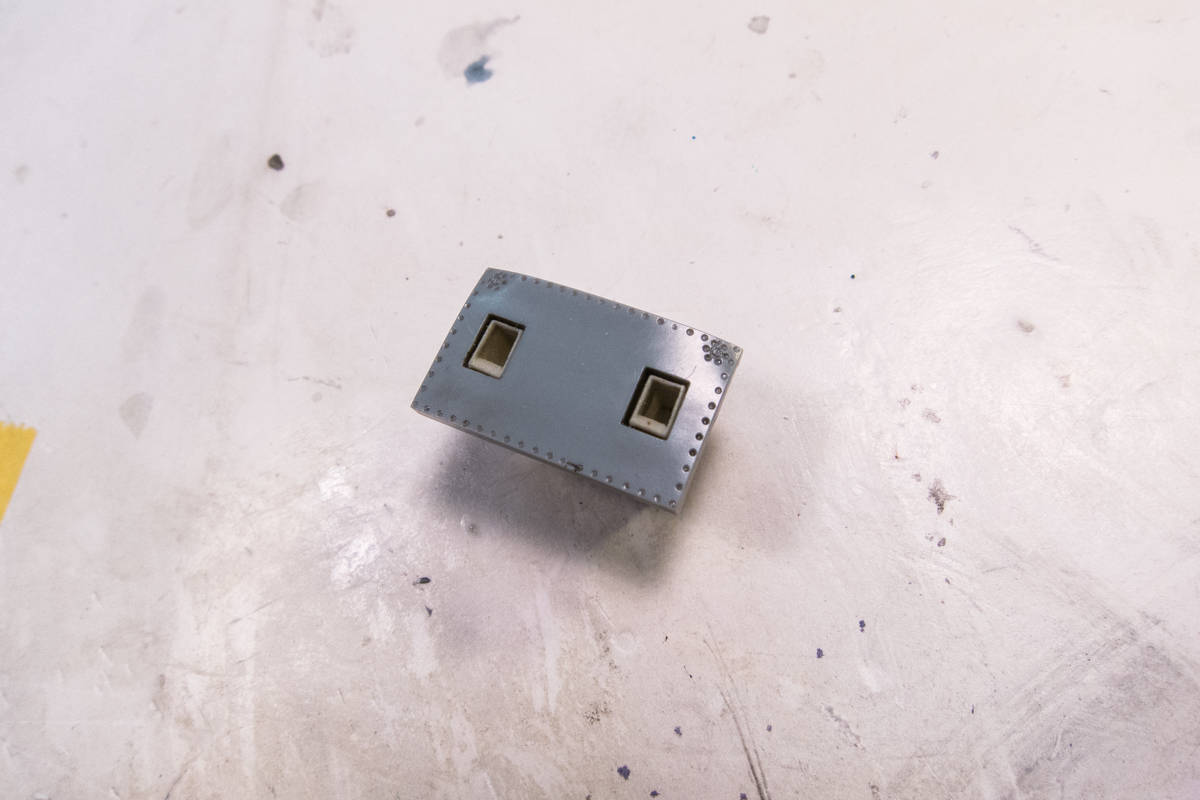
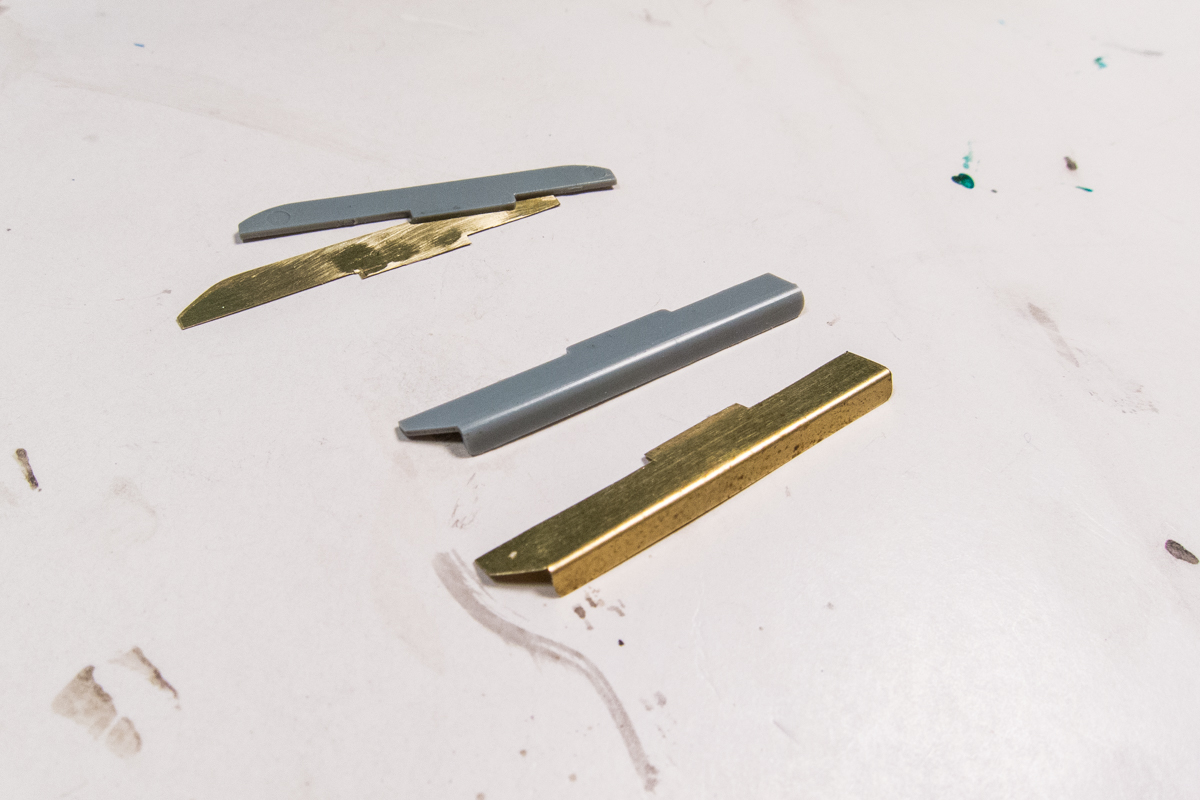
Instead of trying to thin them, I thought it would be easier to replace them with brass sheeting.
Image

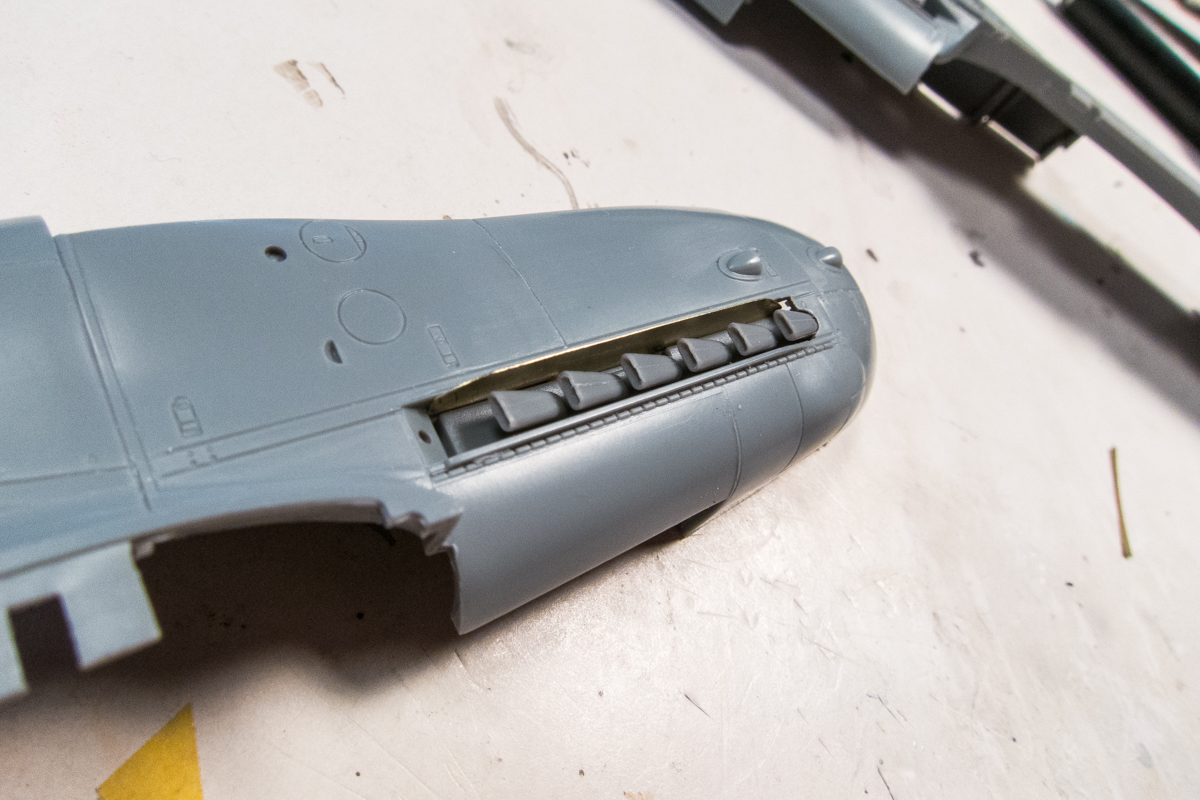
The port side deflector has a bend to deflect the hot exhausts away from the supercharger intake.
Image

Much better in-scale representation, I think!
Image
Image
John aka JKim
-----------<><
Image
User avatar
Floki
Elite Member
Posts: 3548
Joined: Wed Dec 12, 2018 2:23 am
Location: Muncie, Indiana

Re: 1/32 Hasegawa Bf109K-4 Weisse 8

Post by Floki »

Looking great John, the brass deflectors are a nice touch.
March as one, Don't look back
Odin's sons... Attack!
Unleash hell! Do not repent! Warfare grants us no lament
Let your weapons slash and tear This is no place for fear
Hold the lines! Move as one! In unity our victory's won
Our shields will form a mighty wall
United we shall never fall
User avatar
jkim
Elite Member
Posts: 4073
Joined: Mon Apr 10, 2017 4:03 pm

Re: 1/32 Hasegawa Bf109K-4 Weisse 8

Post by jkim »

Thanks Clint!

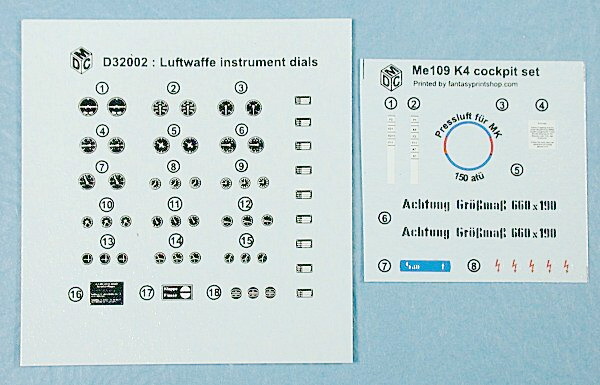
As you've probably noticed, the side consoles have not been painted yet. One reason is simply procrastination. But I just got another reason. Vincent, the author of the 109K belly modification article, has offered to send me a small sheet of K-4 stencils that he produced with MDC. It's the one on the right in the photo below.
Image

It's got some K-4 specific stencils that I don't have including some circuit breaker labels for the cockpit sidewalls.
John aka JKim
-----------<><
Image
Post Reply

Return to “Aircraft Work in Progress”