Tamiya Panzer III, Ausf L Tunisia 1943
Posted: Fri Jul 05, 2024 1:47 pm
Good day, folks, thank you for stopping by. It’s been a long time, again. I have had some false starts, spectacular failures, terrible disappointments, and so forth, all while not having actually completed a project in almost three years. The mind fairly boggles.
I have a few irons in the fire, but the only one I’m happy with at the moment is this one.
The Doomed Panzer

I am not going to attempt to model the macabre scene above, taken just after this Panzer was marooned in Kesserine Pass. Rather, I’m doing a depiction of the subject, buttoned up, while still in operable condition, out-of-the-box, purely for the sake of actually completing a damn project.
Truth is, I haven’t been happy with any of my work for a long time. I feel like I was The Sorcerer’s Apprentice, stealing the guy’s magic hat and wielding these crazy techniques that I really didn’t know how to use very well. Subsequently, I’m unhappy with my previous work, and I’m unhappy with my previous processes.
So I’m doing things differently.
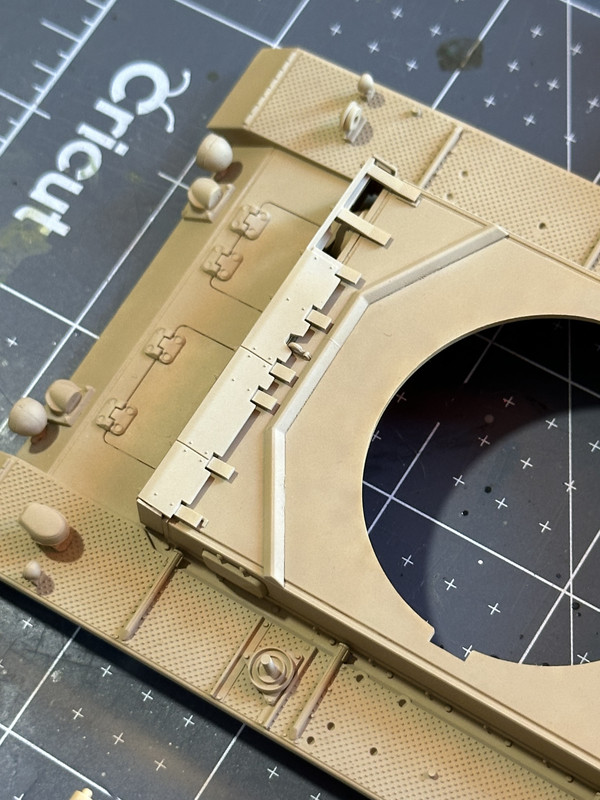
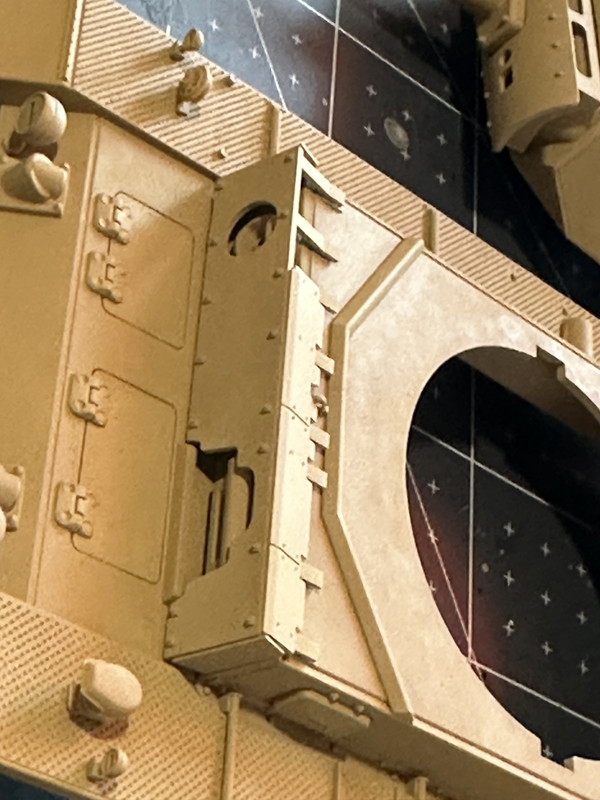
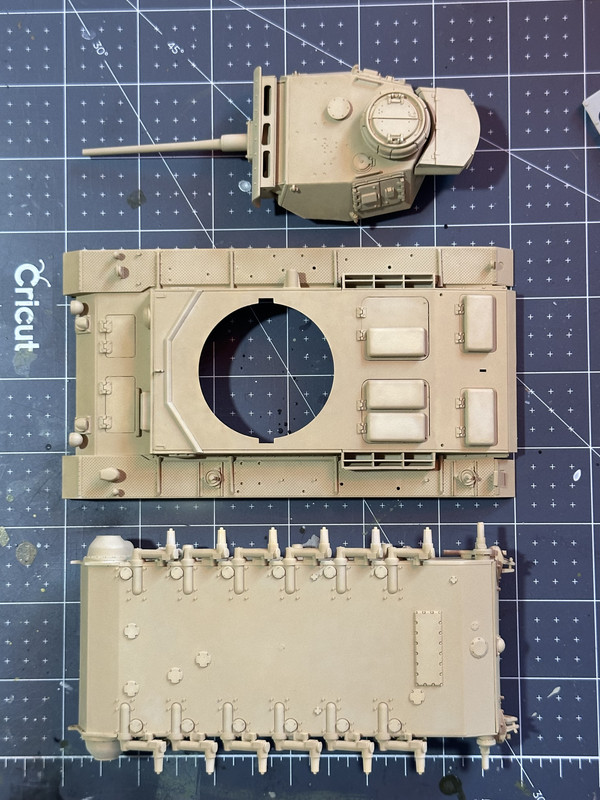
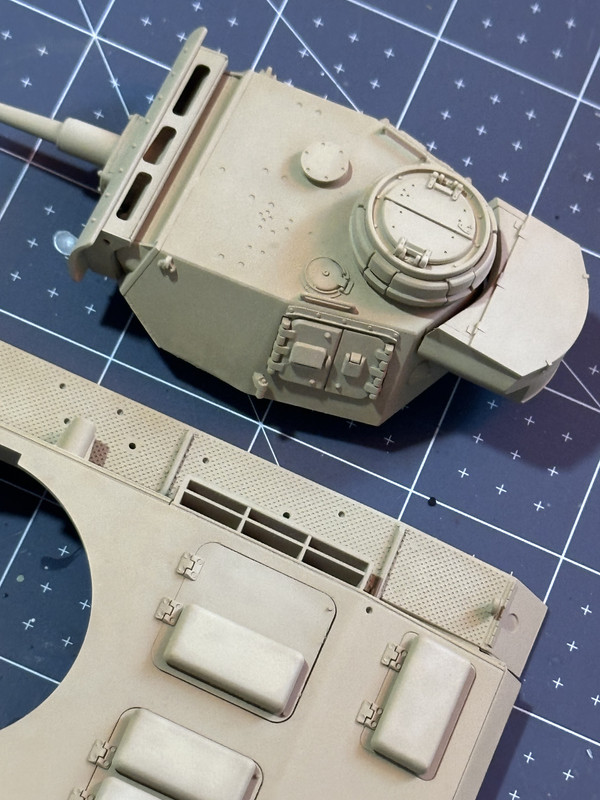
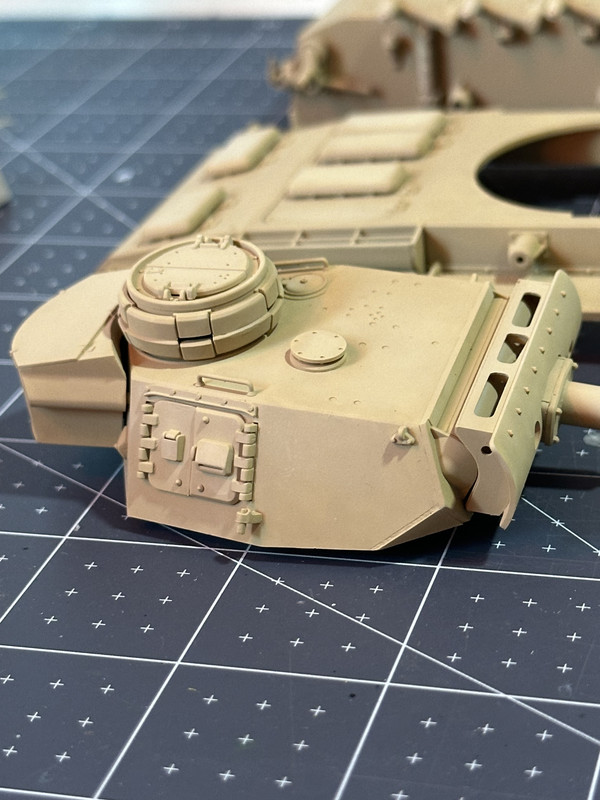
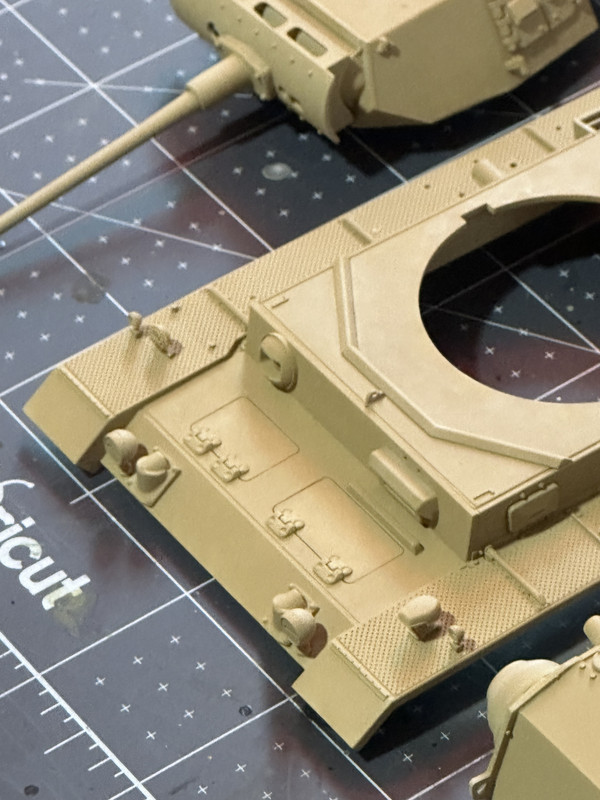
The biggest change in my methodology is- I didn’t black base this model. I built the lower hull, upper hull, and turret, and primed each of them in gray Mr. Surfacer 1500. Then I set about painting, using thin, mottled coats like I did before, but more controlled and less haphazardly. In the past I liked the contrast I would get, but inevitably I would always come back to the notion that my painting looked sloppy, too extremely weathered, and just terrible.
A word on the Dunklegelb I arrived at for this project. The formula I used were varying mixes of XF-59 and XF-55. Sometimes 50/50, sometimes 60/40, sometimes 30/70, lightened with white for “scale effect” and “highlights.” My goal here was to produce uniformity while still achieving some level of depth, eschewing high contrast and without the paint being severely weathered right off the bat -filters and oils will do that job later. And as to the color itself- I am aware that there are differing views about Dunklegelb and what is correct and so forth. I read a great article called Dunklegelb For Dummies, which gave me all the summation I needed:
I don’t need much more than encouragement than that to be happy with ballparking it and using artistic license. I don’t want to agonize over total accuracy when it come to this stuff, because that is futile.
I like this color.
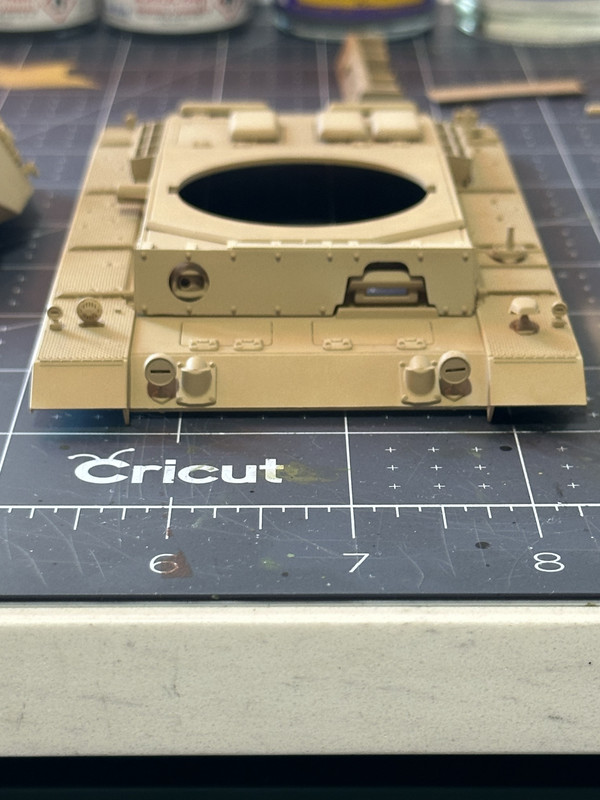
So here we are then:
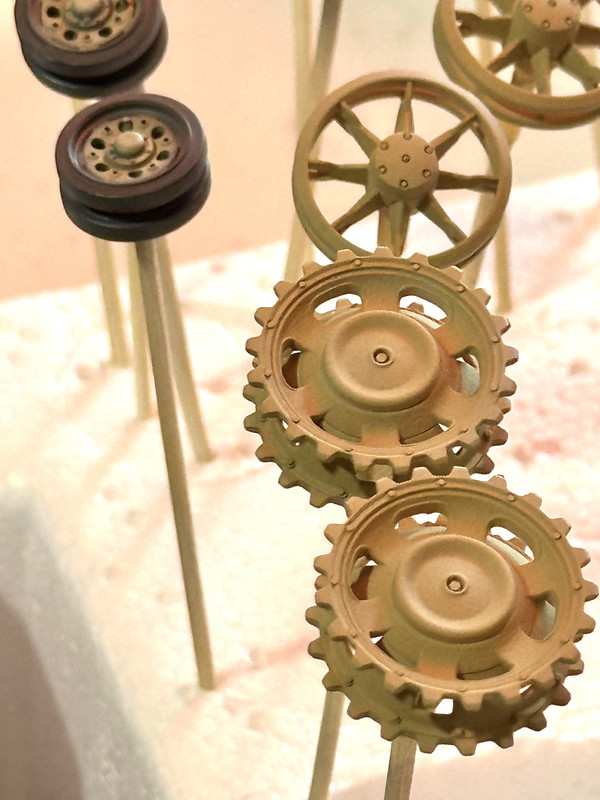
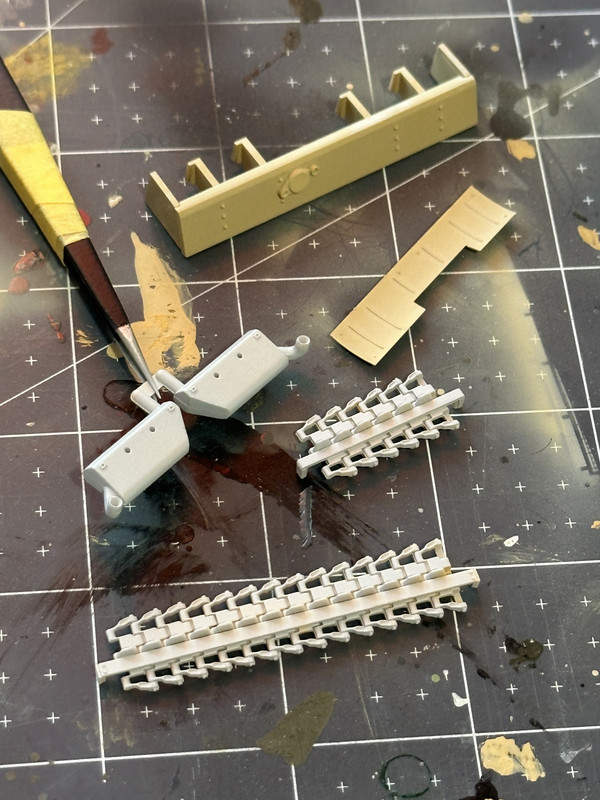
I’ll be doing more paint work this weekend on the running gear, the extra armor, as well as the exhaust. Maybe the tools, if I have time. One all that stuff is painted and attached, I’ll do the decals, and then assemble it all together in preparation for weathering. I will report back regularly with updates. In the meantime thanks for looking!!
I have a few irons in the fire, but the only one I’m happy with at the moment is this one.
The Doomed Panzer
I am not going to attempt to model the macabre scene above, taken just after this Panzer was marooned in Kesserine Pass. Rather, I’m doing a depiction of the subject, buttoned up, while still in operable condition, out-of-the-box, purely for the sake of actually completing a damn project.
Truth is, I haven’t been happy with any of my work for a long time. I feel like I was The Sorcerer’s Apprentice, stealing the guy’s magic hat and wielding these crazy techniques that I really didn’t know how to use very well. Subsequently, I’m unhappy with my previous work, and I’m unhappy with my previous processes.
So I’m doing things differently.
The biggest change in my methodology is- I didn’t black base this model. I built the lower hull, upper hull, and turret, and primed each of them in gray Mr. Surfacer 1500. Then I set about painting, using thin, mottled coats like I did before, but more controlled and less haphazardly. In the past I liked the contrast I would get, but inevitably I would always come back to the notion that my painting looked sloppy, too extremely weathered, and just terrible.
A word on the Dunklegelb I arrived at for this project. The formula I used were varying mixes of XF-59 and XF-55. Sometimes 50/50, sometimes 60/40, sometimes 30/70, lightened with white for “scale effect” and “highlights.” My goal here was to produce uniformity while still achieving some level of depth, eschewing high contrast and without the paint being severely weathered right off the bat -filters and oils will do that job later. And as to the color itself- I am aware that there are differing views about Dunklegelb and what is correct and so forth. I read a great article called Dunklegelb For Dummies, which gave me all the summation I needed:
https://gluestickssite.wordpress.com/2 ... nt-page-1/
So what does this all mean for the modeler? The short answer is that there is no simple answer. Modelers have debated which paint color they prefer on their models in forums such as The Miniatures Page, Missing Lynx, Armorama, Military Modelling, Track Link and others.
There is one more point to make and that is the German government has a official register of colors for all government and commercial equipment dating back to 1927, called the RAL colour standard. There were two colors in the standard, RAL 7028 and RAL 7028 Ausgabe 1944 which were used during the war. The Germans used these colors along with a few other similar colors on their armor and vehicles. The original samples of each color no longer exist and the standard itself has changed over the years, colors getting different numbers, colors being dropped and added and so on. As a result, the modern RAL standard does not have a color with the number 7028, so this useless to today’s modelers. More information on this is located here.
The general consensus is that a modeler should choose a color that they think looks “right” and stick with it. Simple really, but each modeler has an idea of what they want their model to look like. Anyway, modelers can always change the base color by shading and dry brushing. At model shows,there will be many models painted in different shades of dunkelgelb and because of the above factors, none of them will be the “true” dunkelgelb, but they will be close.
I don’t need much more than encouragement than that to be happy with ballparking it and using artistic license. I don’t want to agonize over total accuracy when it come to this stuff, because that is futile.
I like this color.
So here we are then:
I’ll be doing more paint work this weekend on the running gear, the extra armor, as well as the exhaust. Maybe the tools, if I have time. One all that stuff is painted and attached, I’ll do the decals, and then assemble it all together in preparation for weathering. I will report back regularly with updates. In the meantime thanks for looking!!