One Reason I've Been Gone so long....
Posted: Wed Nov 09, 2022 6:22 pm
This is the first time in at least a month; if not more, that I've been able to post anything. Part of it is because I got a couple small jobs that took some time away from my workbench. The other reason was that I had been commissioned to do an 'emergency' build of a 1/48 scale B-24 Liberator for a museum exhibit. This plane was due on November 3rd; I received all the parts and kits ten days before that. Long story short; I got three models worth of parts as well as every possible aftermarket set that was ever made for this model. This guy had already started it, so these models had been hacked up to add a ton of aftermarket resin, vac formed and photo-etch parts since he wanted to do a super detailed plane. Bottom line, I had to find most of the hacked parts; or complete parts from the two extra kits to replace what he tried to switch out.
I worked on this eight to ten hours a day and managed to finish it in nine days. I should have had at least a couple months, but such is life. These following photos will show what I did; I am not posting all the photos of the crazy things that 'ambushed' me along the way; making it feel constantly like I was taking two steps forward and five steps back while working on this! These photos are un-edited (i.e not cropped or adjusted for color, shadow or lightness) so I apologize for that.
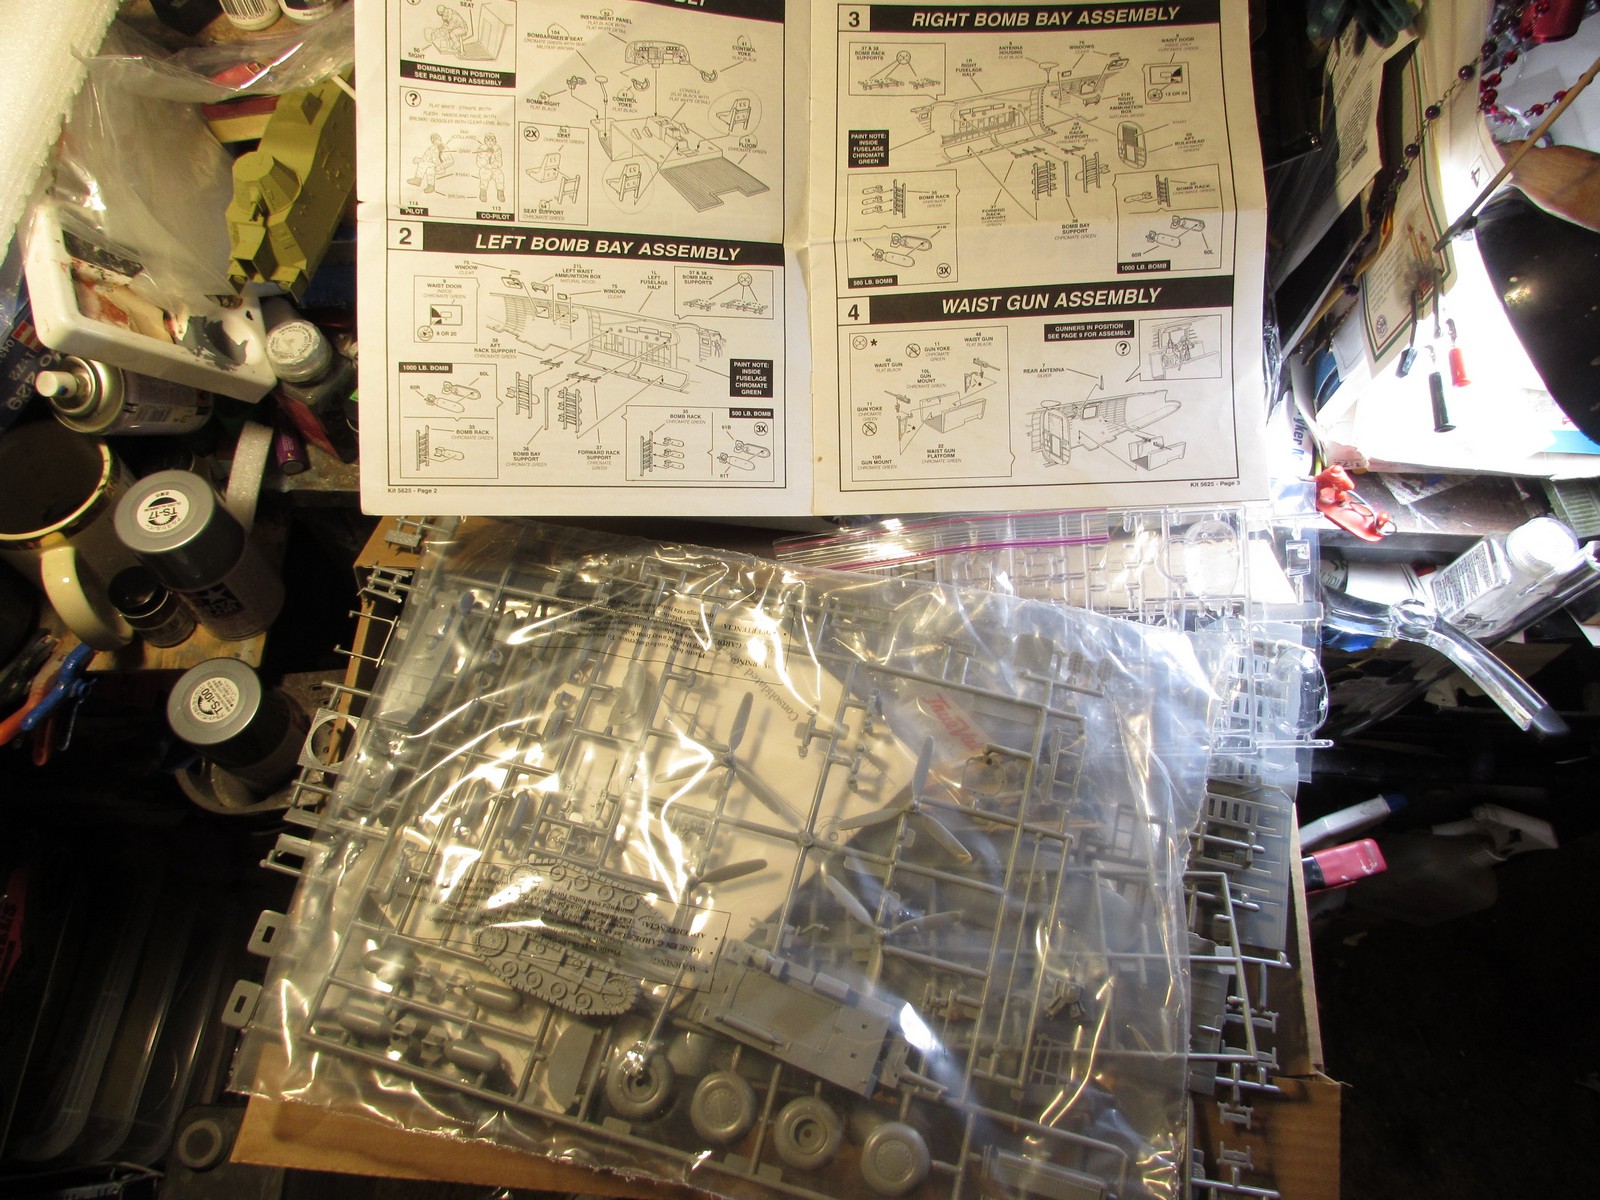
This is a shot of two of the kits piled into one box. It doesn't show the scope of everything I had to sort through; the really messed up built one, nor does it show the massive amount of aftermarket he had. The aftermarket stuff was enough to fill another 1/48 scale B-24 box!
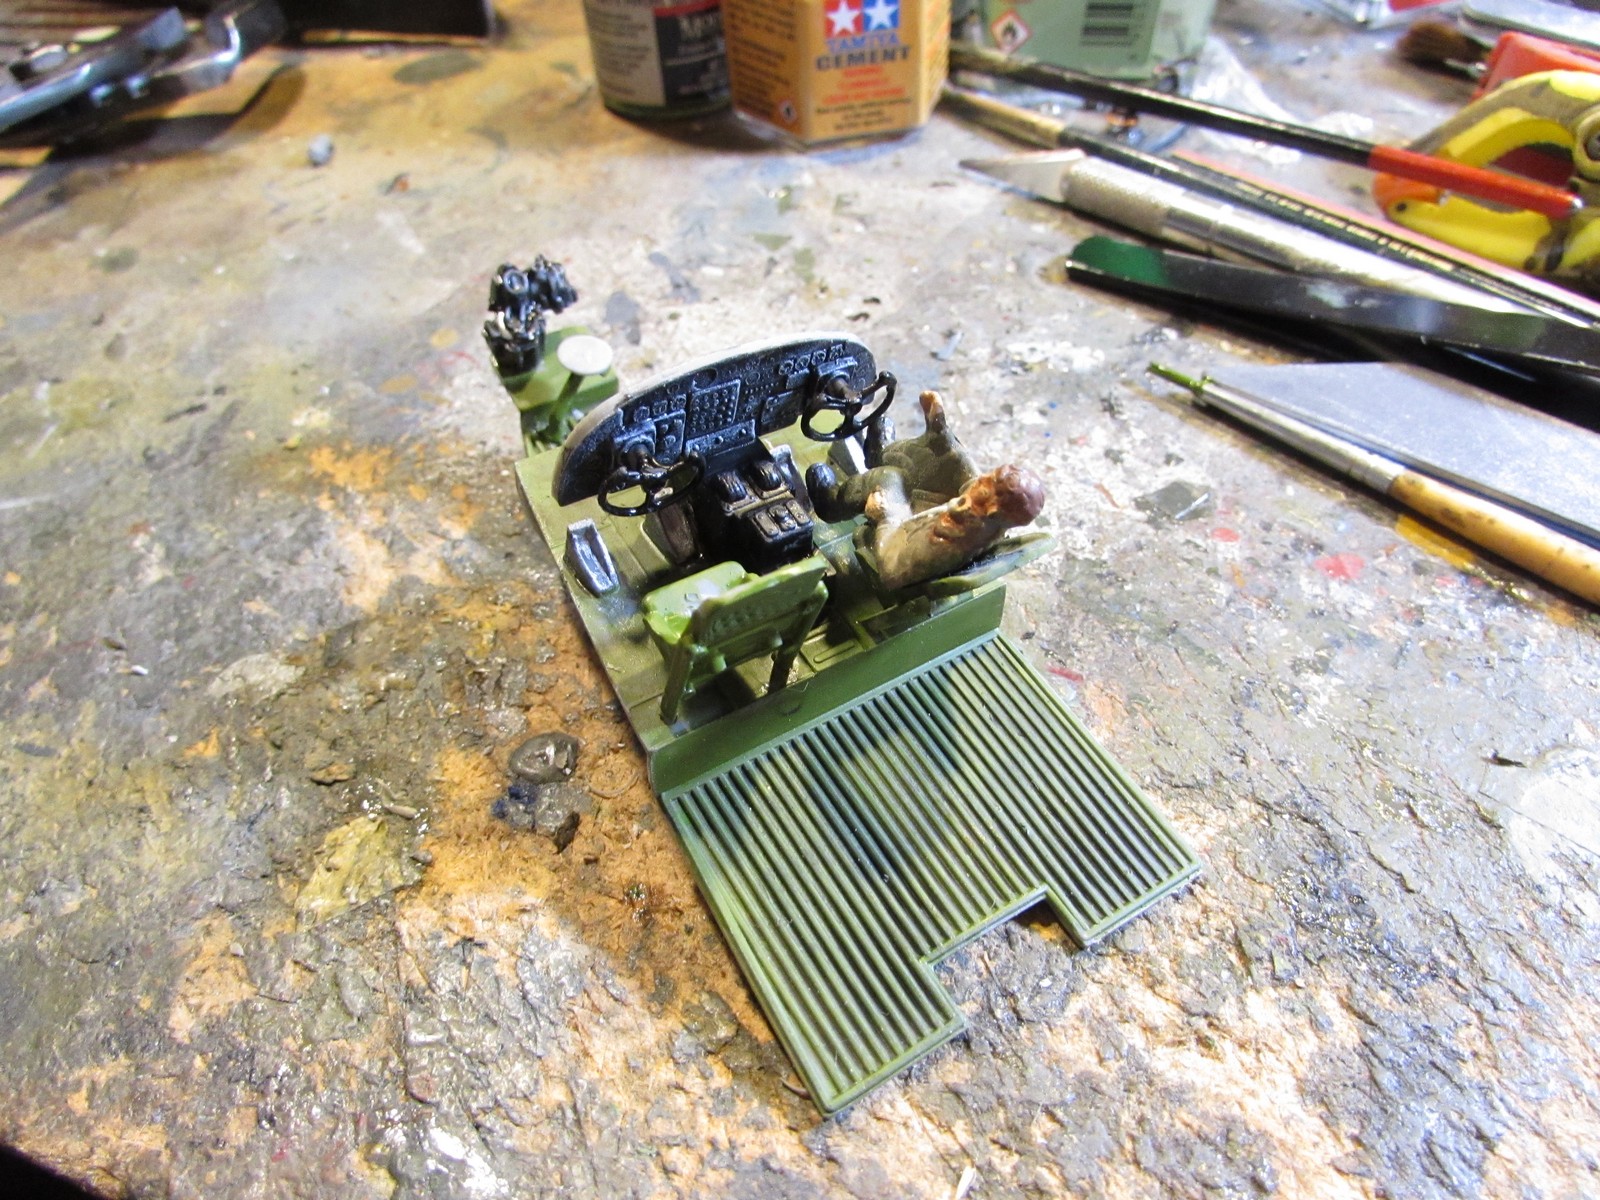
This is the new cockpit and bombardier deck I had to build to replace the hacked up one. I did use one of the original crew here:
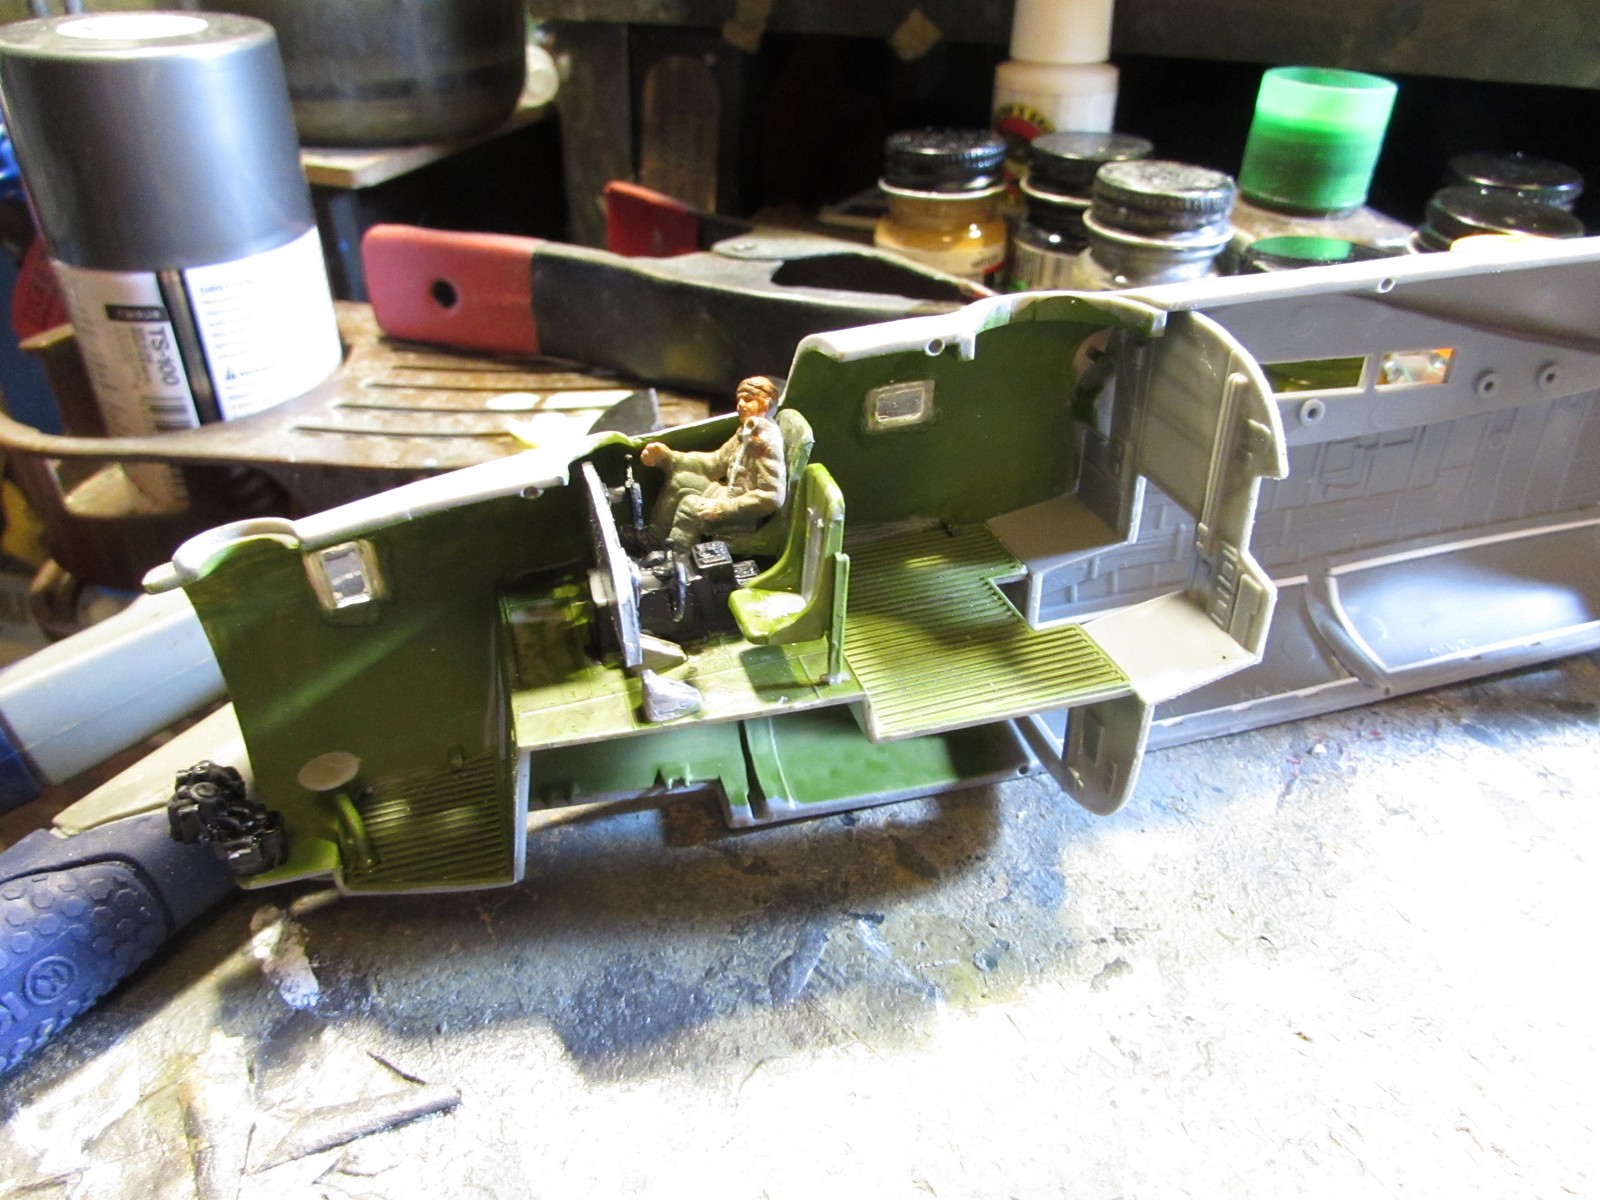
Dry-fit in the fuselage to make sure it fit:
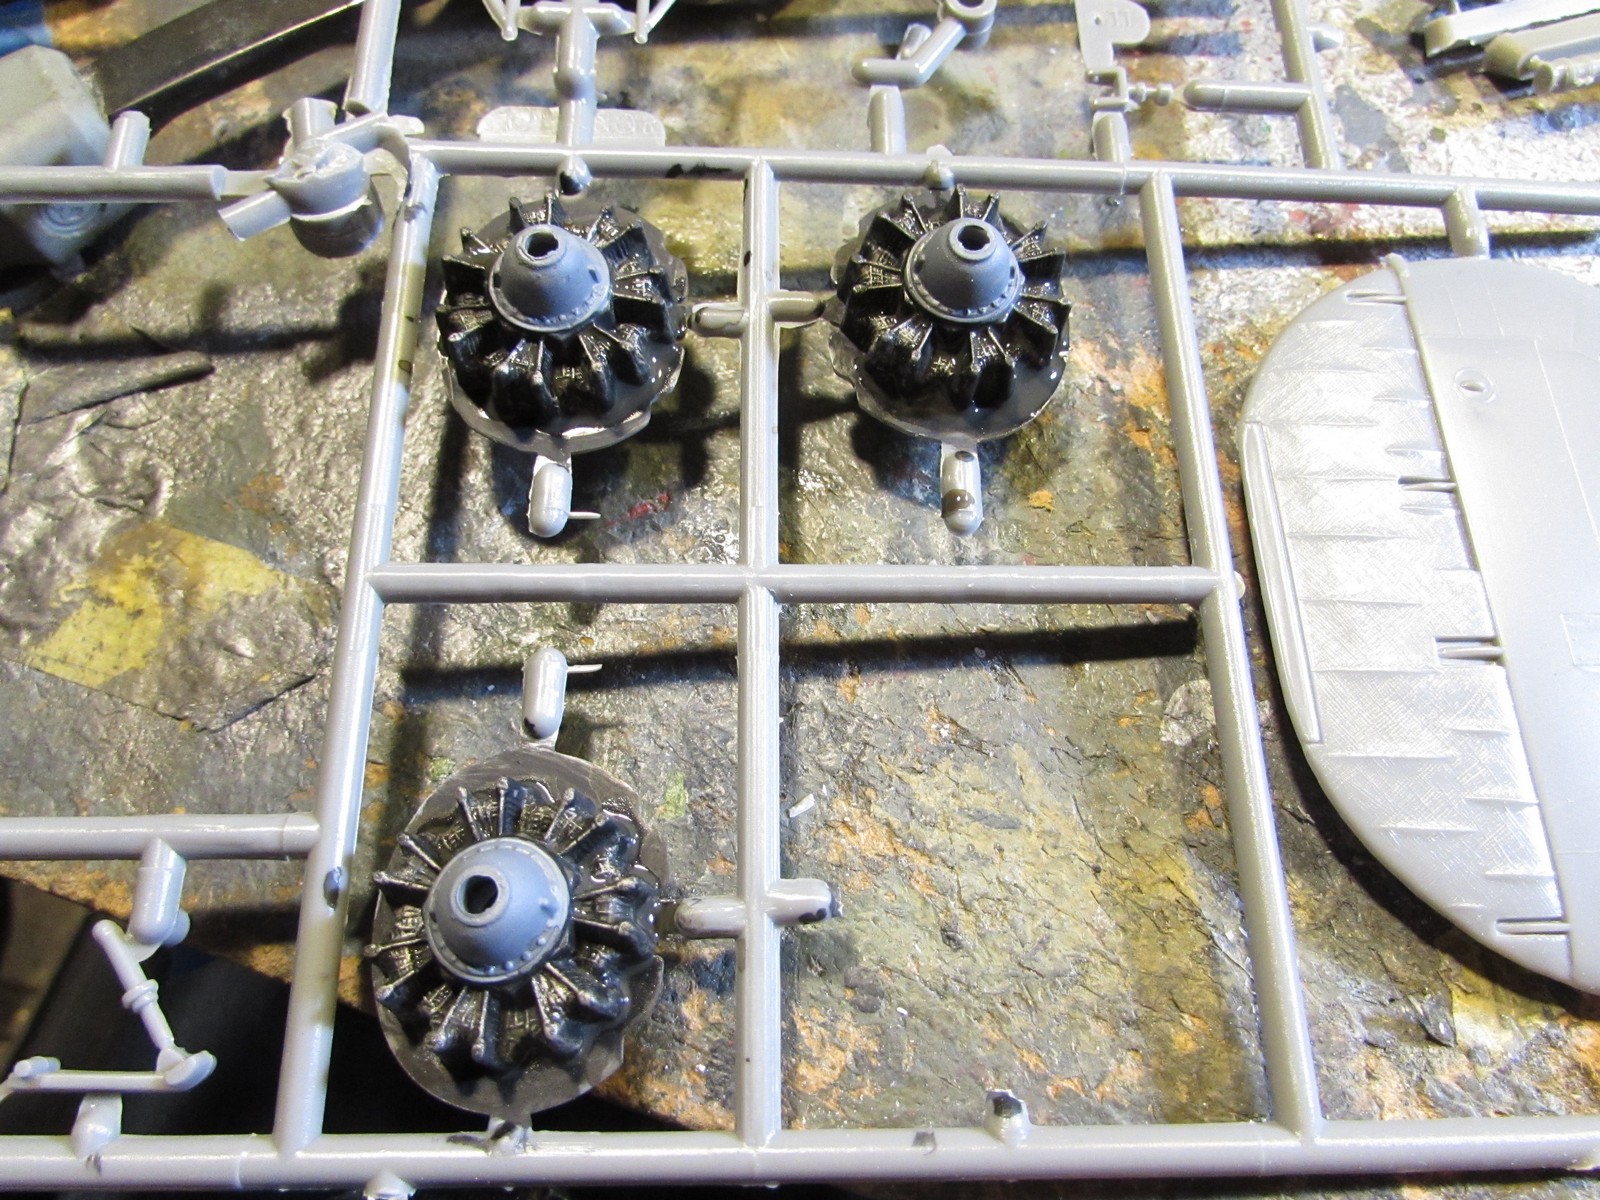
He had hacked off the engine nacelles on all the wing halves to add aftermarket resin engines, nacelles and cowls. I didn't find the instruction sheet for them so I bypassed them; found the original hacked parts and then painted the kit engines:
Interior was painted; the bomb bay doors were his work:
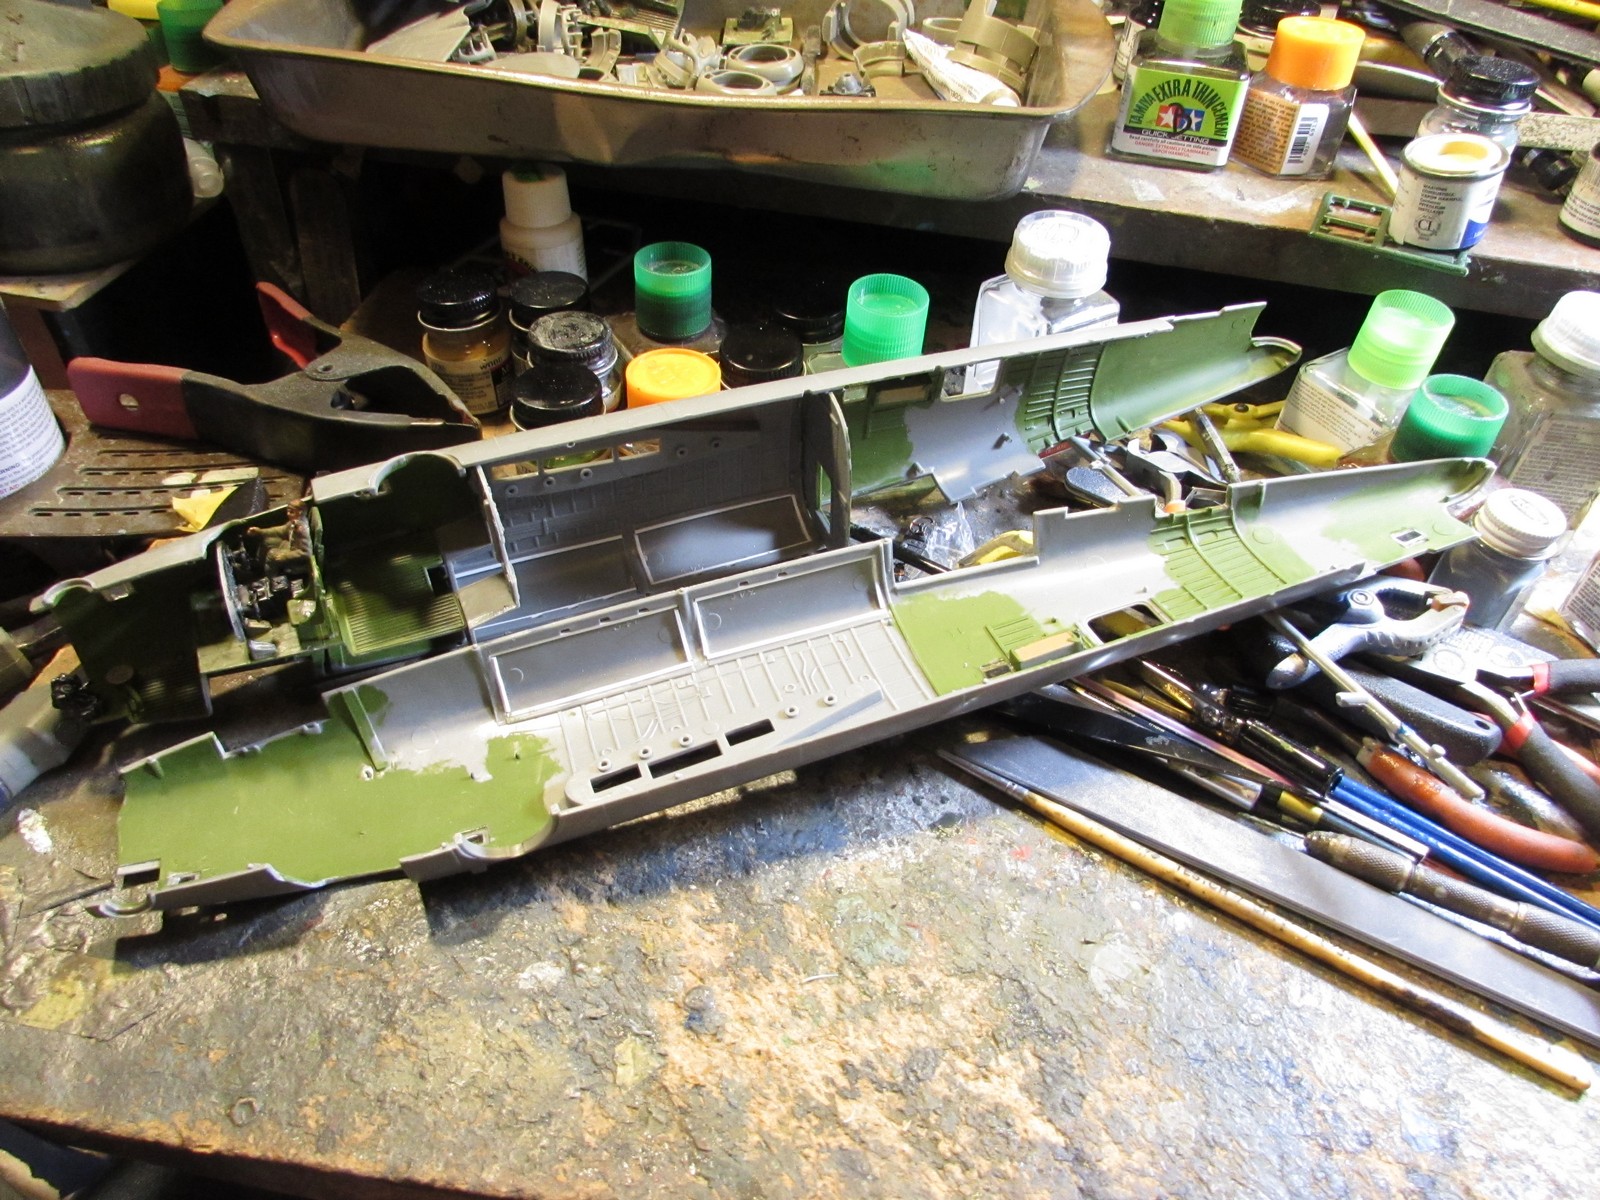
I built the empennage early to get it out of the way:
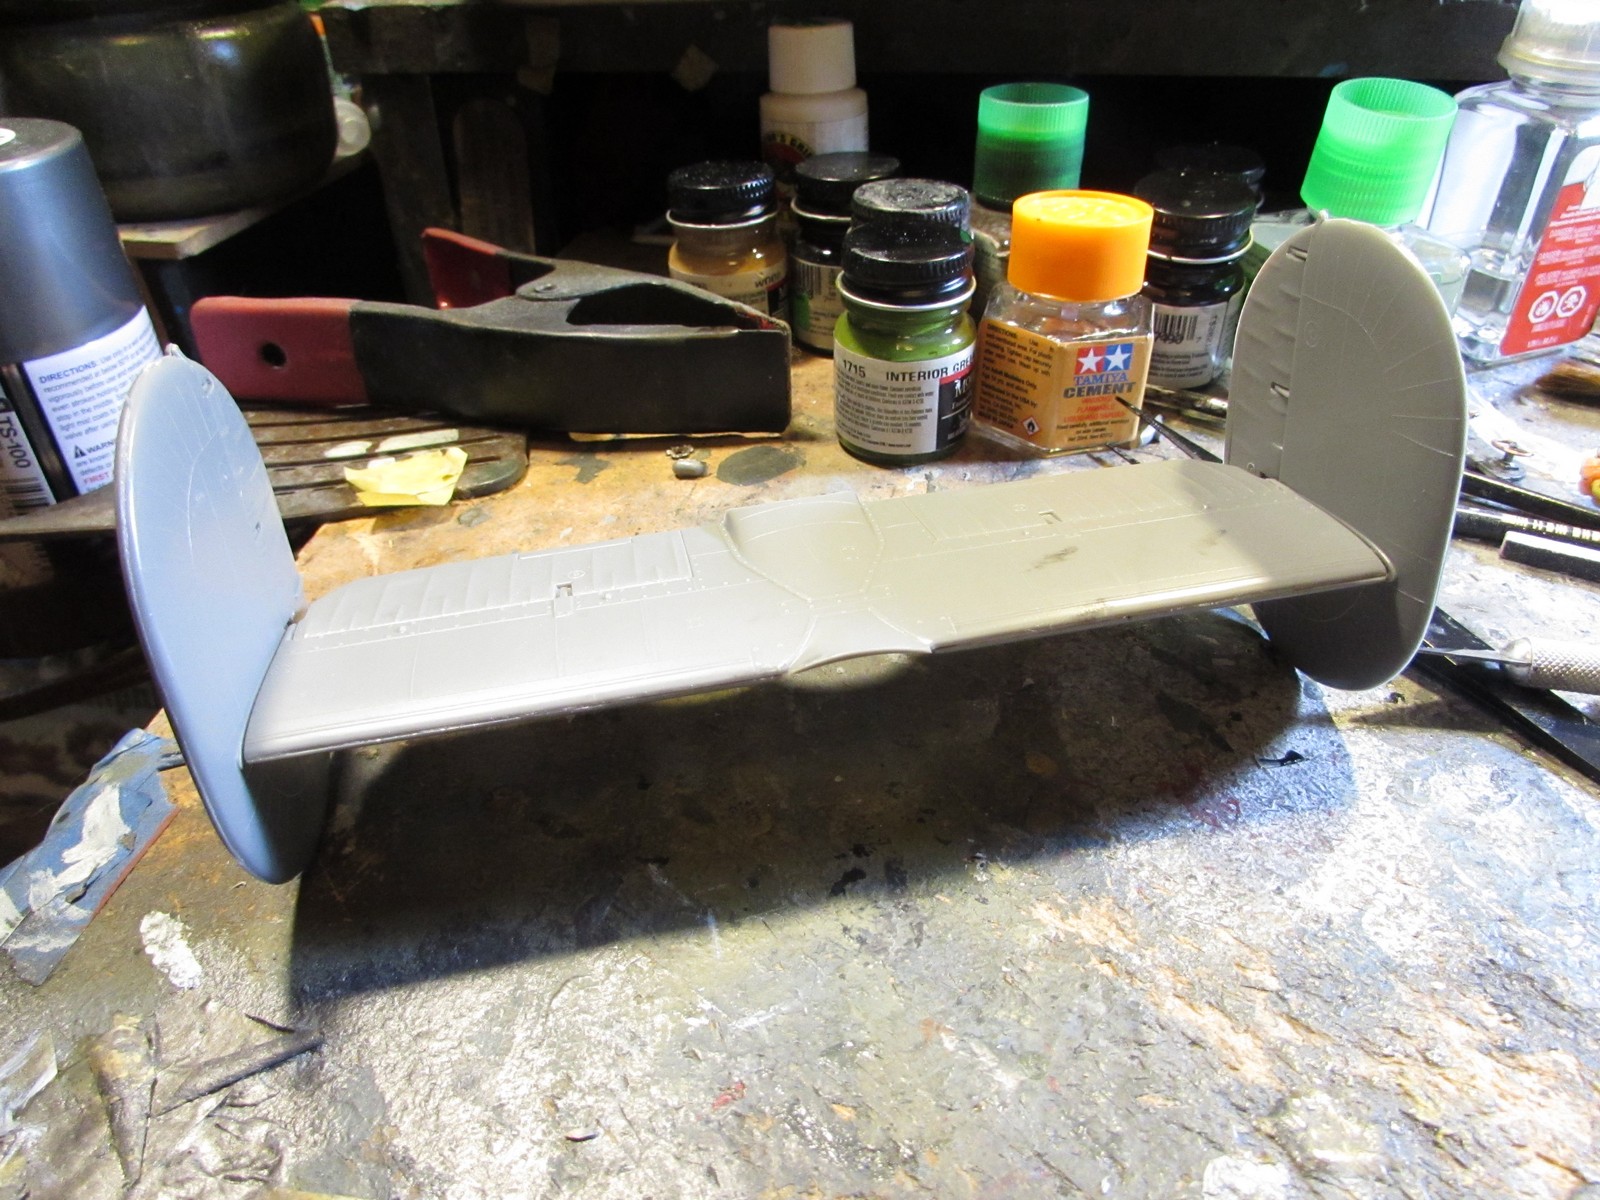
I got the propellers painted early too for the same reason:
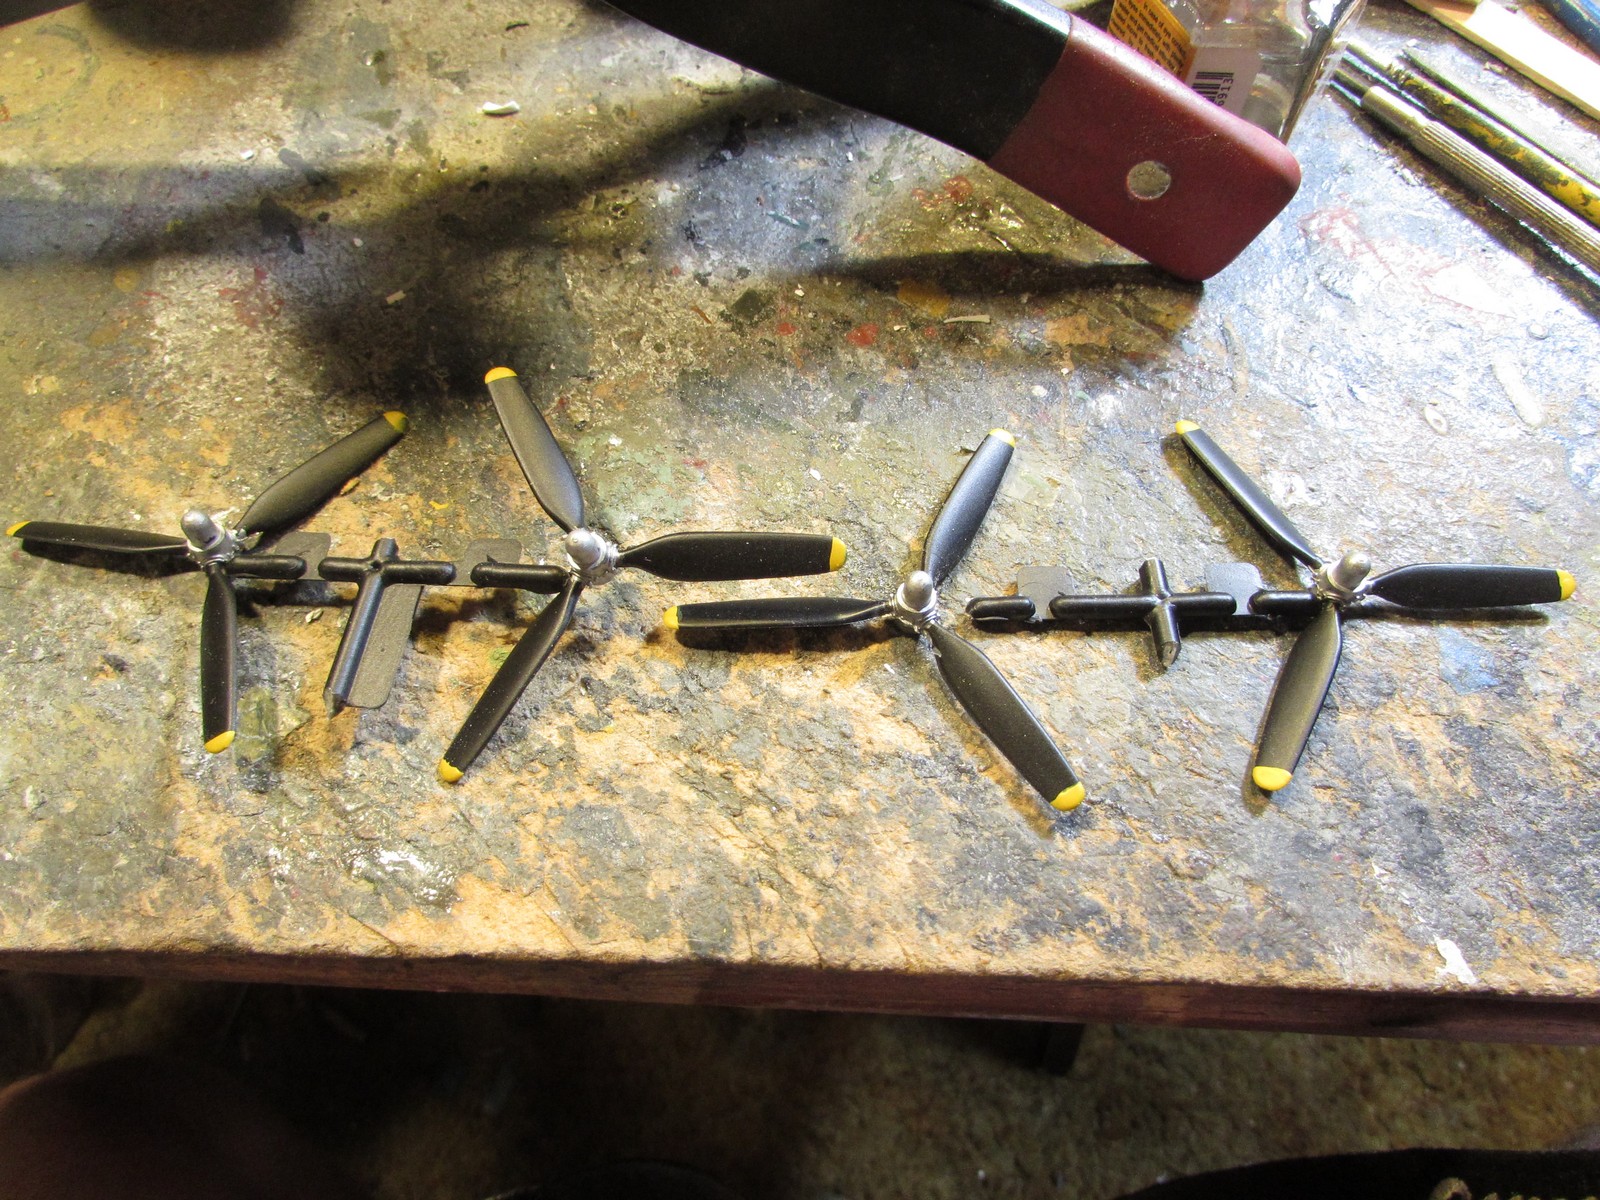
Here are the engines finally finished after three days of fitting, sanding, filling and sanding again:
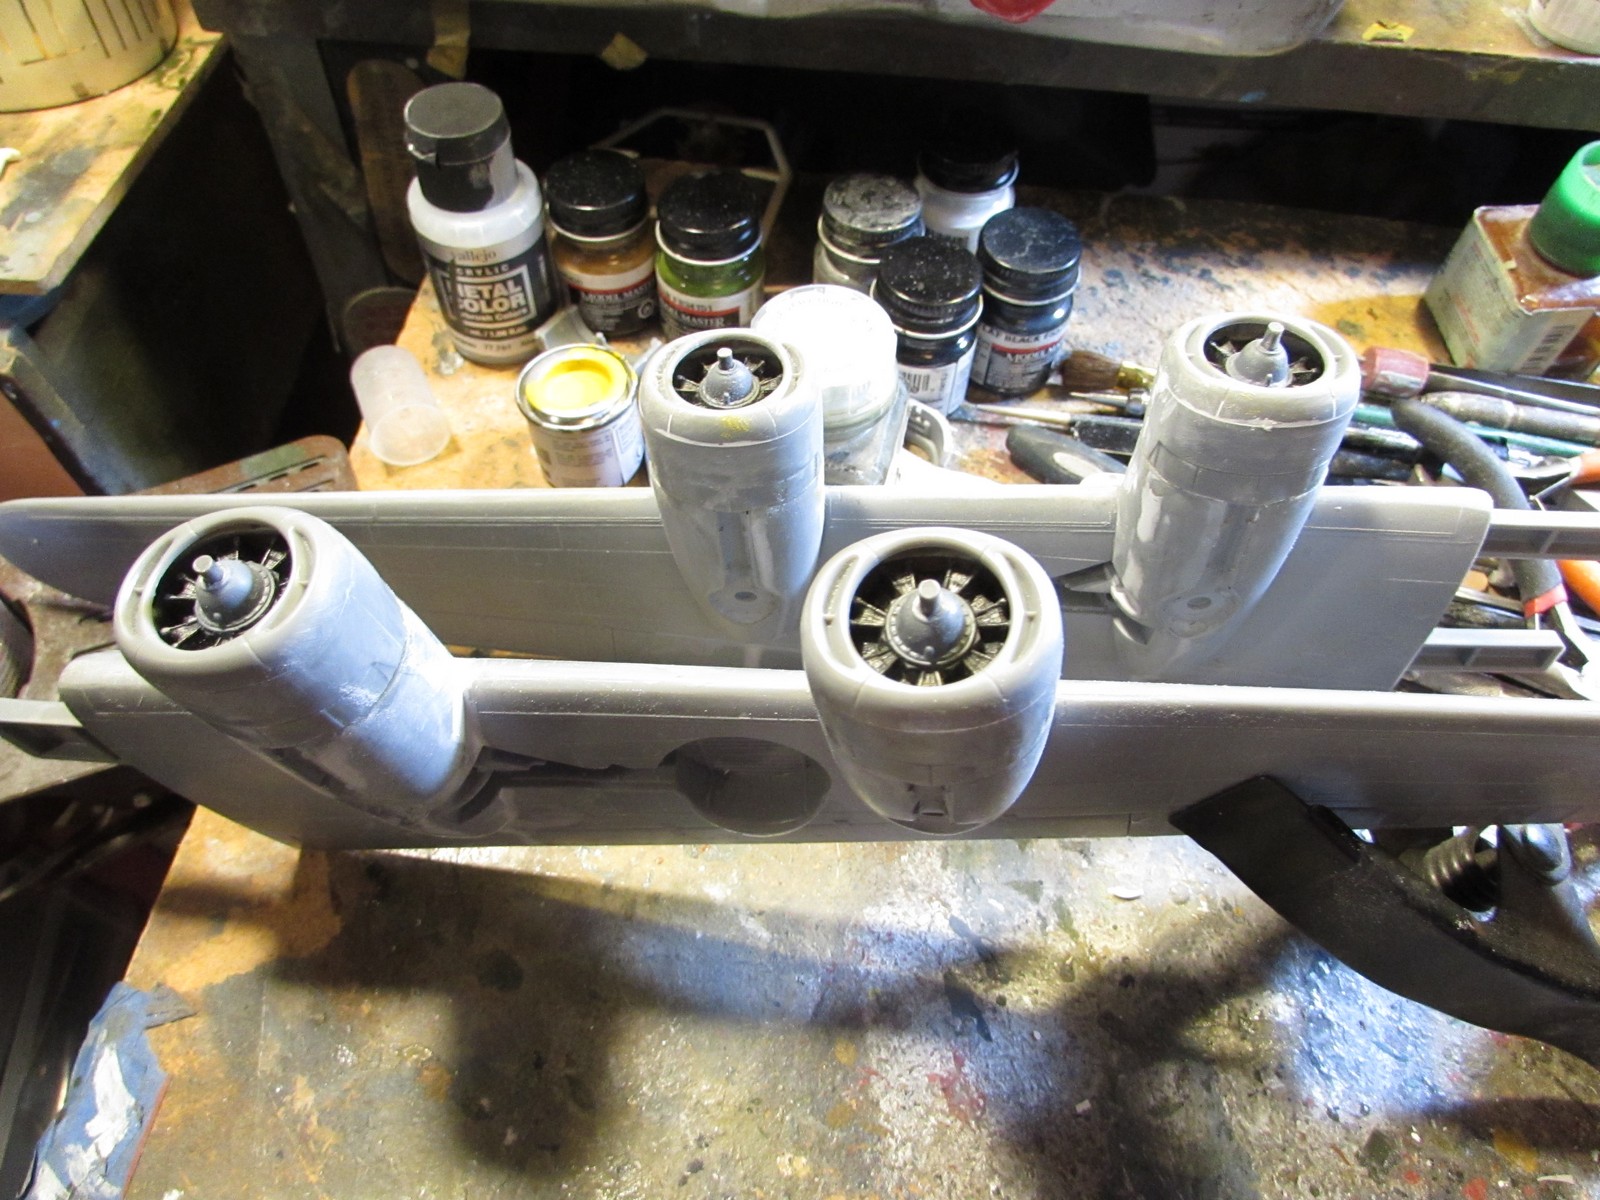
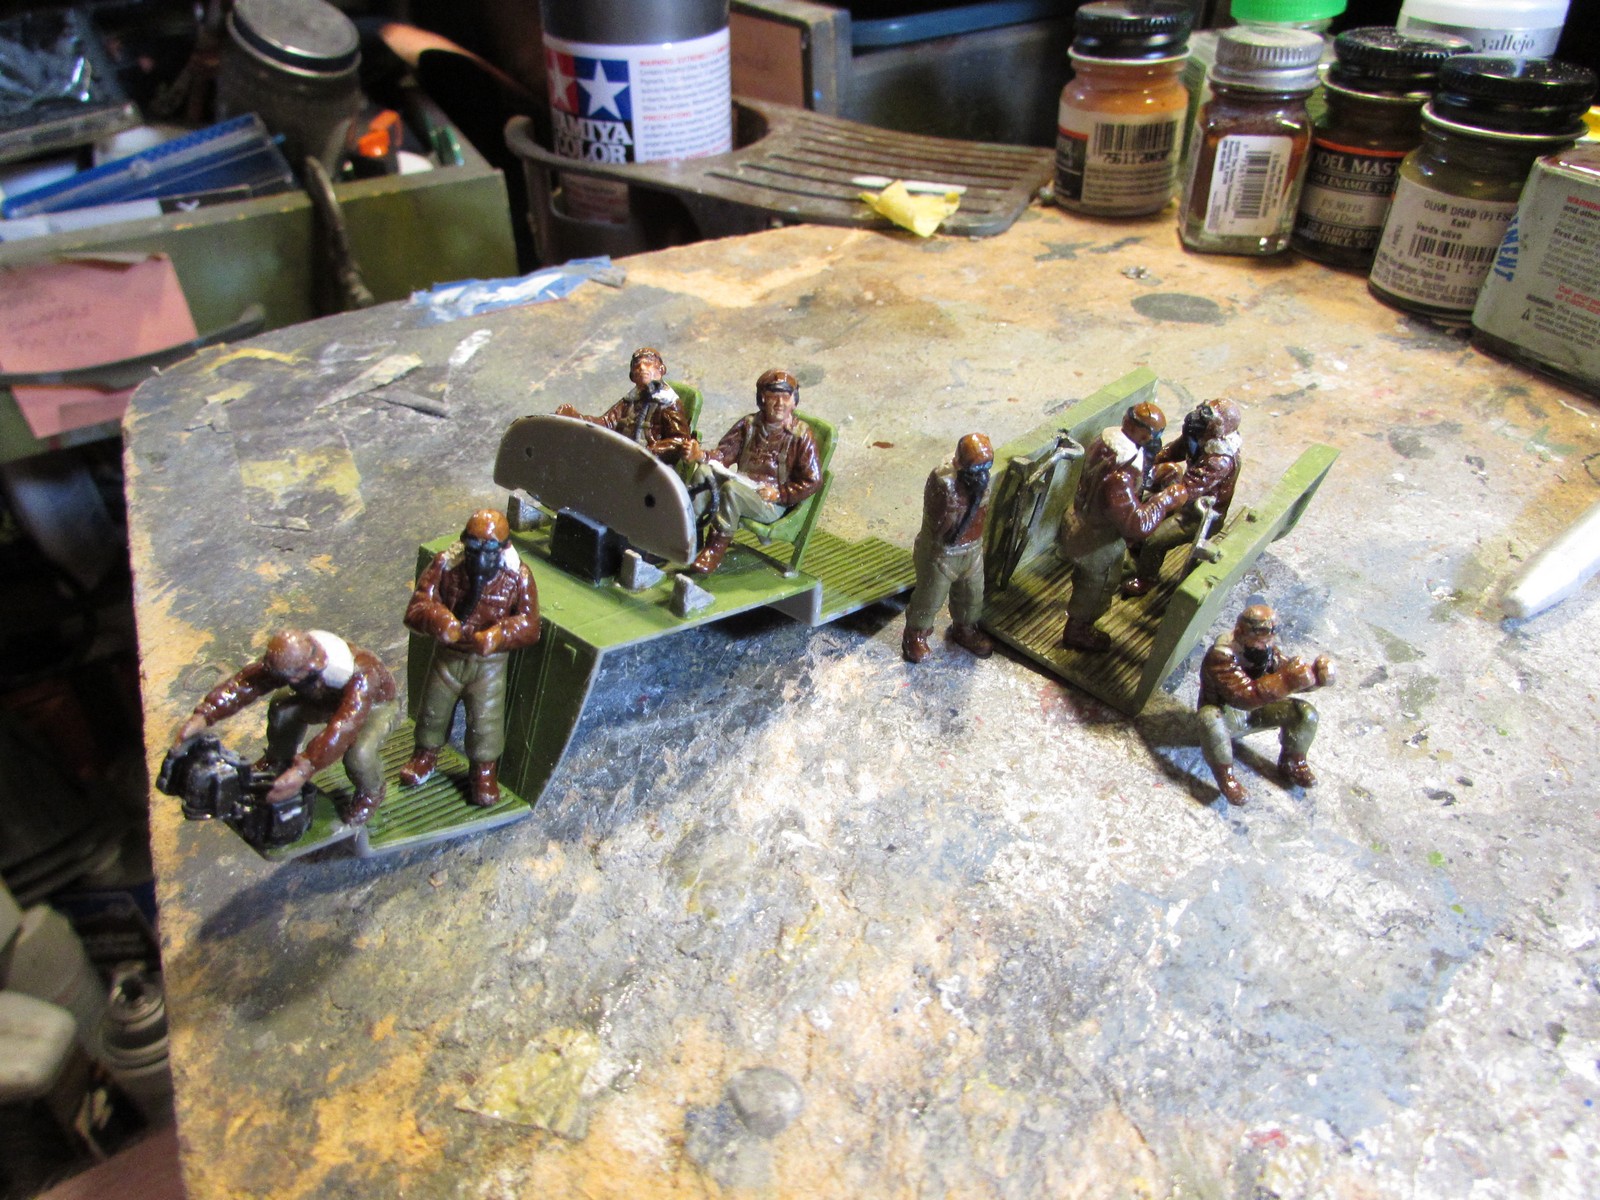
Here's all the crew I had to do, including hacking and re-assembling. He wanted a full crew as this model was going to be posed in flight:
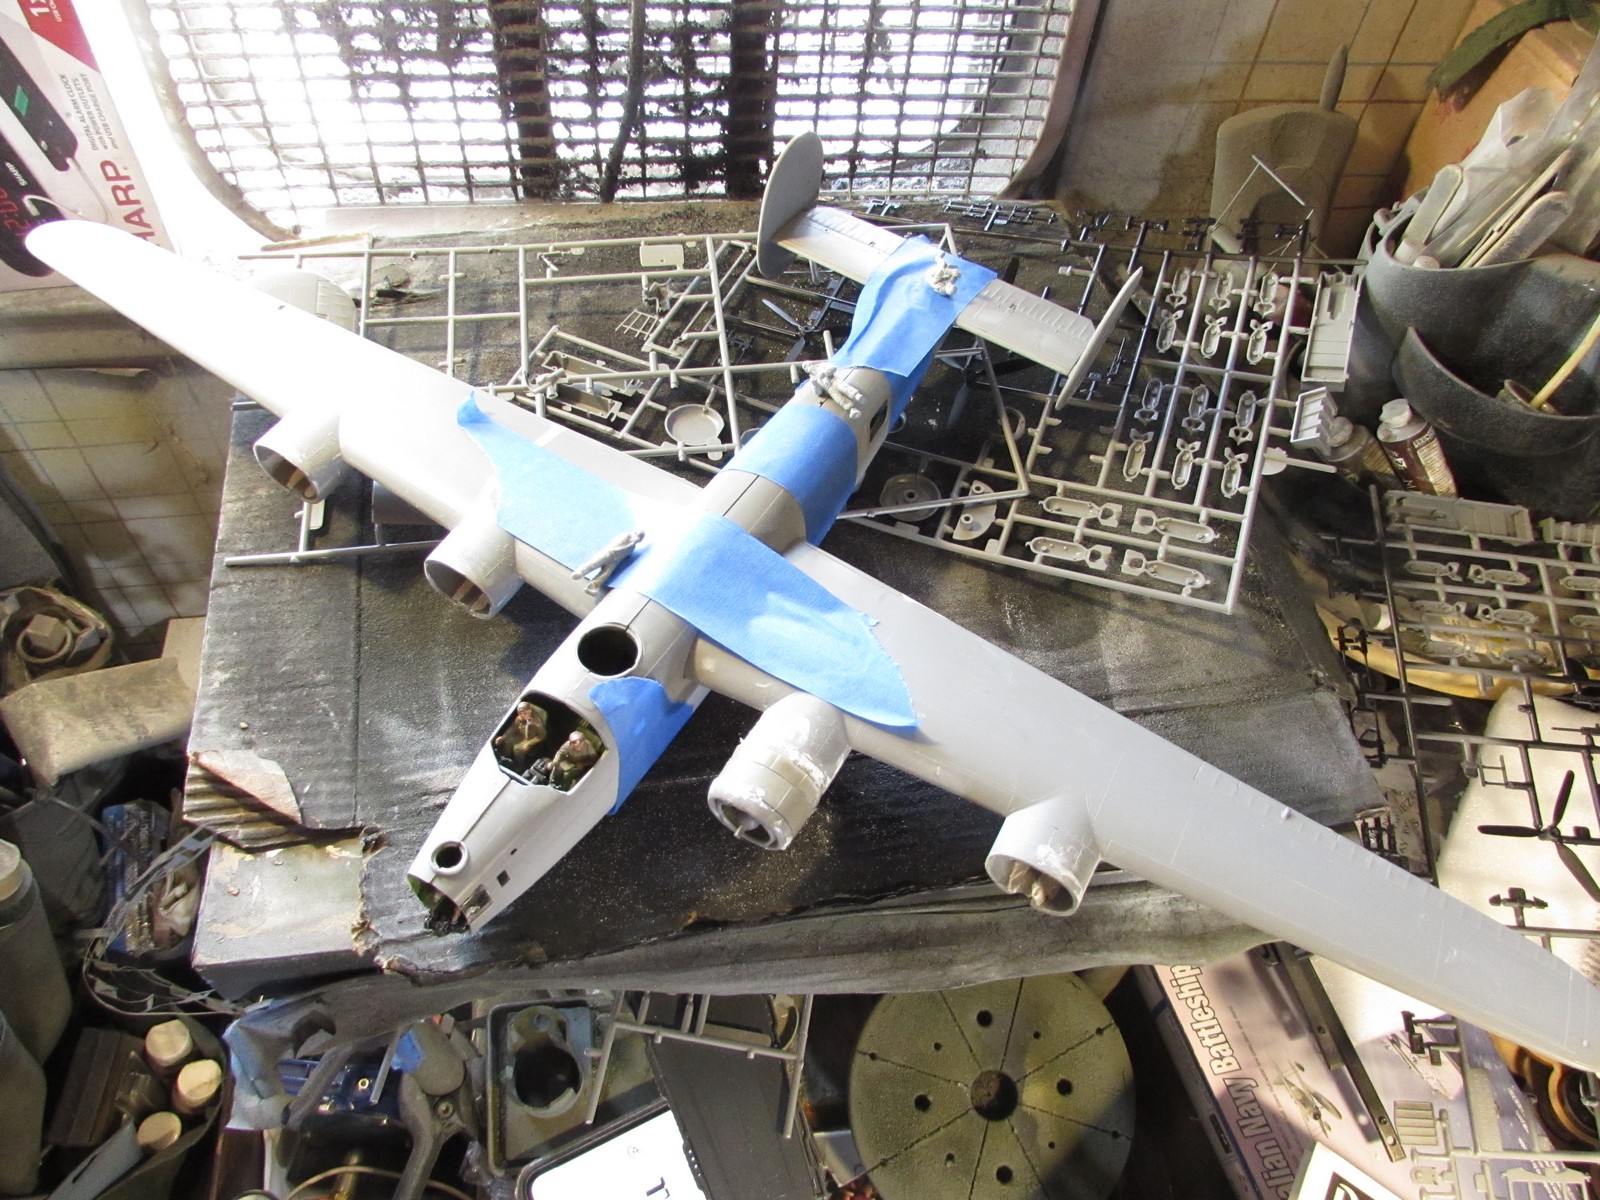
Here's where I dry fit everything to check fit and also to show all the crew where their positions would be in the plane. Yes, they all made it inside this:
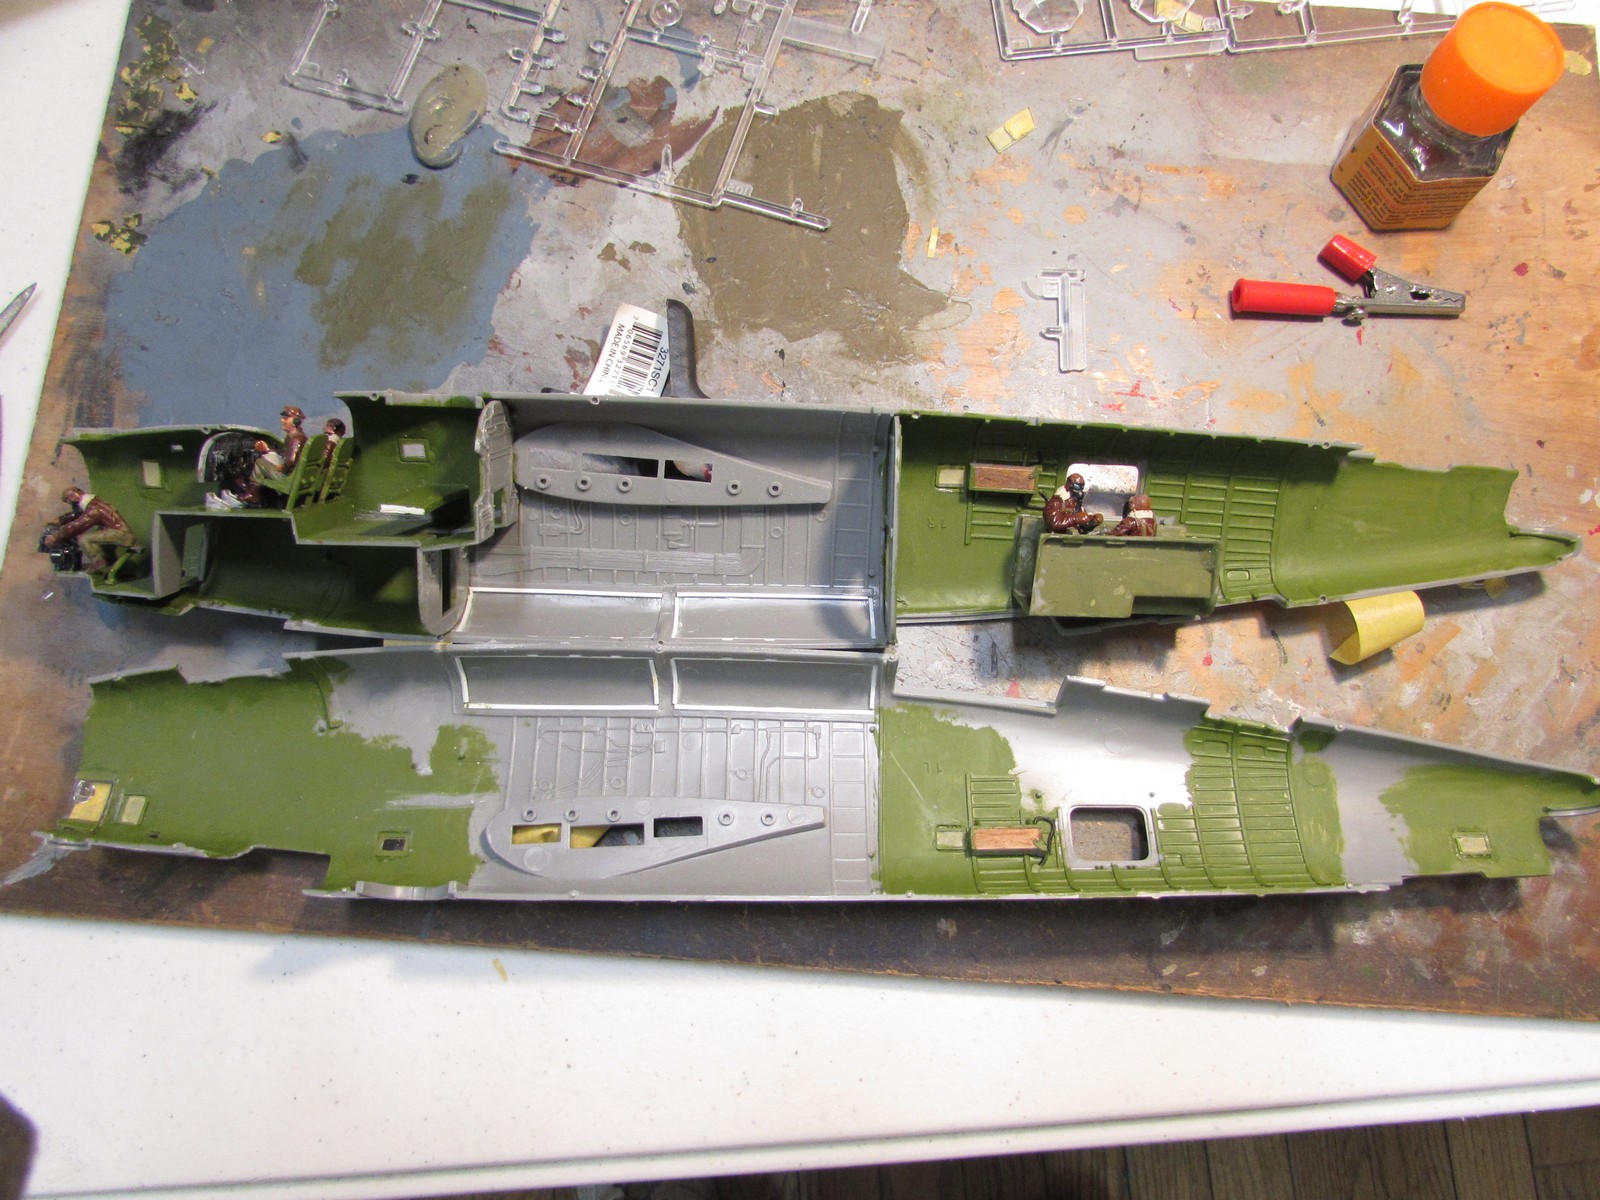
I popped it open and added all the interior decks and assemblies, I also painted the crew too:
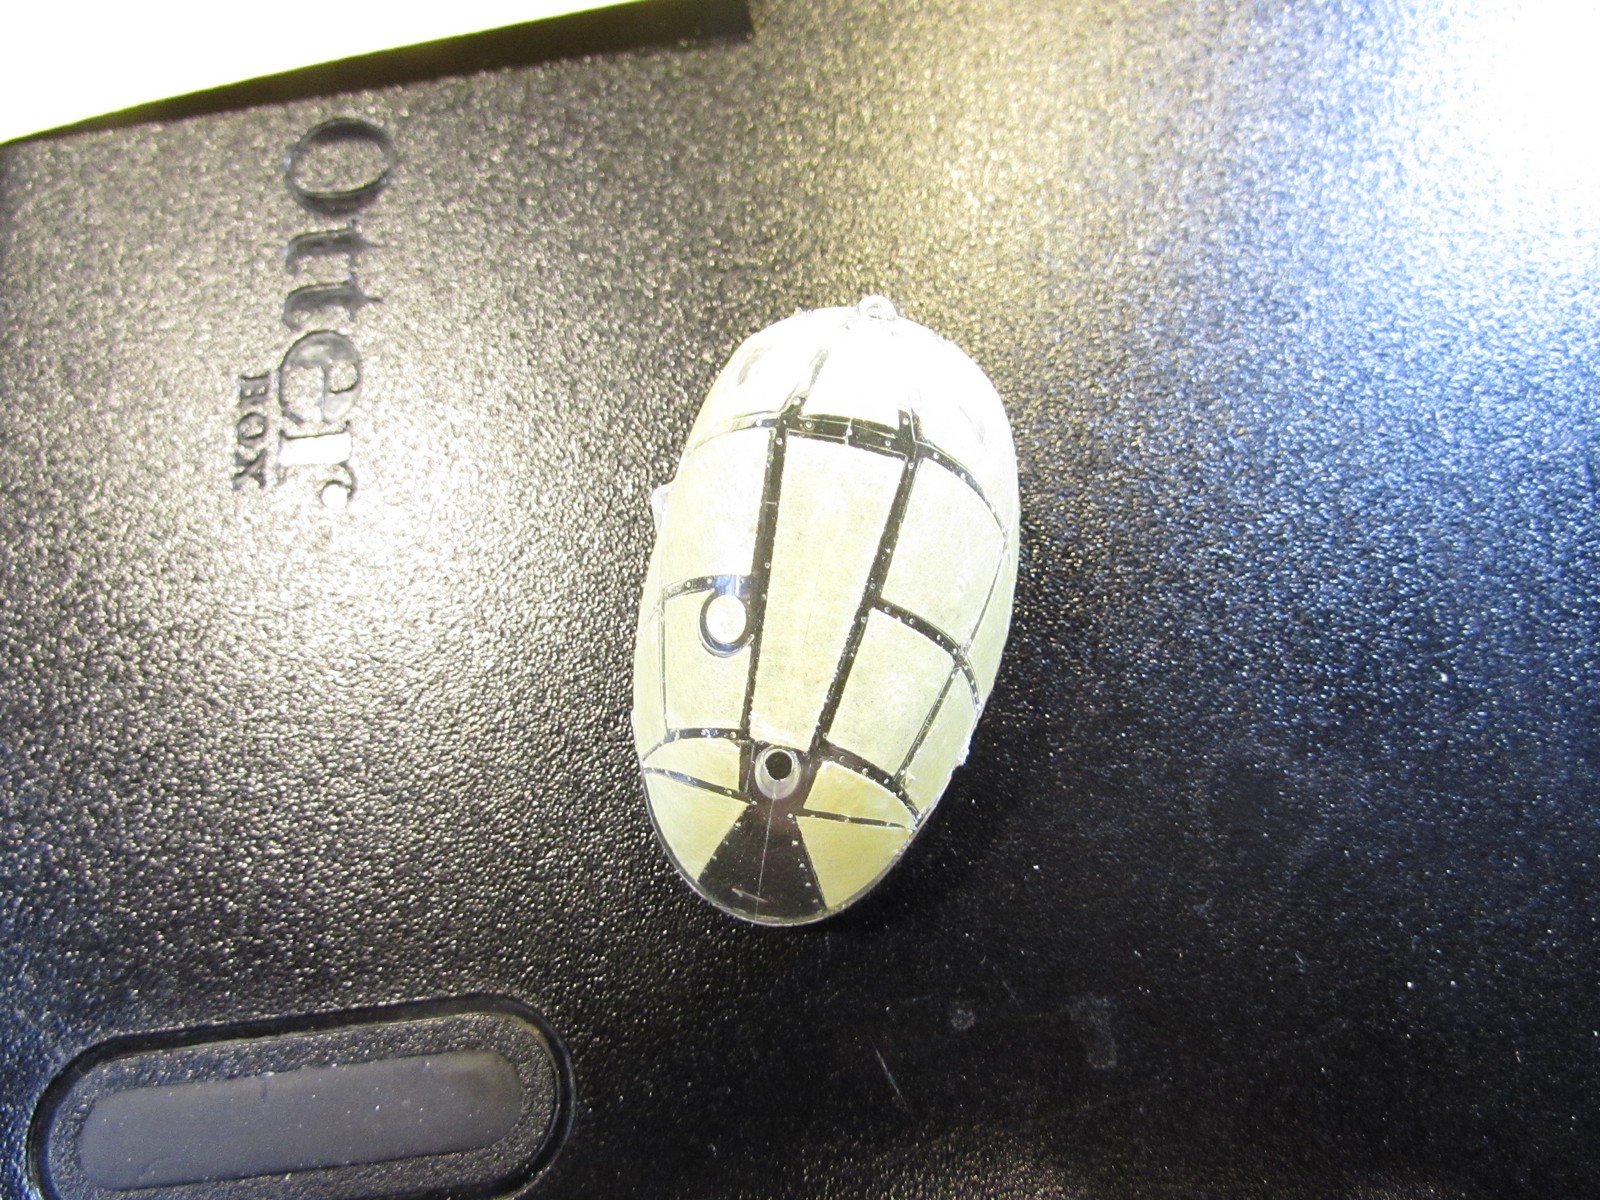
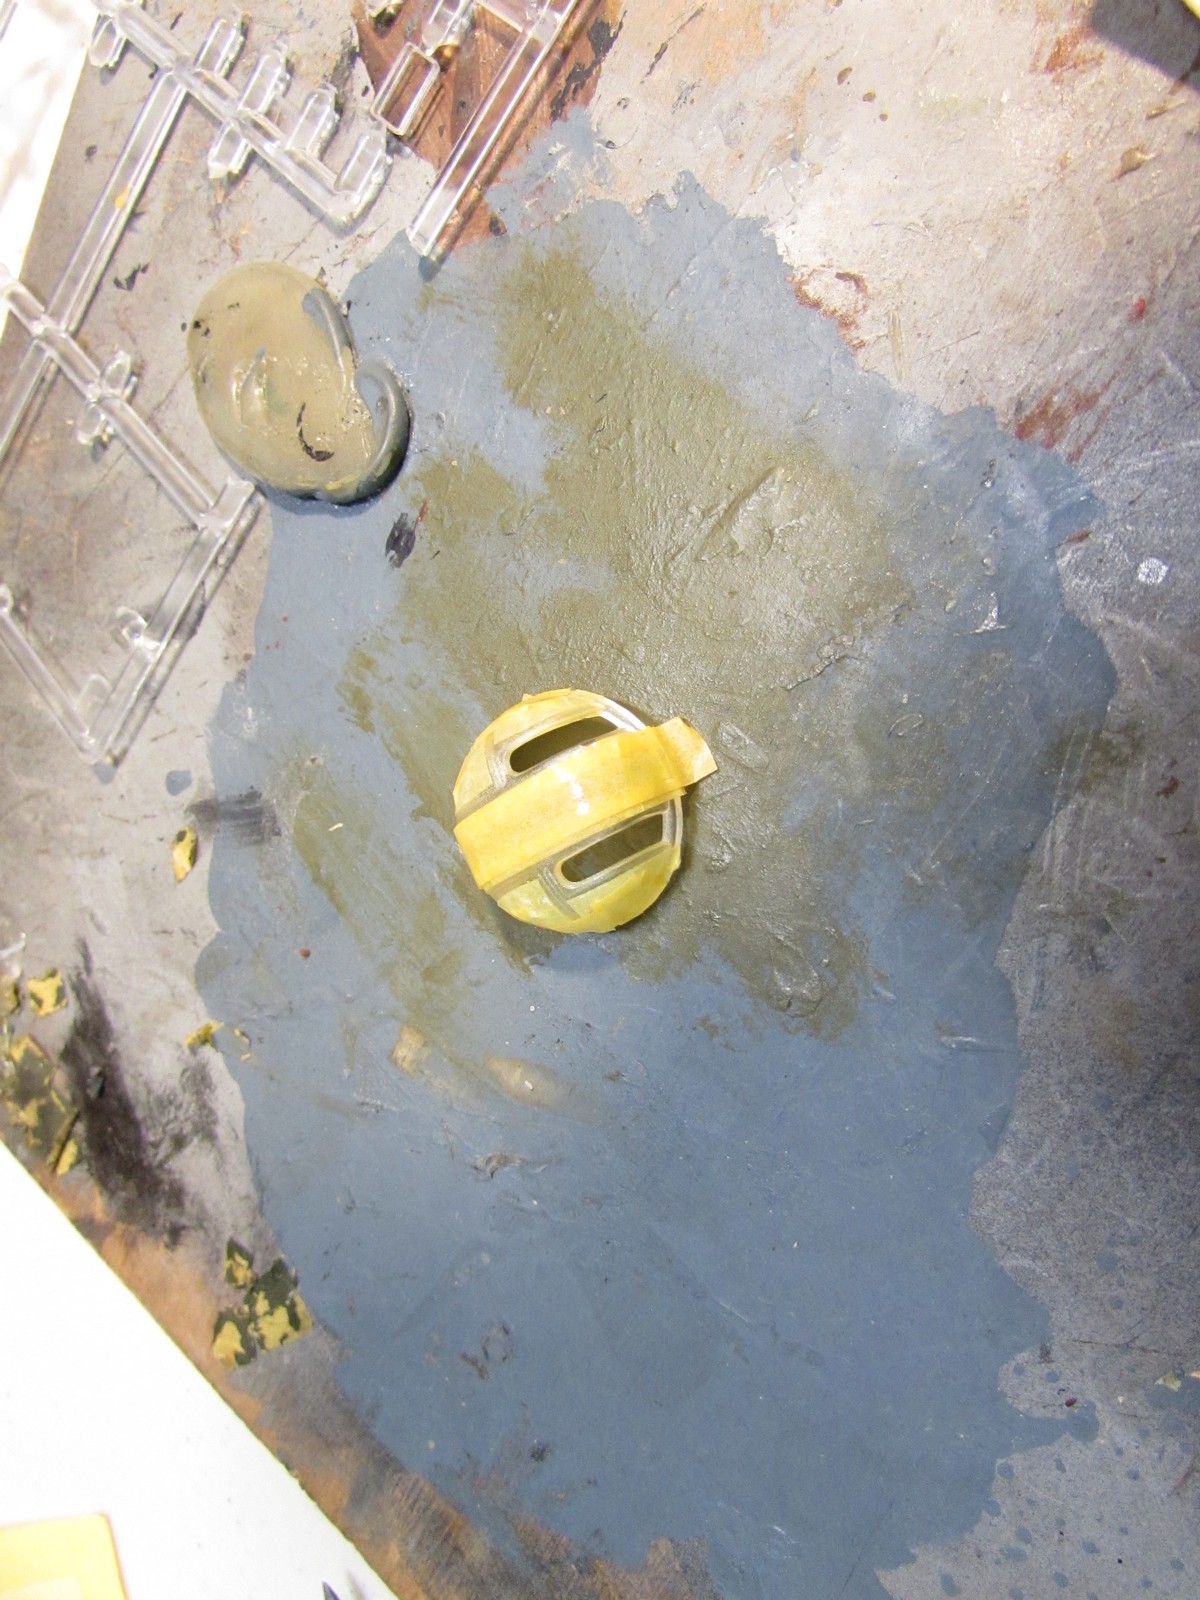
I used the Eduard masks he had for the canopy and greenhouse nose, as well as all the turrets. Here's some shots of the nose greenhouse and top turret:
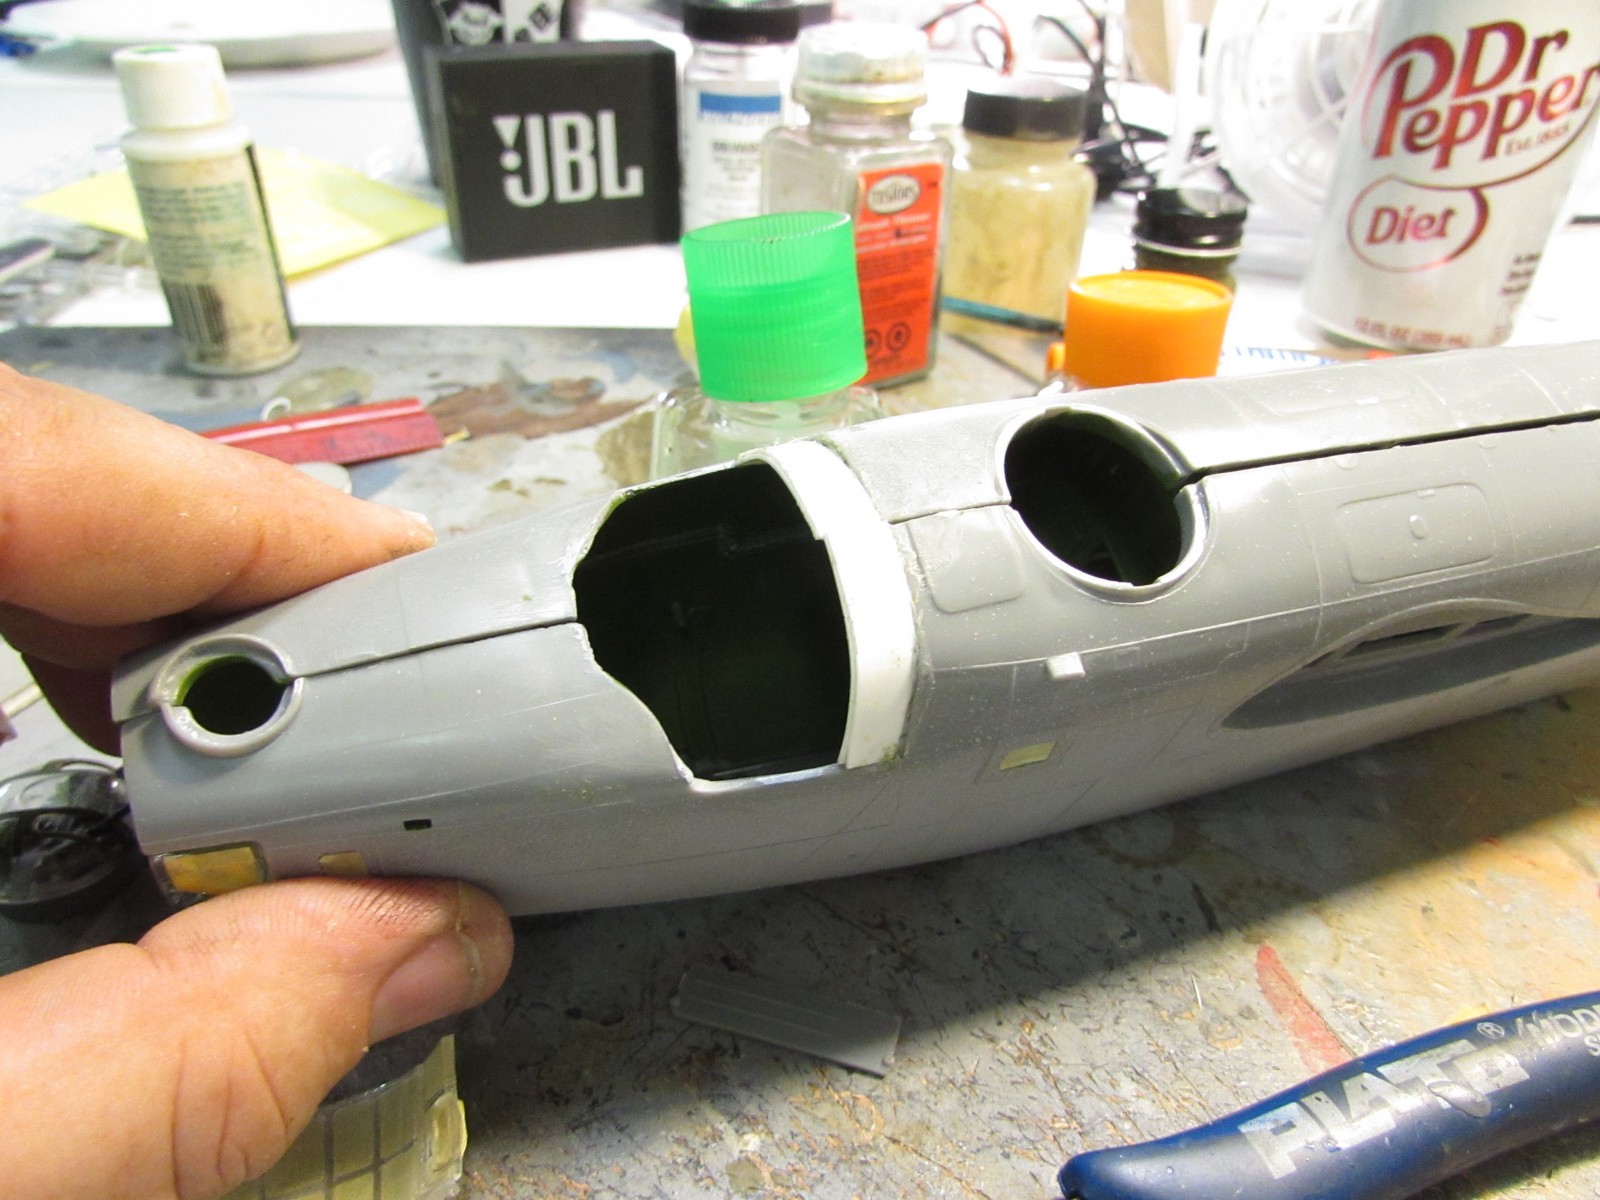
When I tried to dry-fit the cockpit greenhouse, he had hacked a full 3/8' inches off the fuselage for fitting vac-formed canopies. Long story short; I had to replace it as it would have taken far too long to use the aftermarket pieces:
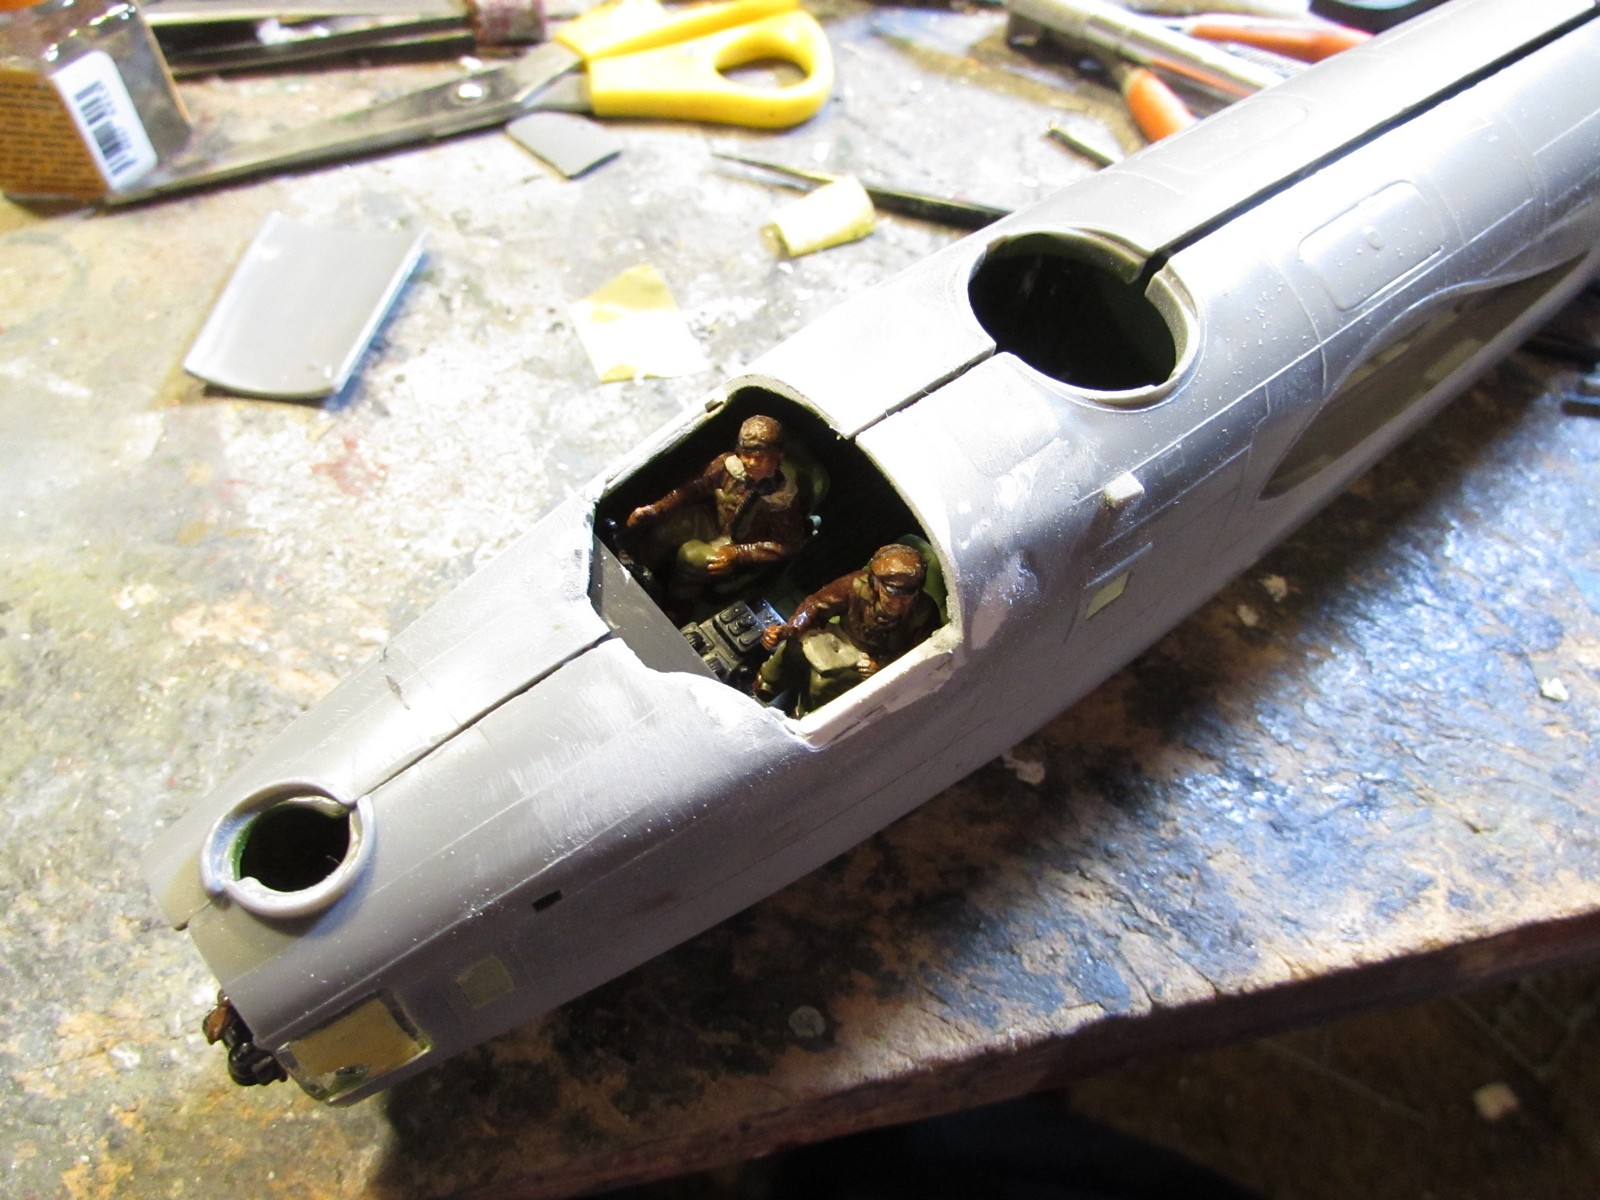
Of course, the sides had been cut as well, so I had to add more to the sides as well, fill, sand, and repeat...

Again, he wanted this posed in flight and so had provided a clear tube to use to hold it. So, I had to come up with an interior insert to hold it. This is the result, as well as showing it in position:
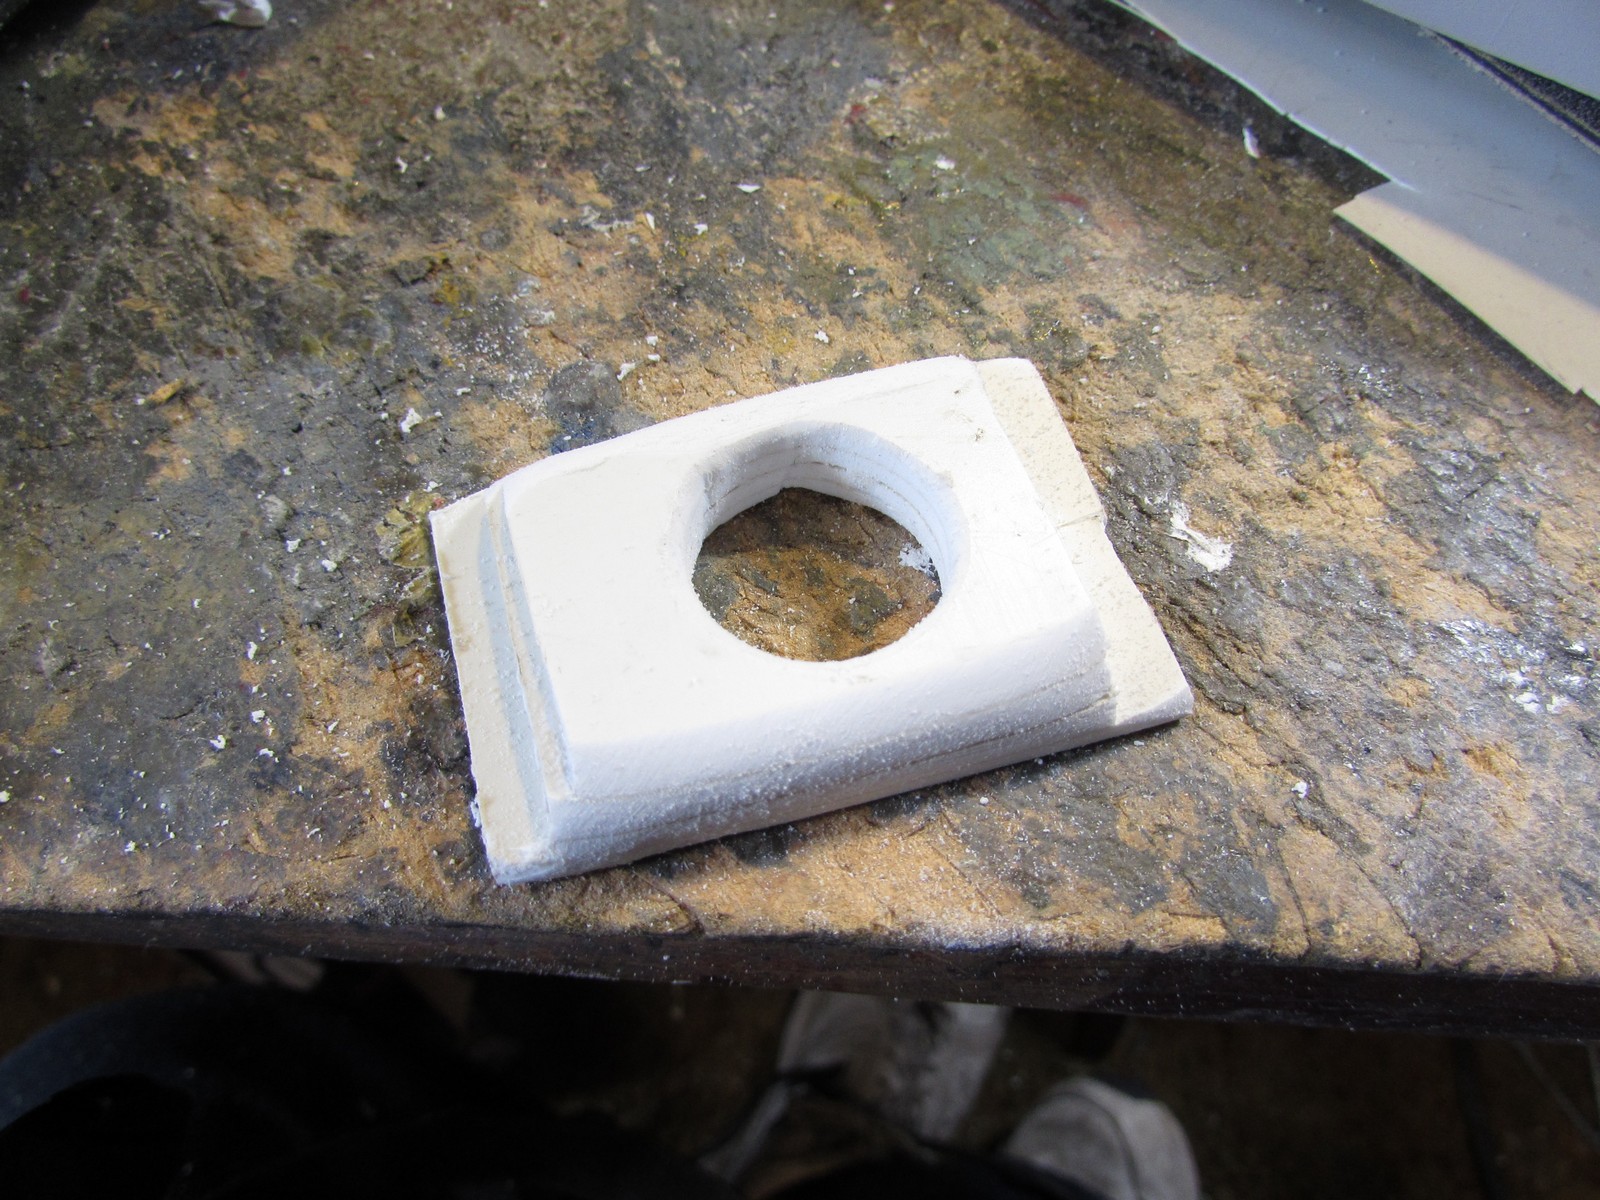

That was all made with thick sheet styrene racked and stacked and then sanded to the contours of the fuselage interior. After I glued it into the fuselage; lining it up with the hole I'd cut before and let dry; I taped it all together again and tested it. Success:
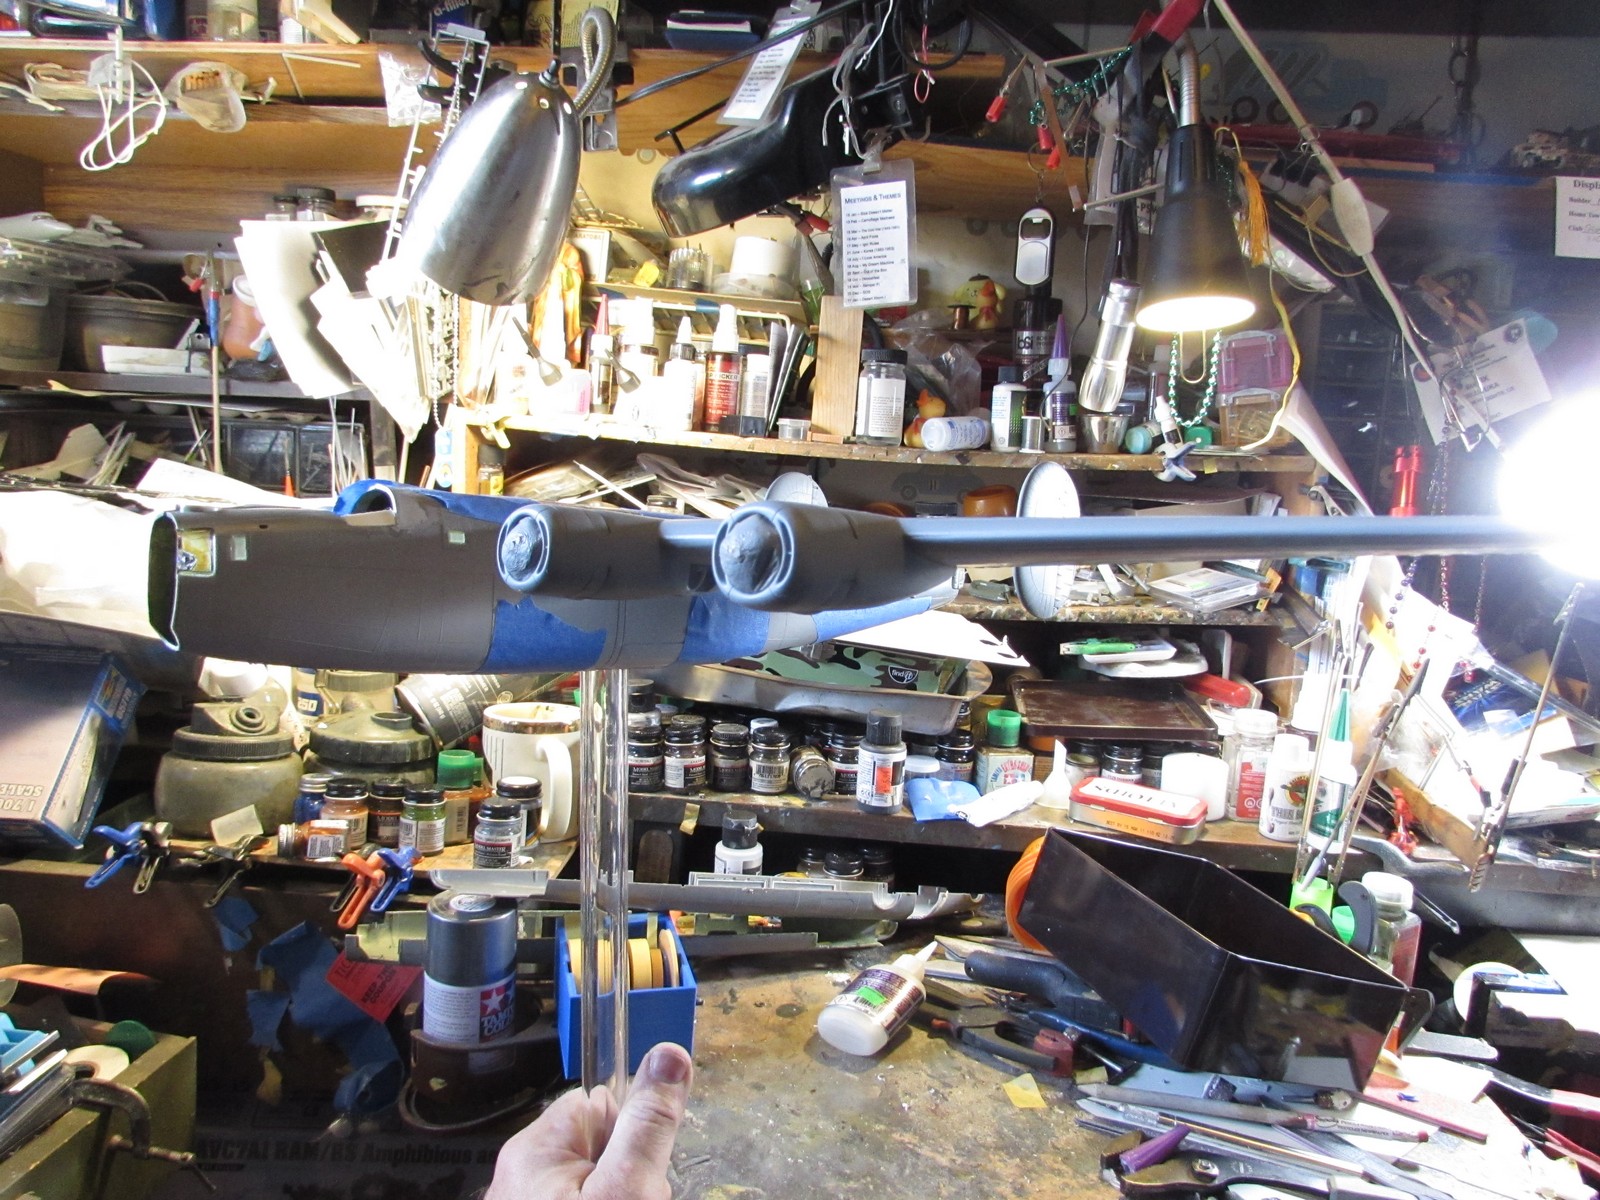
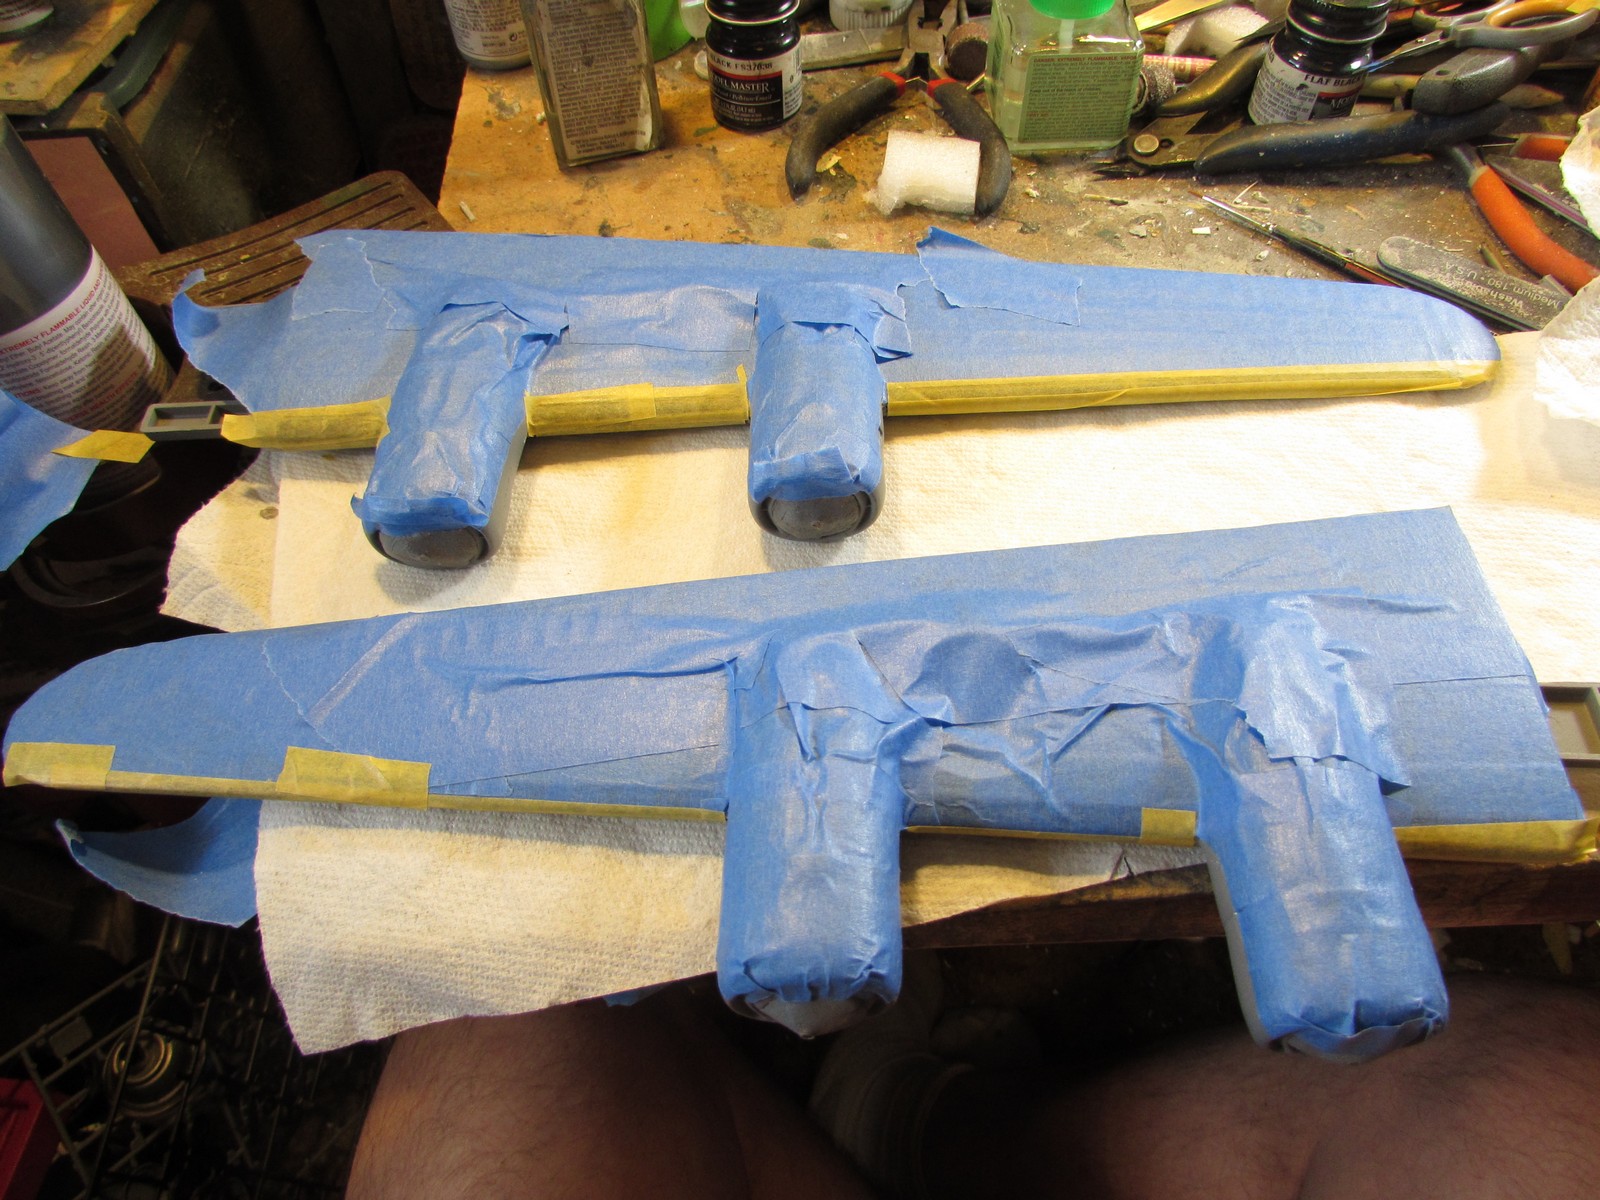
The engines are covered in Silly Putty for painting. I shot the grey first on the wings and fuselage, and then the Olive Drab on top after masking the bottom some more:
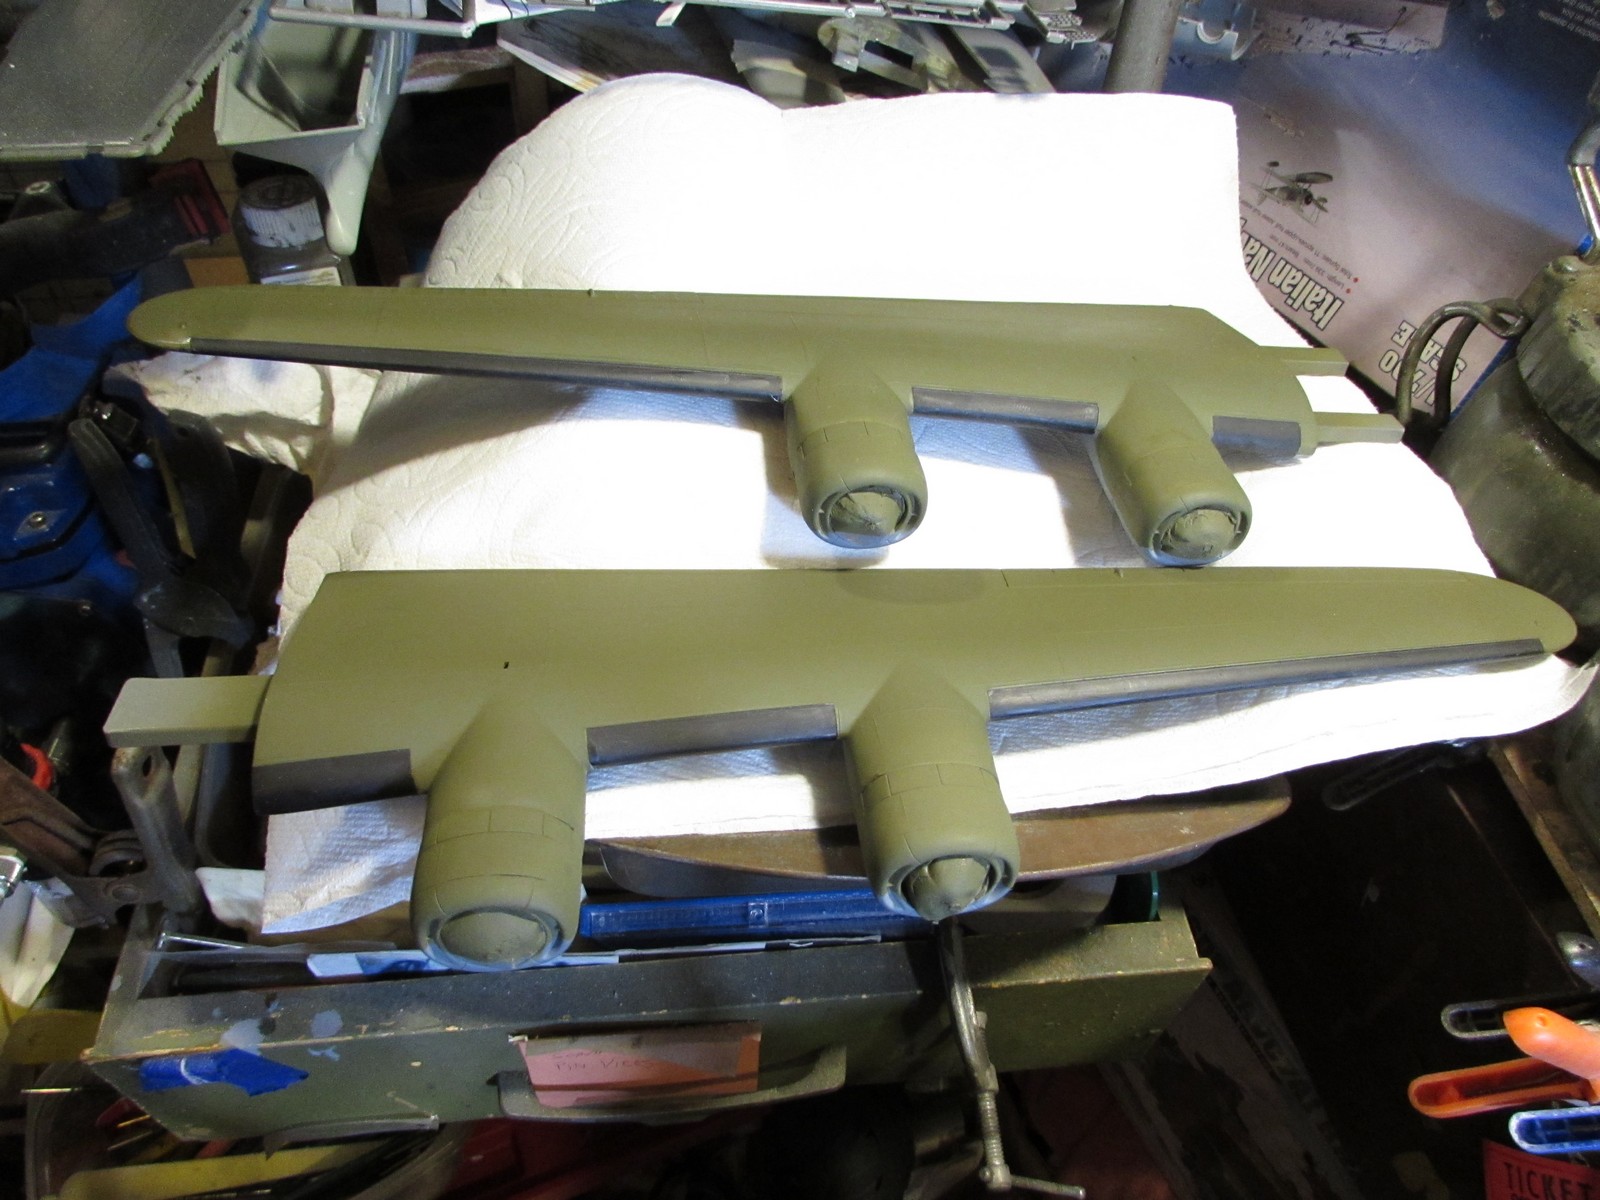
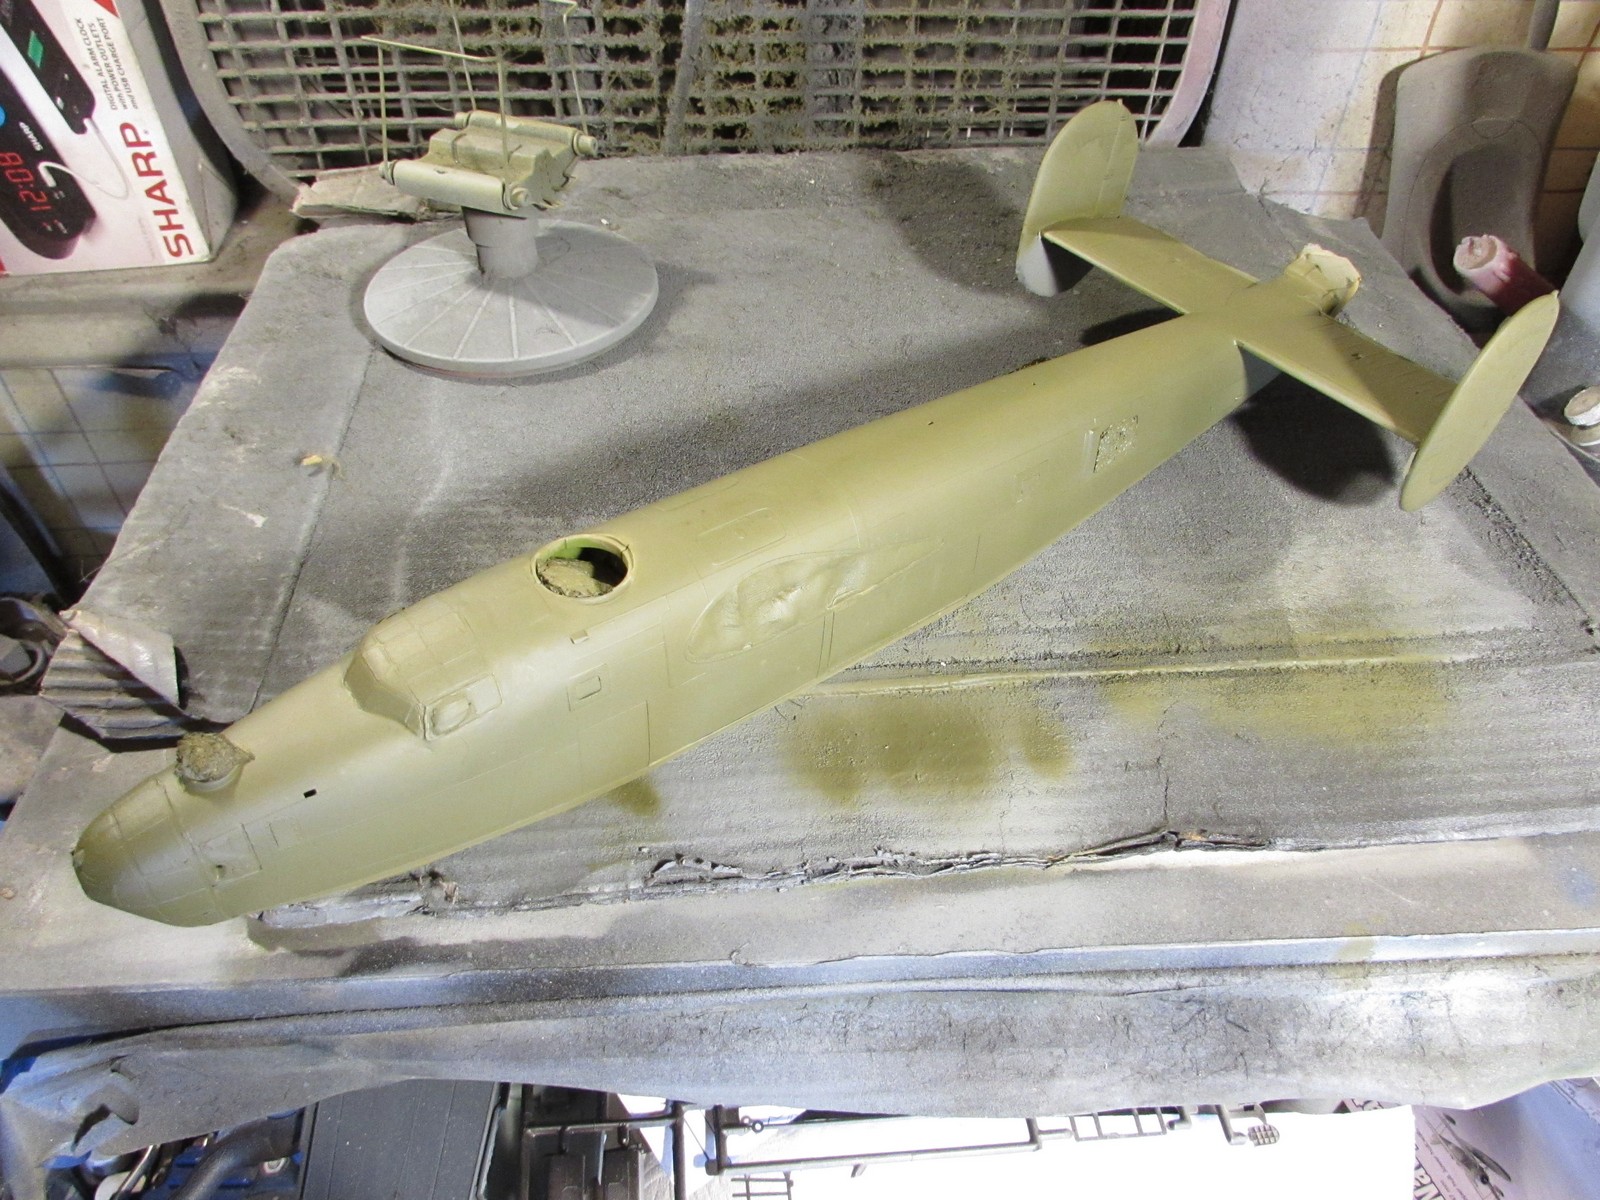
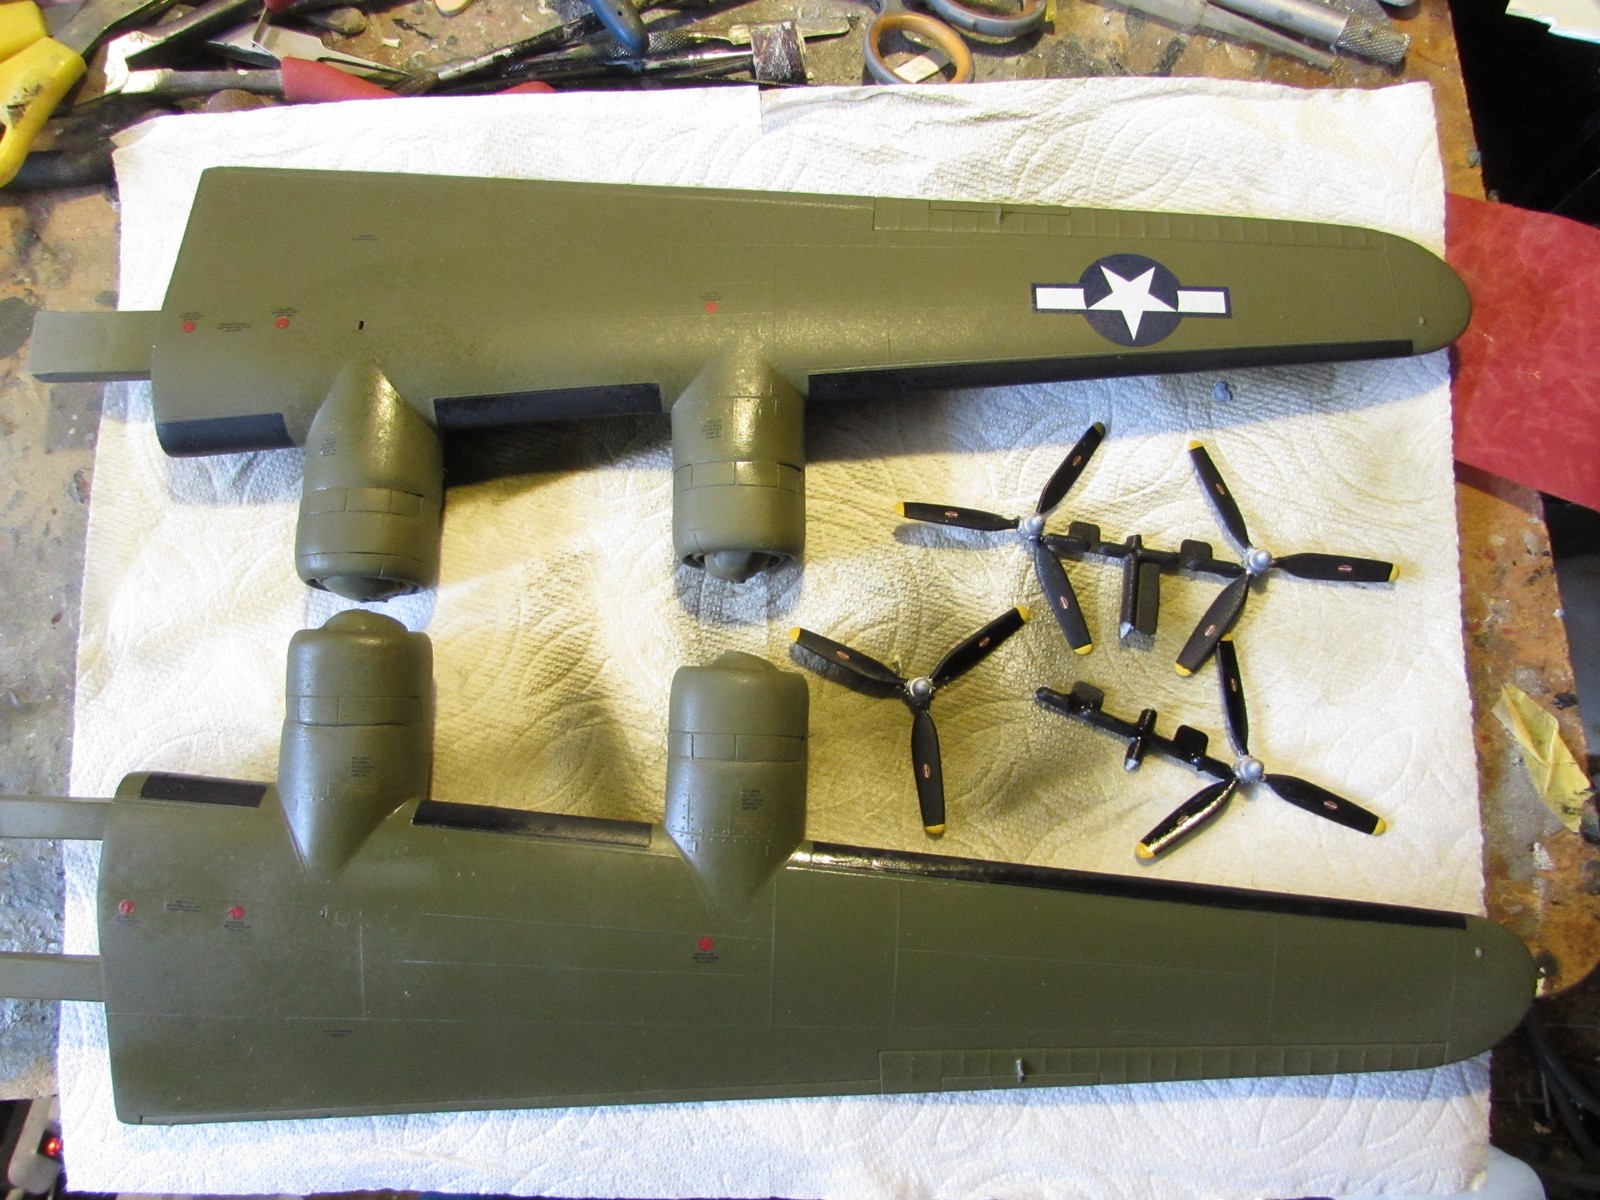
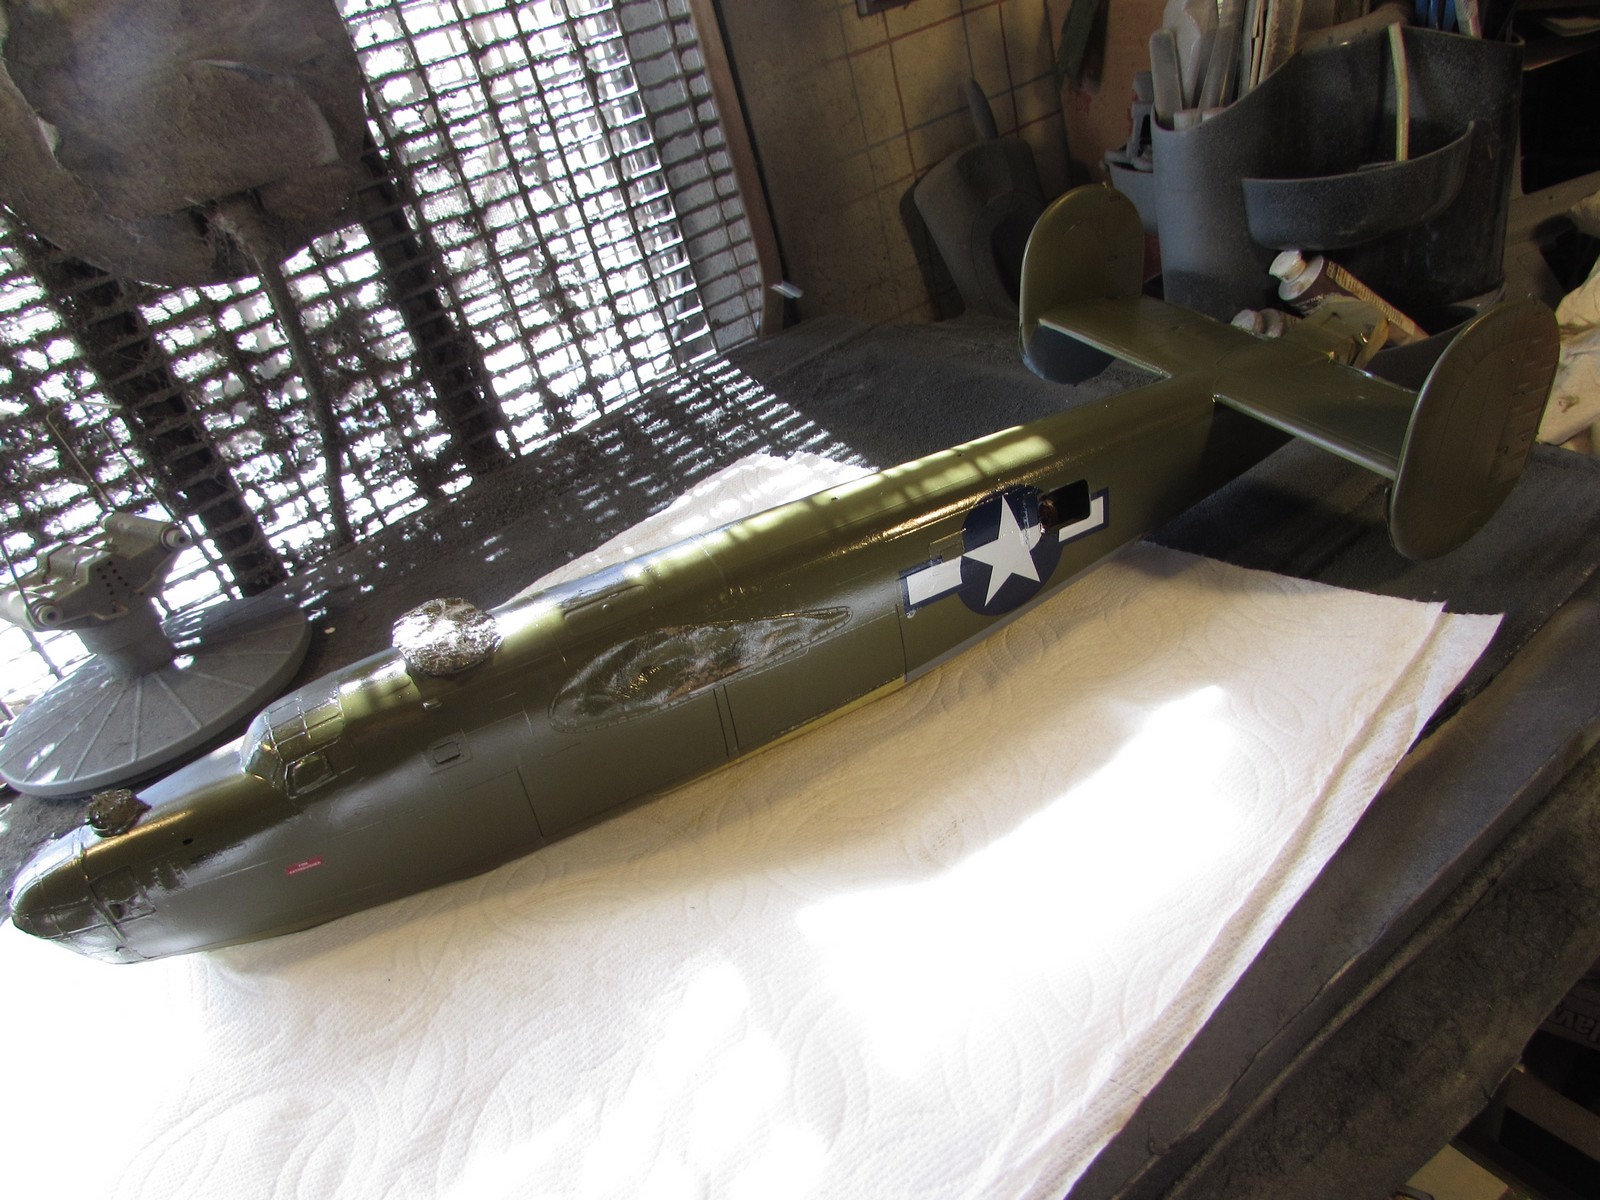
Later on, a clearcoat and then decals were added to this. He had wanted a bird fresh out of a San Diego aircraft factory (as this museum exhibit was going to show aircraft built in San Diego during WWII) He could not find any tail codes for birds from San Diego, so I simply used the most basic markings; making it look like the factory had painted the stencils and basic insignia. before rolling her out for delivery to the USAAF. The bird will be shown in flight with a full crew as if it is being sent to a dispersion field while the new crew familiarizes themselves with their postitions and equipment. It may not be accurate but I was under a severe time crunch. There was no time left to try and find anything else to add. These pics were taken the day before it was to be picked up:
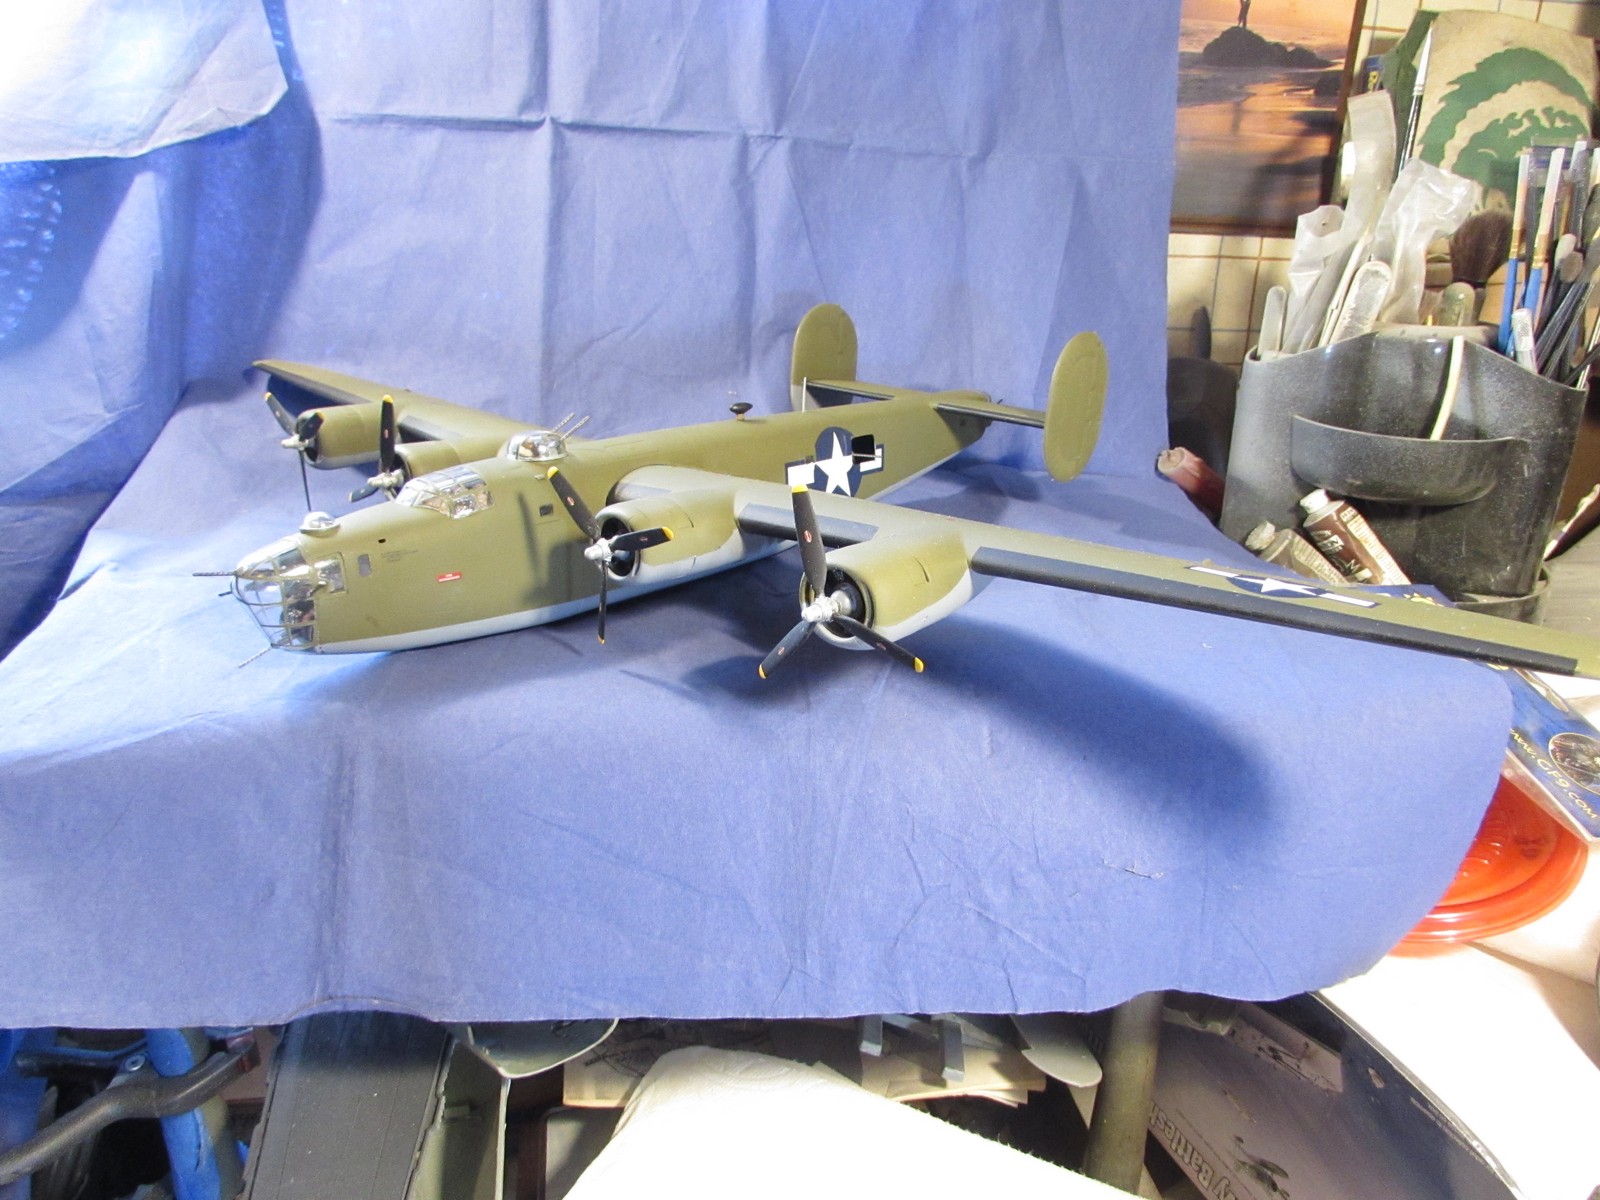
The day it was to be picked up, I was adding the final details to this and managed to get some finished pics:
I then packed it for transport. The wings had fit tightly without glue so I simply snapped them in place. The propellers were also made to just push on the posts so they could be transported in a separate container:
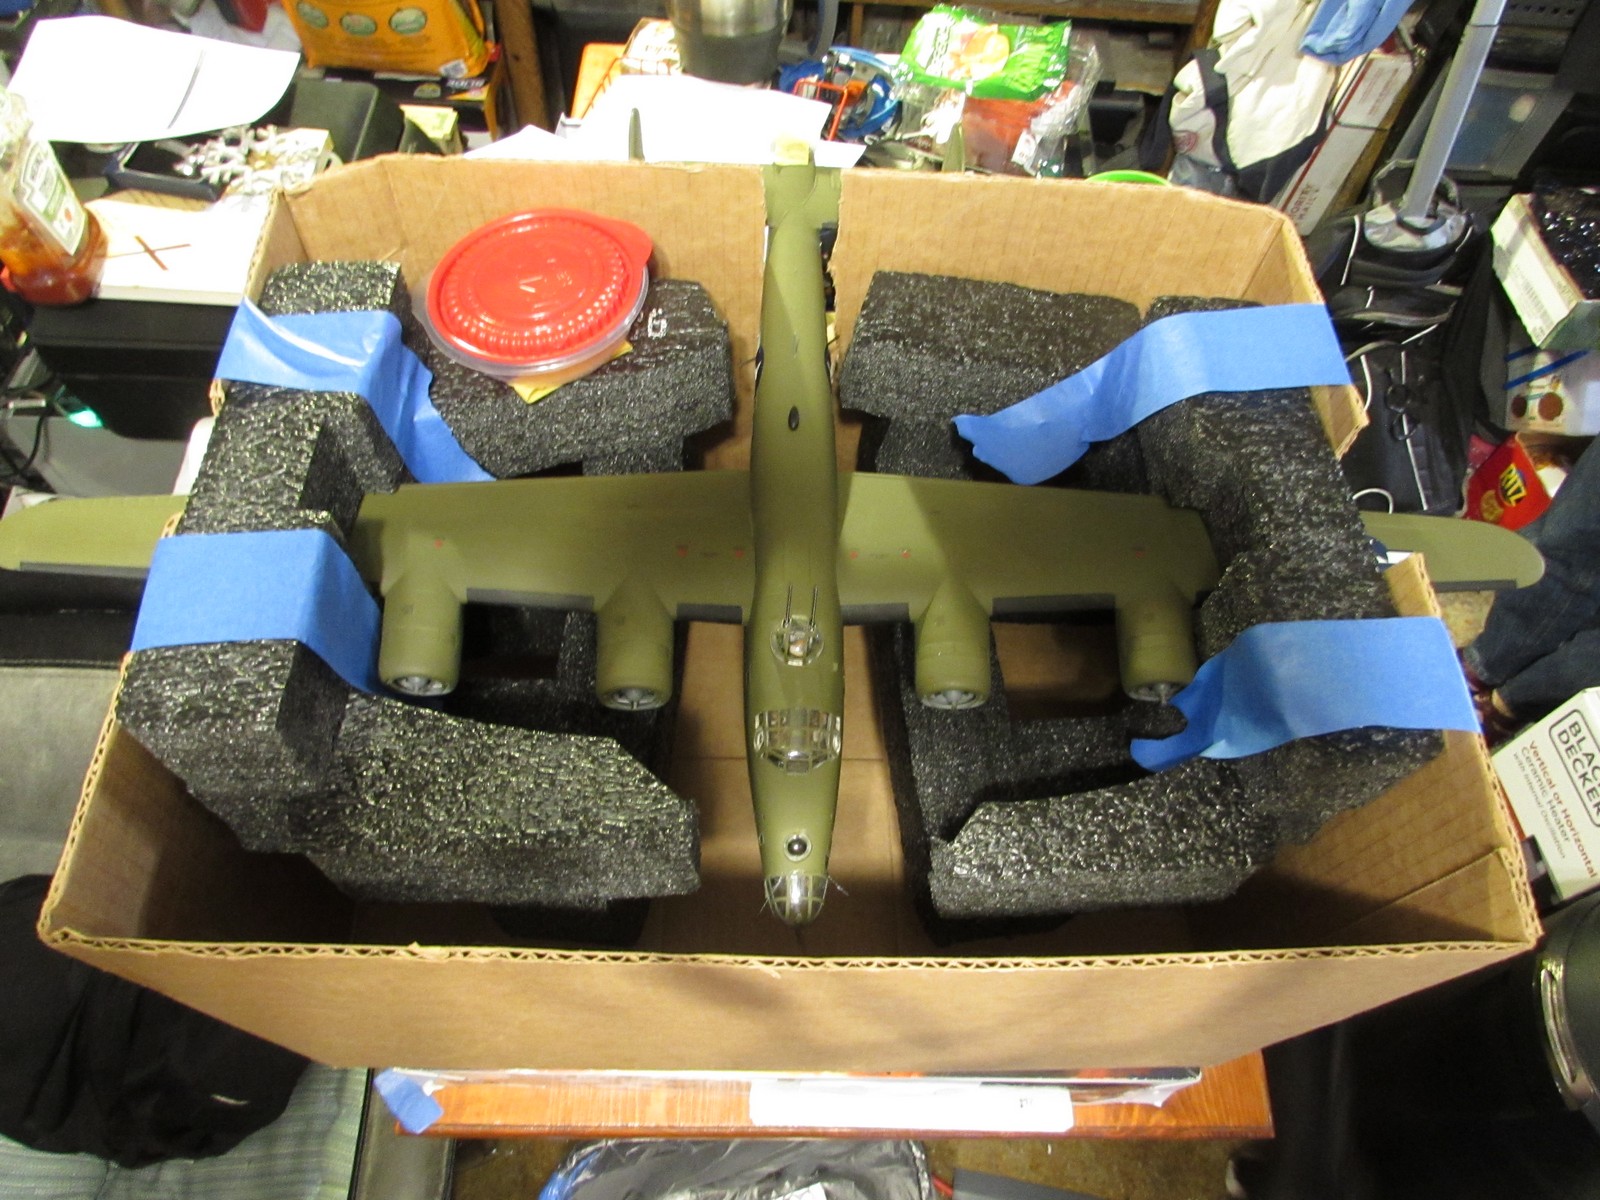
The red topped container contains the propellers and was taped down. I had also taped some semi-hard foam to the rear turret, burying the machine guns inside the foam for protection. Three hours later, she was gone and on her way to San Diego.
Again, this post does not show the extensive amount of fixing, adjusting, modifying, jury-rigging, rebuilding, repainting, filling, shaping, sanding, dry fitting over and over; That would take for times the photos shown here.
And that is why I've been away for so long; only able to pop in and check things out briefly before getting back to work on this model. Those quick peeks helped keep the mojo up; especially during those times when it felt like I was never going to get this finished; much less finished on time.
Yes, I'm getting paid for this too.
I worked on this eight to ten hours a day and managed to finish it in nine days. I should have had at least a couple months, but such is life. These following photos will show what I did; I am not posting all the photos of the crazy things that 'ambushed' me along the way; making it feel constantly like I was taking two steps forward and five steps back while working on this! These photos are un-edited (i.e not cropped or adjusted for color, shadow or lightness) so I apologize for that.
This is a shot of two of the kits piled into one box. It doesn't show the scope of everything I had to sort through; the really messed up built one, nor does it show the massive amount of aftermarket he had. The aftermarket stuff was enough to fill another 1/48 scale B-24 box!
This is the new cockpit and bombardier deck I had to build to replace the hacked up one. I did use one of the original crew here:
Dry-fit in the fuselage to make sure it fit:
He had hacked off the engine nacelles on all the wing halves to add aftermarket resin engines, nacelles and cowls. I didn't find the instruction sheet for them so I bypassed them; found the original hacked parts and then painted the kit engines:
Interior was painted; the bomb bay doors were his work:
I built the empennage early to get it out of the way:
I got the propellers painted early too for the same reason:
Here are the engines finally finished after three days of fitting, sanding, filling and sanding again:
Here's all the crew I had to do, including hacking and re-assembling. He wanted a full crew as this model was going to be posed in flight:
Here's where I dry fit everything to check fit and also to show all the crew where their positions would be in the plane. Yes, they all made it inside this:
I popped it open and added all the interior decks and assemblies, I also painted the crew too:
I used the Eduard masks he had for the canopy and greenhouse nose, as well as all the turrets. Here's some shots of the nose greenhouse and top turret:
When I tried to dry-fit the cockpit greenhouse, he had hacked a full 3/8' inches off the fuselage for fitting vac-formed canopies. Long story short; I had to replace it as it would have taken far too long to use the aftermarket pieces:
Of course, the sides had been cut as well, so I had to add more to the sides as well, fill, sand, and repeat...
Again, he wanted this posed in flight and so had provided a clear tube to use to hold it. So, I had to come up with an interior insert to hold it. This is the result, as well as showing it in position:
That was all made with thick sheet styrene racked and stacked and then sanded to the contours of the fuselage interior. After I glued it into the fuselage; lining it up with the hole I'd cut before and let dry; I taped it all together again and tested it. Success:
The engines are covered in Silly Putty for painting. I shot the grey first on the wings and fuselage, and then the Olive Drab on top after masking the bottom some more:
Later on, a clearcoat and then decals were added to this. He had wanted a bird fresh out of a San Diego aircraft factory (as this museum exhibit was going to show aircraft built in San Diego during WWII) He could not find any tail codes for birds from San Diego, so I simply used the most basic markings; making it look like the factory had painted the stencils and basic insignia. before rolling her out for delivery to the USAAF. The bird will be shown in flight with a full crew as if it is being sent to a dispersion field while the new crew familiarizes themselves with their postitions and equipment. It may not be accurate but I was under a severe time crunch. There was no time left to try and find anything else to add. These pics were taken the day before it was to be picked up:
The day it was to be picked up, I was adding the final details to this and managed to get some finished pics:
I then packed it for transport. The wings had fit tightly without glue so I simply snapped them in place. The propellers were also made to just push on the posts so they could be transported in a separate container:
The red topped container contains the propellers and was taped down. I had also taped some semi-hard foam to the rear turret, burying the machine guns inside the foam for protection. Three hours later, she was gone and on her way to San Diego.
Again, this post does not show the extensive amount of fixing, adjusting, modifying, jury-rigging, rebuilding, repainting, filling, shaping, sanding, dry fitting over and over; That would take for times the photos shown here.
And that is why I've been away for so long; only able to pop in and check things out briefly before getting back to work on this model. Those quick peeks helped keep the mojo up; especially during those times when it felt like I was never going to get this finished; much less finished on time.
Yes, I'm getting paid for this too.

