Page 10 of 20

Re: Maddog Manufacturing Production for 2019

Posted: Tue May 21, 2019 4:32 pm
by Duke Maddog
Tom, I hear you on tight money. I've had none top spend lately myself; all I have is time and some space to just build. At least I can clear more of the stash.

Re: Maddog Manufacturing Production for 2019

Posted: Tue May 21, 2019 8:45 pm
by Duke Maddog
Well, here's a small update where I started two models and moved forward on several more.

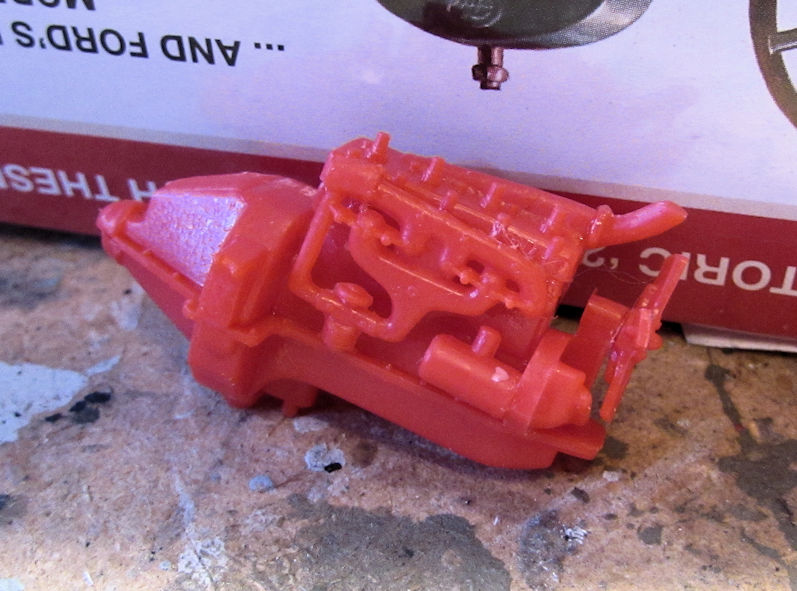
I'll start with one of my two models I started. This is a 1/24 scale 1929 Coca Cola Delivery Van that I got some time back. On another Forums I jumped into a mini Group Build with two other guys building the same thing. It got me motivated to get started on this. Of course, I started with the little four-banger motor:

Image

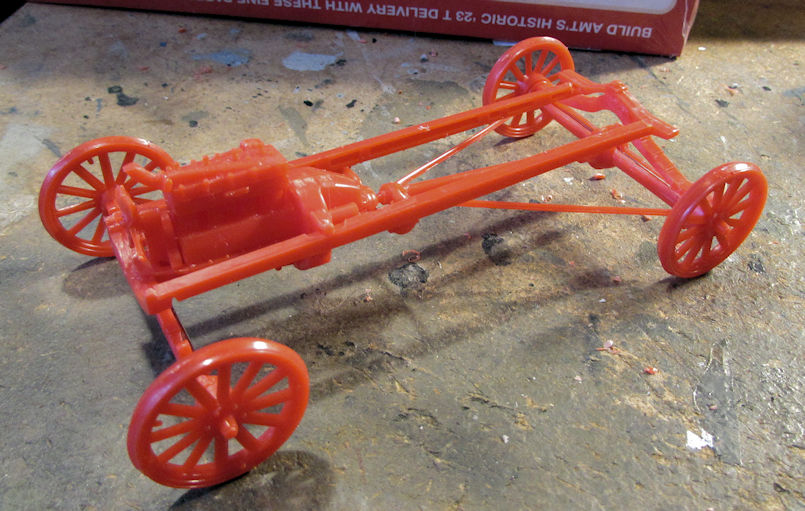
I then started on the chassis which needed to be assembled en toto and included eight pieces besides the engine itself. Here it is all assembled:

Image

The wheel hubs are just tightly fastened onto the metal axles; I can remove them later for painting. I just put them on the model here to line up the chassis and make sure all four wheels touch the ground.

Moving on, I decided it was time to move forward on more models; especially those awaiting paint and/or clearcoat. Here they are in no particular order:

Clearcoat first:

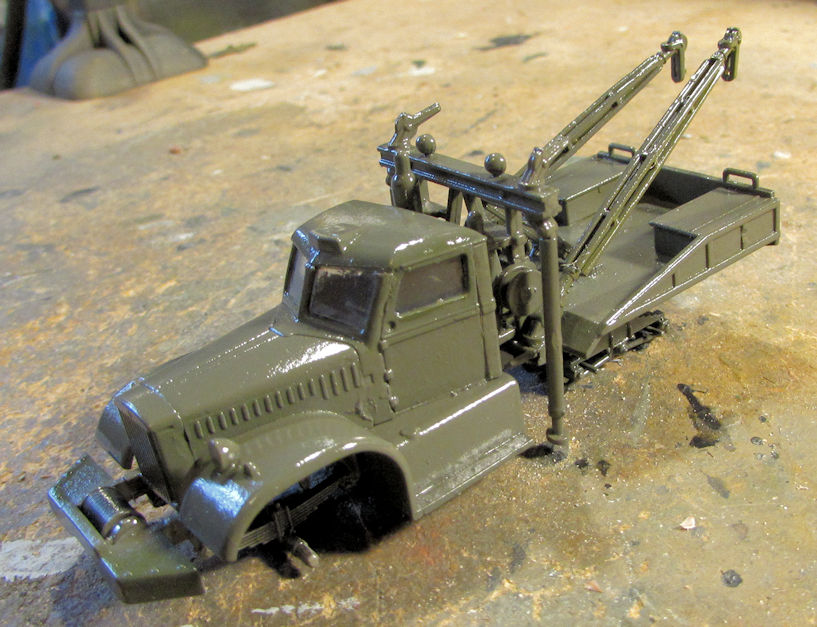
The Diamond T Wrecker got cleared for decals:

Image

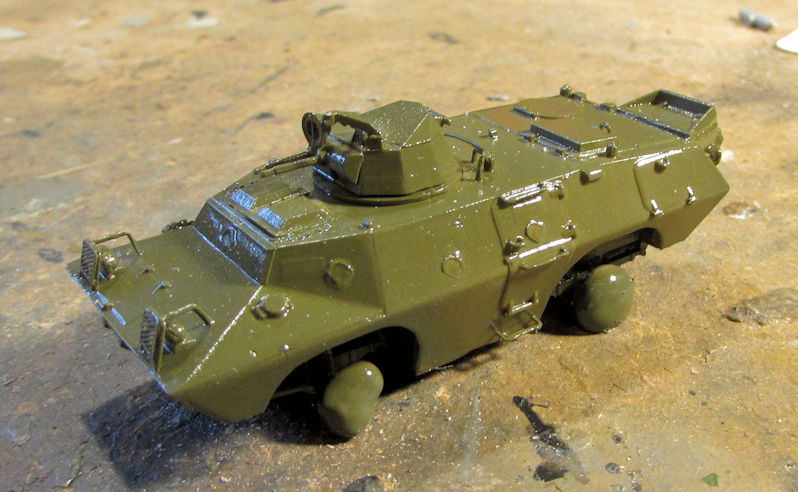
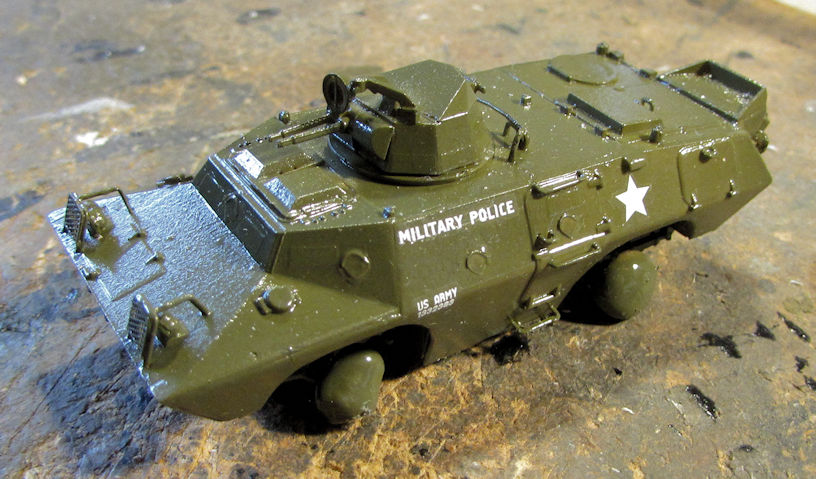
The little V-100 got cleared for decals:

Image

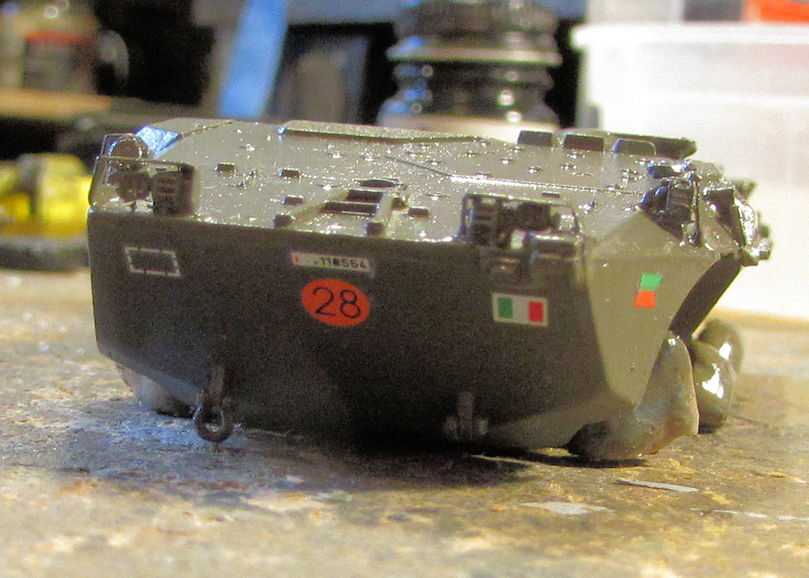
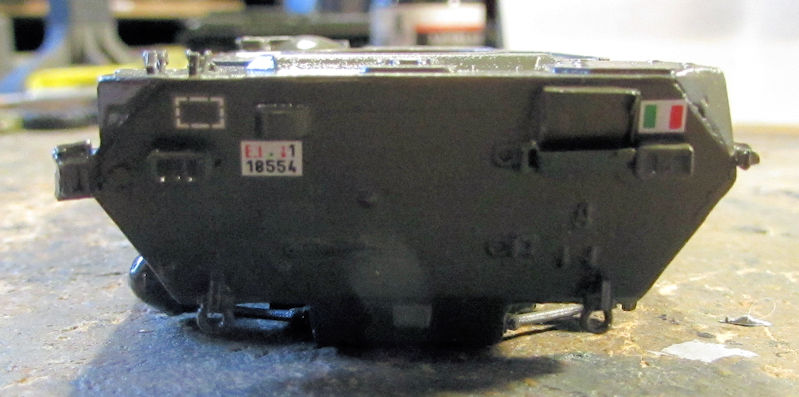
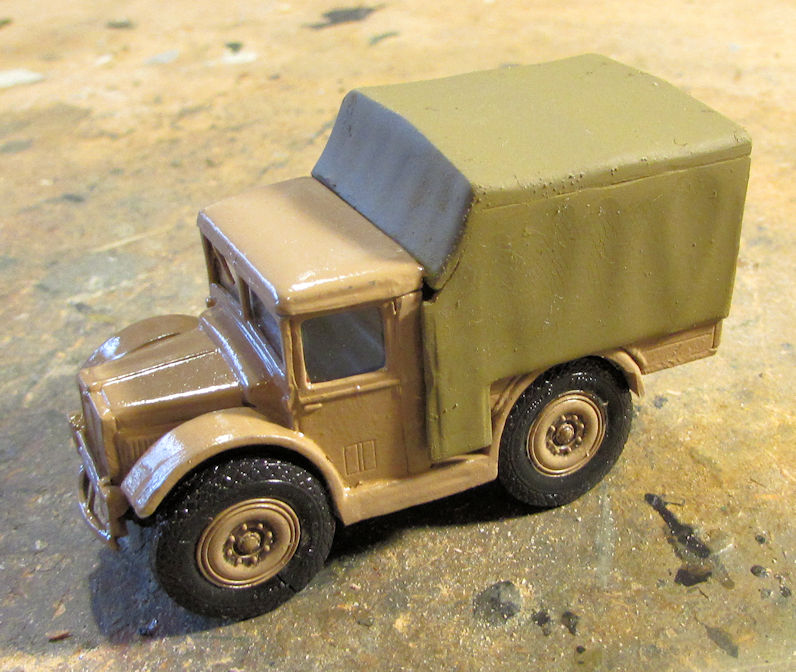
The Italian Trattore truck got cleared for decals:

Image

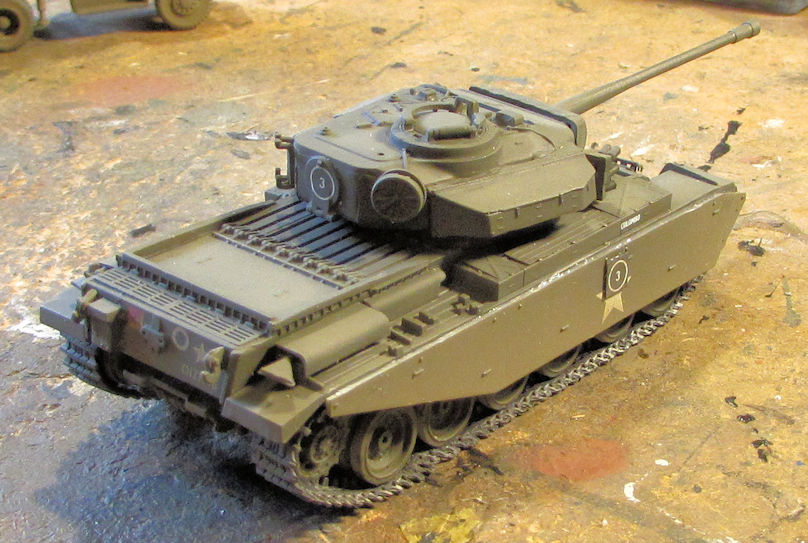
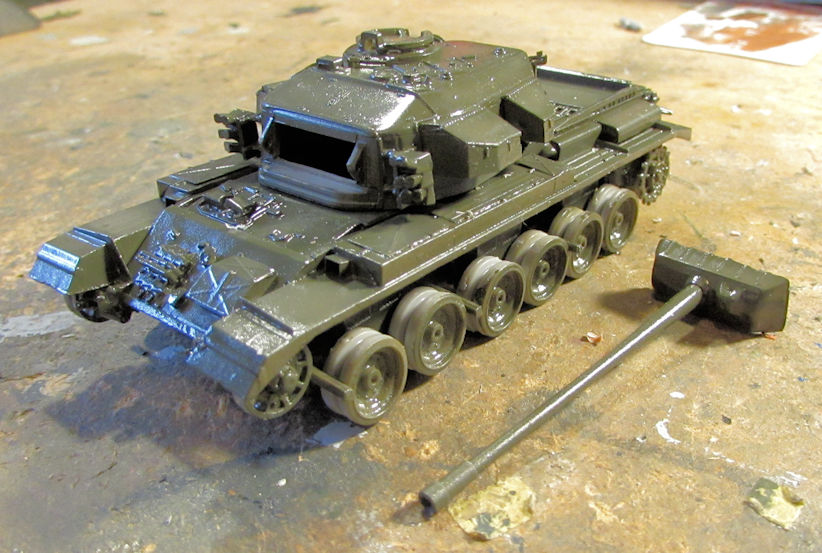
And the Centurion got cleared for decals:

Image

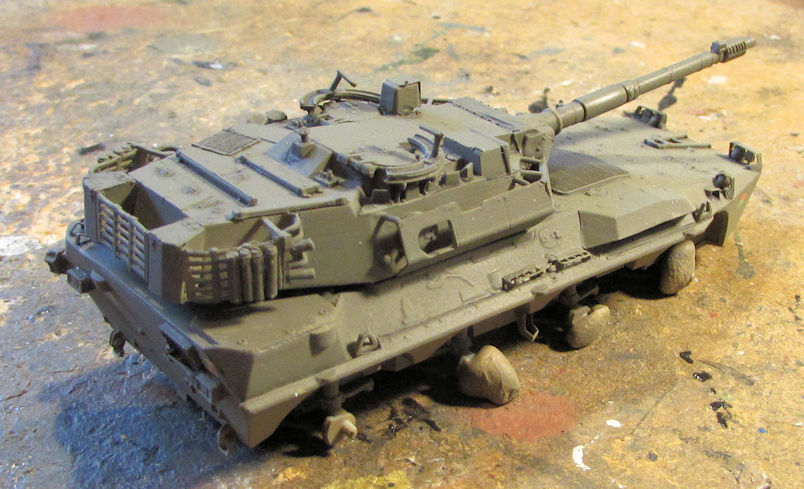
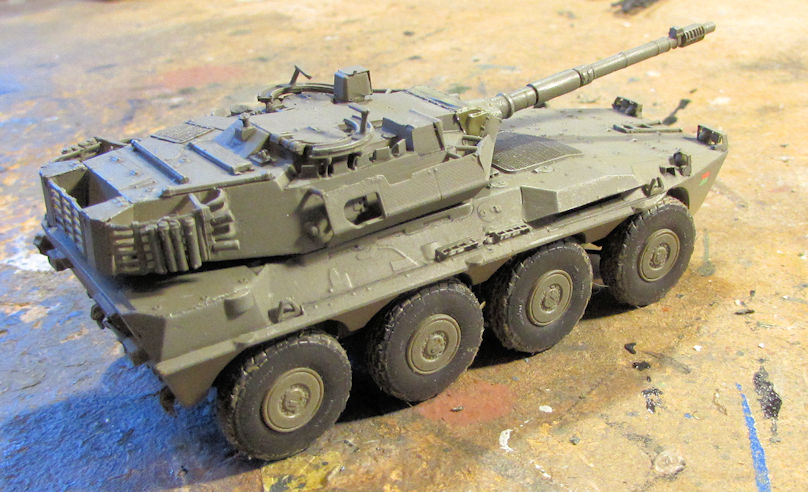
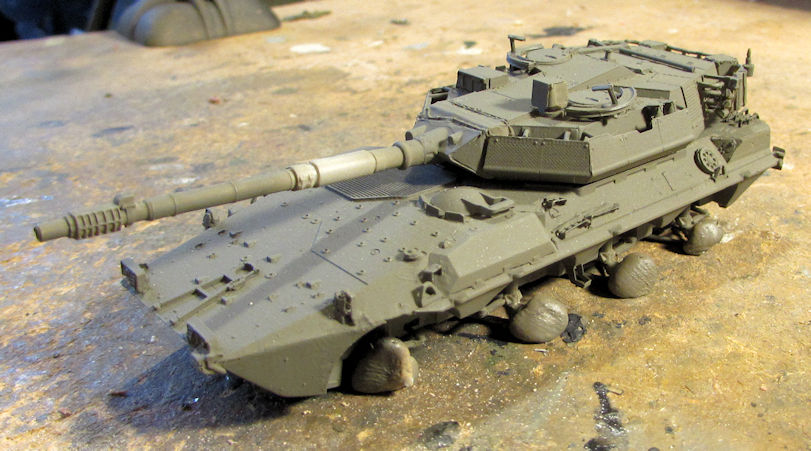
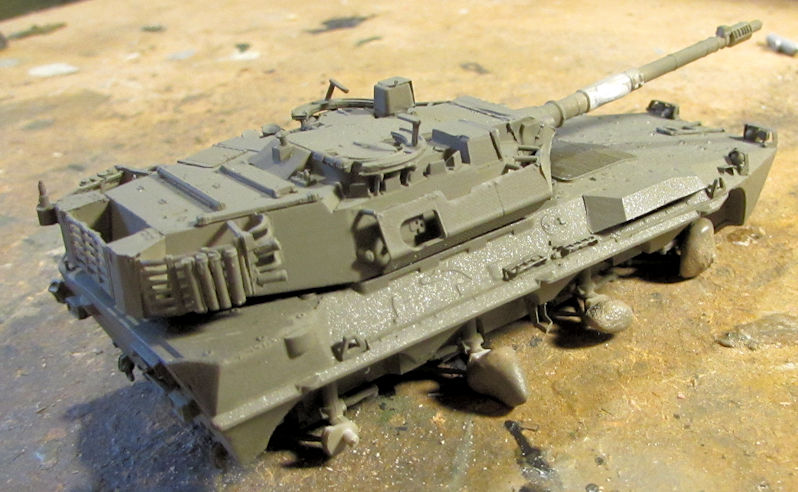
After all this, I shot a basecoat of Olive Drab ANA color on the Italian Centauro. This was the closest thing I could see that matched pics showing this vehicle in Italian Olive. Good enough for me as I haven't the time or inclination to try and mix that color:

Image

Image

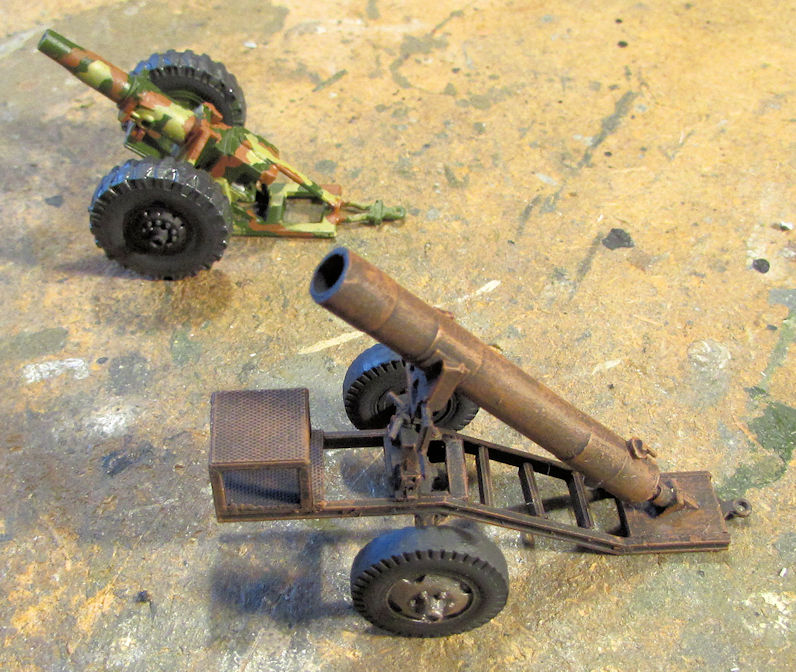
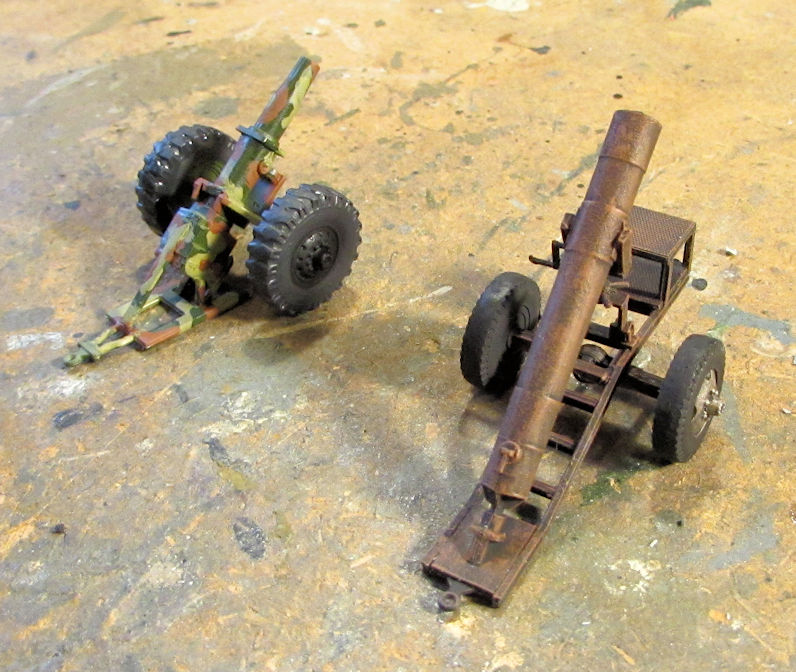
Since I was already painting, I pulled out the two Syrian Hell Cannons and finished up the painting on them. On the larger one I first dry-brushed a rust color over the gun and frame itself, then drybrushed some dull metallic color mixed with a bit of rust on the wheel hubs. On the smaller gun, I completed a rough three-tone camo pattern; then painted the tires and the wheel hubs afterward. The tires on the smaller on are still a bit wet in these pics:

Image

Image

Technically, these two are done already. I still need to complete the rounds of ammo that came with them so I'm not calling them done yet.


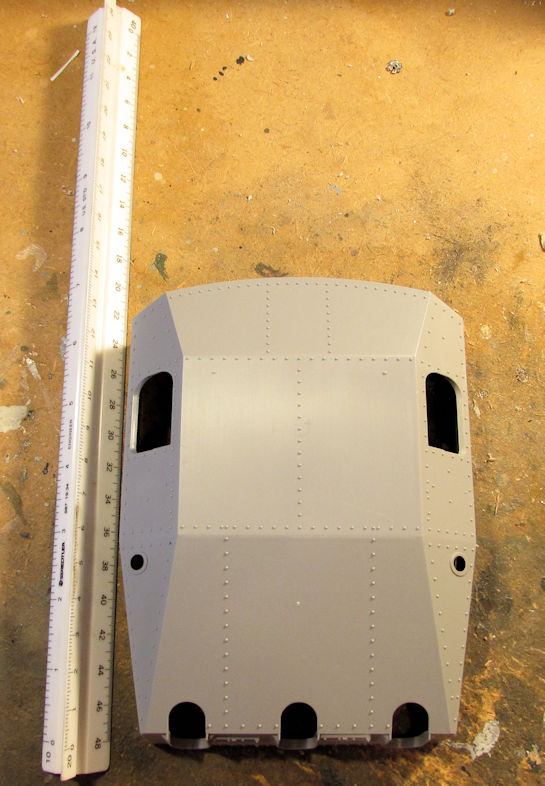
Finally, after all that painting; it was time to build something again. The Austratt turret was calling my name, or rather screaming at me; so out it came. Someone wanted to see the size of this turret in 1/72 scale so here's a shot of the upper shell next to a ruler. This is six and a half inches long from front to back:

Image

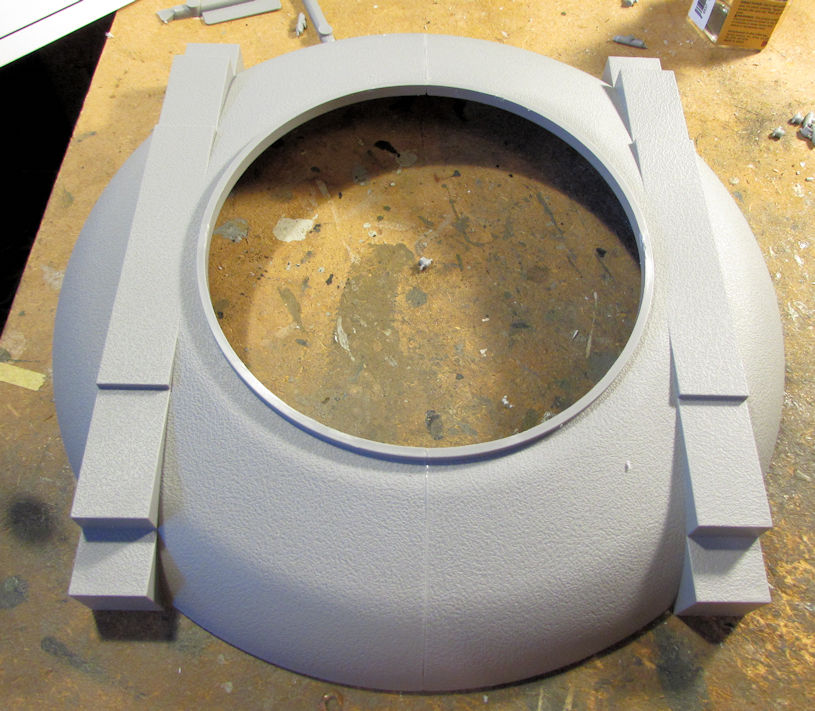
The first thing I did was to build the base... all two parts of it. Man, was that ever tough! Yeah...no it wasn't:

Image

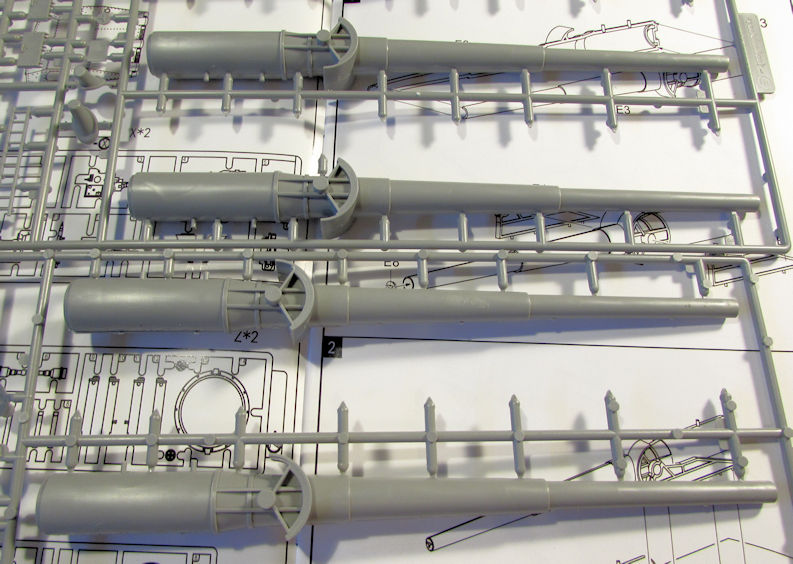
The guns then had to be assembled since they were molded in halves. They give you parts for four guns, even though this only has three in the turret:

Image

I made those as seamless as possible; I'll know how successful I was when I paint them. I also built all four in case I screwed one up or something.

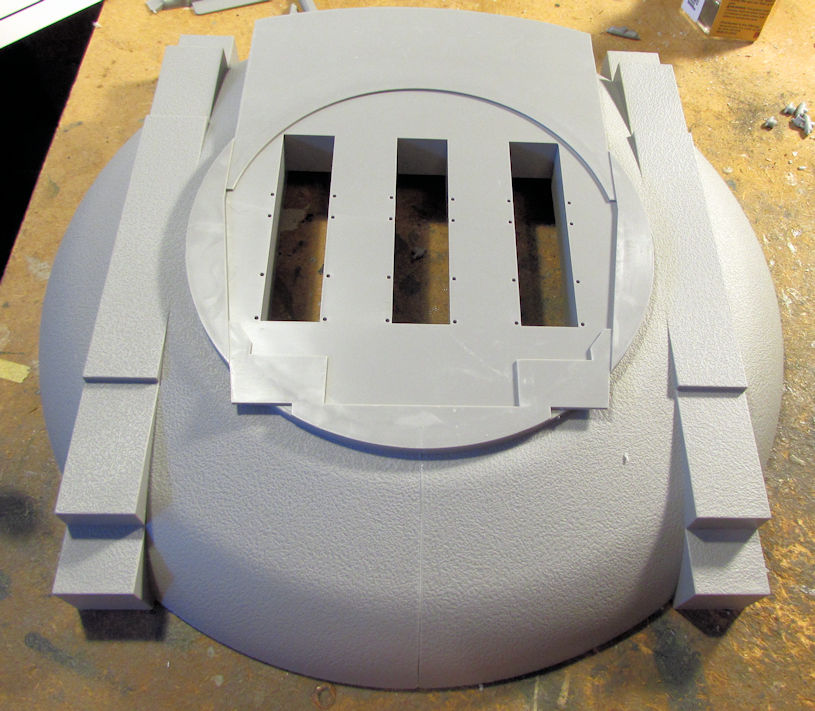
After the base dried, I dry fit to see how well the turret base plate fit in the base:

Image

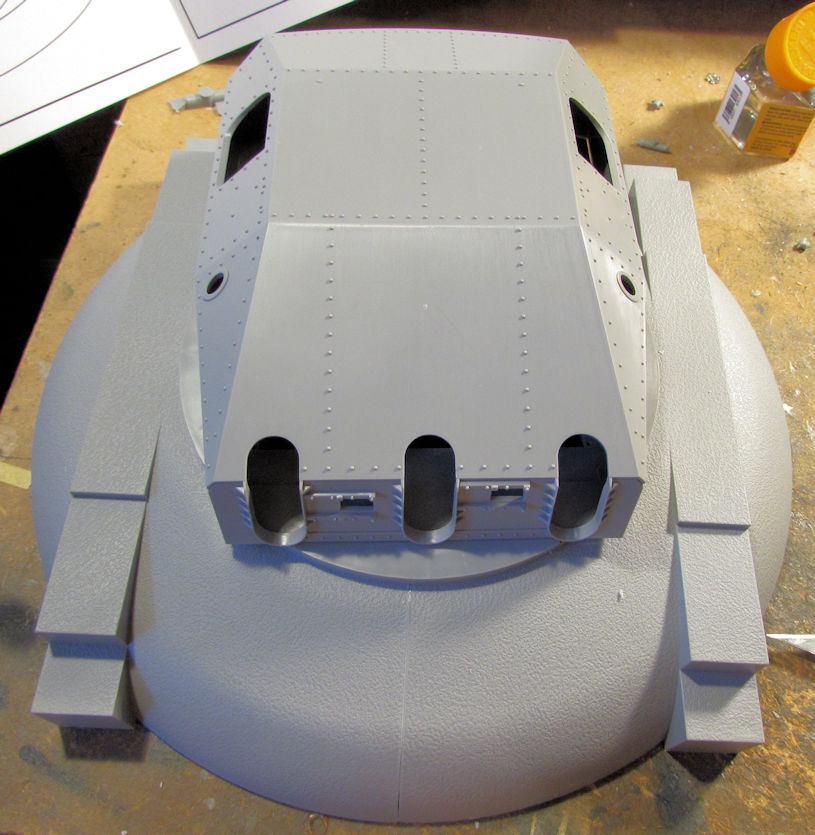
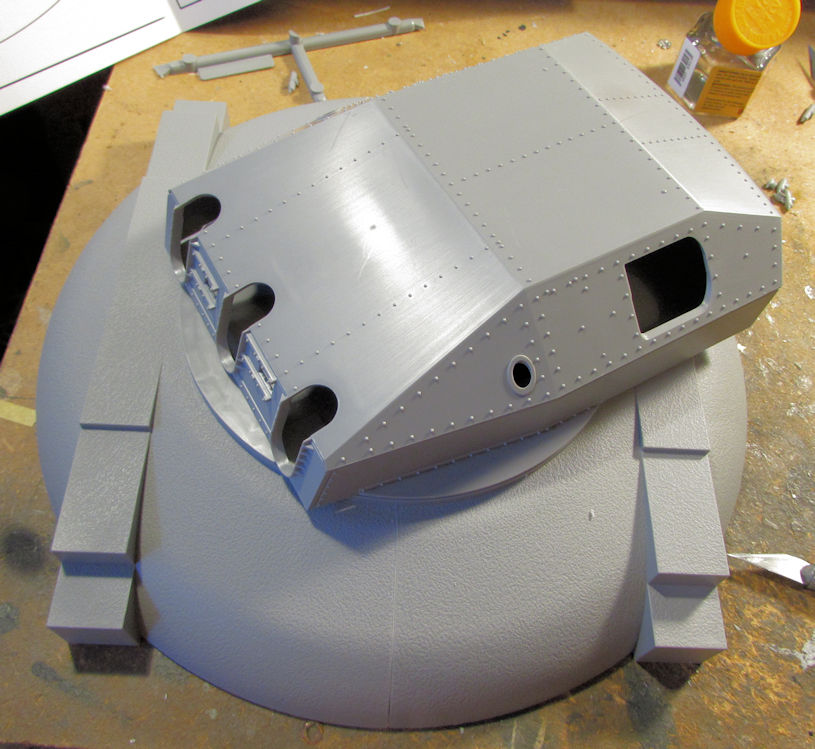
Like a glove! Smooth operation of the traverse too! Of course I had to try it with the upper turret shell on too:

Image

Image

Now, earlier a friend had mentioned that the holes in the trunnions needed to be reduced so that the guns will remain in whatever position I wanted to pose them in. Otherwise they would just remain fully depressed. He made one suggestion, but another friend and fellow IPMS club member mentioned another idea that I decided to try. I added some thin strips of styrene inside the loops so that the holes would tighten up:

Image

It worked! The guns stay where I want them to!

Here is the whole turret fully assembled. Now it's ready for paint:

Image

After that, I can start on the two 128mm twin AA guns that also come in this kit.


Well, that's all I have for this tour. I hope you enjoyed it. Feel free to comment and thanks all for stopping in!

Re: Maddog Manufacturing Production for 2019

Posted: Tue May 21, 2019 9:10 pm
by speedgraflex
Duke! Duke! Duke! The Austratt... That is so badass. I was hearing the Imperial March in my head the entire time you were assembling that! I have to hand it to you—you are absolutely amazing at many things! Many subjects! The way you are able to build so many different projects all together is really an outstanding lesson in production and ultimately I feel it is your most unique asset. The way you are able to power through subject to subject to subject to subject... and to subject to subject... it is incredibly inspiring to watch. And I don’t know how you do it. But I am in awe. Be well! Happy Building!

Re: Maddog Manufacturing Production for 2019

Posted: Tue May 21, 2019 10:43 pm
by Stikpusher
MARK!!!! That turret!!!! Pure styrene awesomeness!!!! Where Bruce hears the Imperial March I hear the opening fanfare from “Die Deutsche Wochenschau”. Or perhaps the music from Guns of Navarone when Mallory and Miller first reach the guns.

That kit looked killer in the box on the sprues, but now that you’ve built it....

:bow: :bow: :bow:

I can’t wait to see it painted...

Re: Maddog Manufacturing Production for 2019

Posted: Wed May 22, 2019 3:03 am
by Stuart
Duke Maddog wrote:
Image
''Just call me Badass!'' - That is so cool :cool:

A brilliant selection of projects as always Mark!

Re: Maddog Manufacturing Production for 2019

Posted: Wed May 22, 2019 6:57 am
by LyleW
Just wonderful too see and watch! Amazing all around.

Re: Maddog Manufacturing Production for 2019

Posted: Wed May 22, 2019 3:09 pm
by Medicman71
:wow: Damn that's a big gun!!

Re: Maddog Manufacturing Production for 2019

Posted: Fri May 24, 2019 2:09 pm
by Duke Maddog
Bruce, thank you ever so much for the incredible and inspiring words! I am honored my friend. If you'd like to see how I am able to build so many at a time, feel free to come down to a Friday Hobby Day and witness it first hand. I typically work on five to seven projects during the course of the day.... then I come back Saturday and do it again!

Carlos thanks! I was actually considering a "Guns of Navarrone" type of dio for this but this turret ain't right for it. I do need to get a base made so that I can pose the two twin 128mm's that come with it. It is an awesome kit! I'm actually debating getting another one to do the Bergen emplacement... :hmm:

As for seeing it painted, stay tuned. It should be happening very quickly now.

Stuart, thanks! Yeah, this turret is the epitome of badassery! Thank you ever so much on the compliments on the rest of my work!

Thanks Lyle! I'm so glad to see you stop in and see this. Your comments are most appreciated.

Medic, thanks! It is indeed, but still smaller than my Dora. I do think it's the largest one I've built since Dora too.

Re: Maddog Manufacturing Production for 2019

Posted: Sat May 25, 2019 2:40 pm
by Duke Maddog
Okay here's more progress on my way to getting some of these models finished. All this is armor so far, along with the turret, since these are all so close to the finish line.

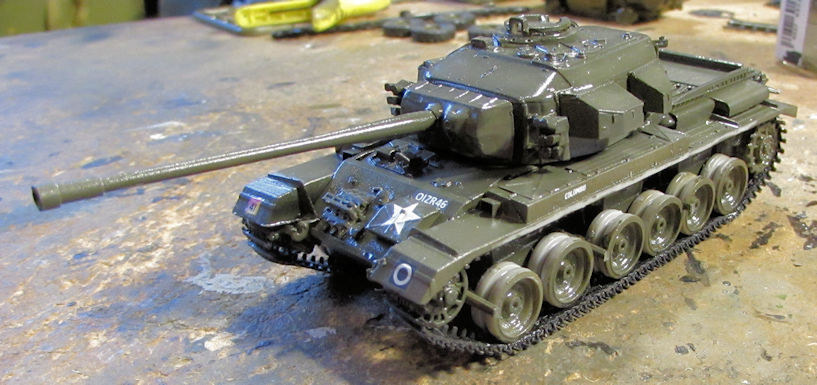
First up is the Centurion. Here it is with the decals on:
Image

You can see that I also added the tracks to this. Alexey at ACE has you push three tiny stubs through holes and melt the protruding ends to hold the tracks together. The only problem with that technique is that the stubs are too small and flexible to be pushed through such tiny holes. They never make it through the holes, so I pulled out my black tire glue and glued these together using that. I then glued the tracks to the wheels using the same glue.

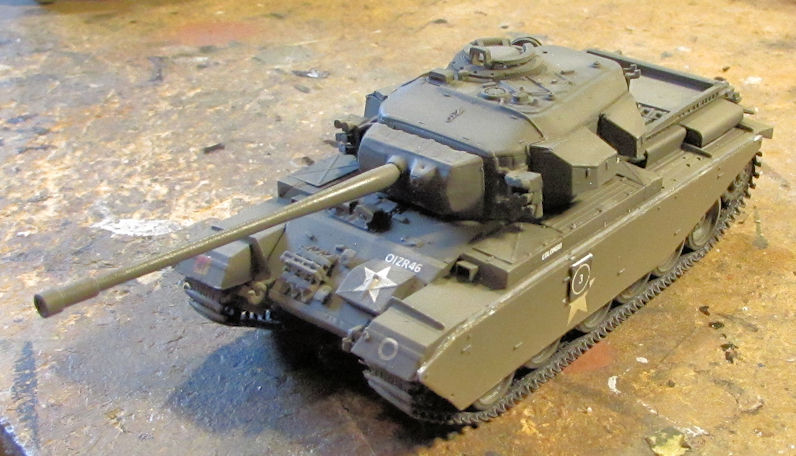
Next I dullcoated this and added the skirts to this model:
Image

Image

You can see the skirts were pre-weathered like the rest of the tank. After that, I went to add the machine gun to the top of the turret. However, the V-shaped part was far too delicate to remove it from the four large attachment points. The first cut with the newest, sharpest X-acto blade resulted in this:
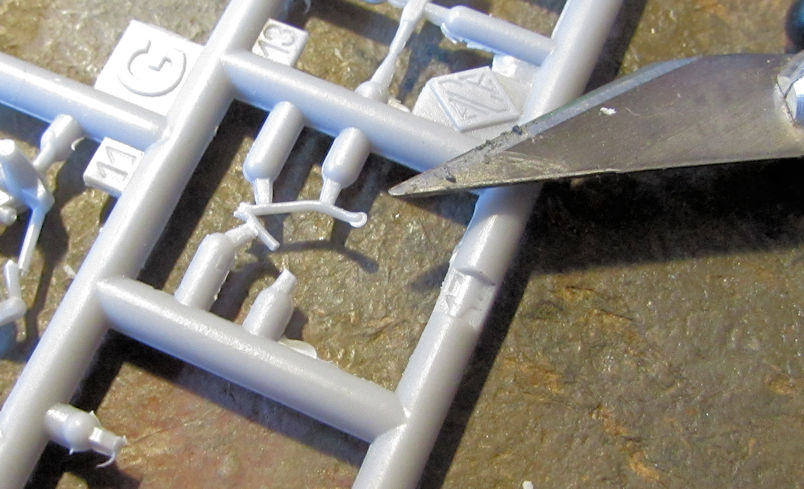
Image

That did not bode well for any attempt to separate the rest of this part and I did not relish assembling four parts of this particular piece to mount the gun. So, I scratch-built a replacement. This is a bit out of scale, but it is sturdy and complete:
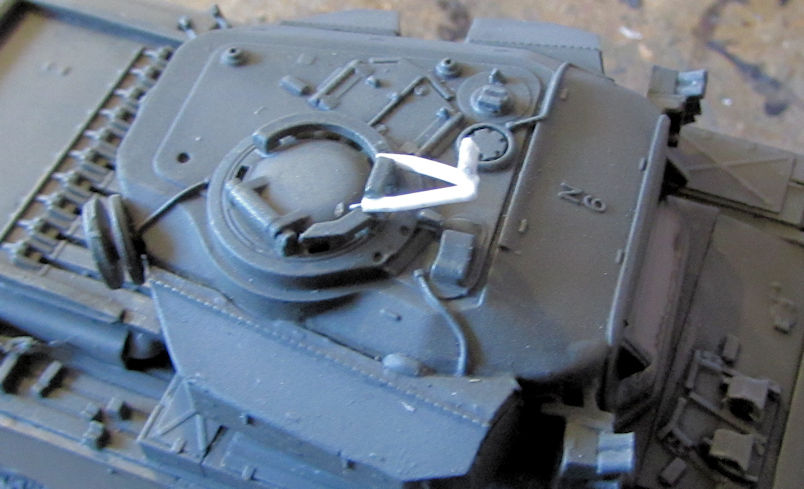
Image

Afterwards, the gun got mounted; touchup painting was done and tools were added. Looks done right?
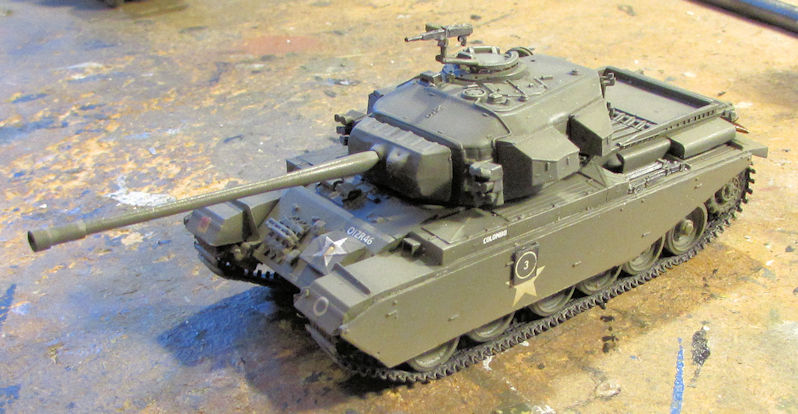
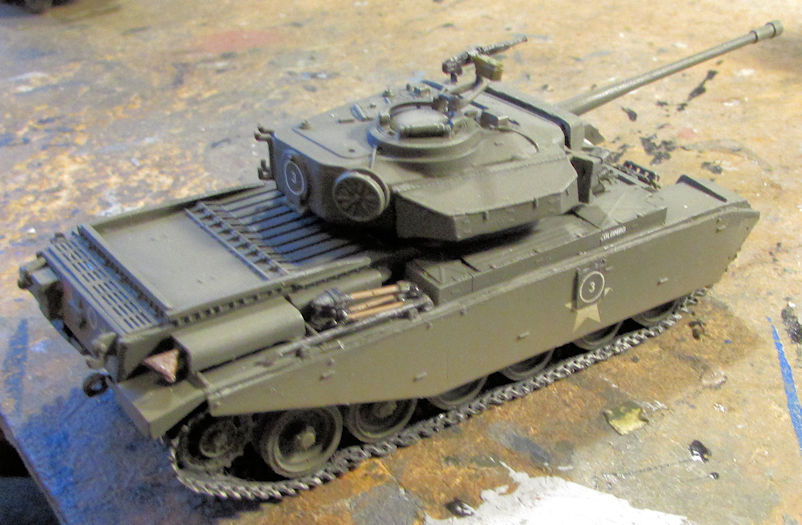
Image

Image

No it isn't. I had realized that I hadn't 'dusted' the roadwheels to match the rest of the weathering so I went ahead and did that. Now I could call this tank done. Pics of it will be seen in the finished armor forums.

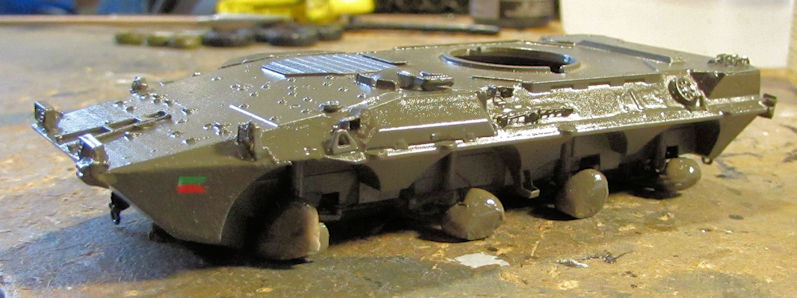
Moving on, I also added the decals to the B-1 Centauro:
Image

Image

Image

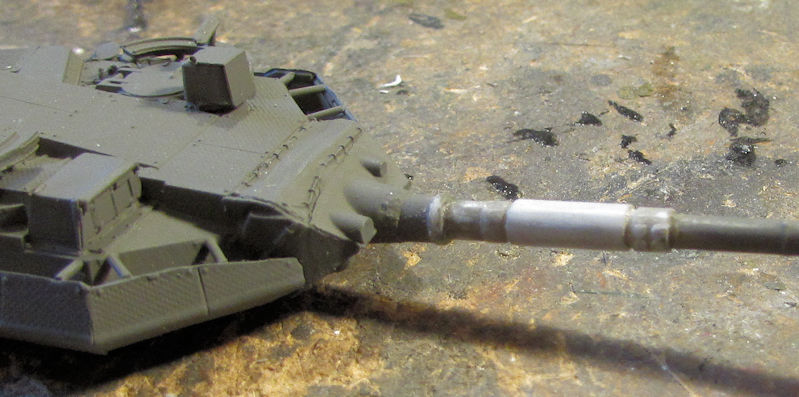
Also, remember that huge shrink mark in the gun barrel? If not, check back a few posts; it's there. Well, it finally got fully fixed:
Image

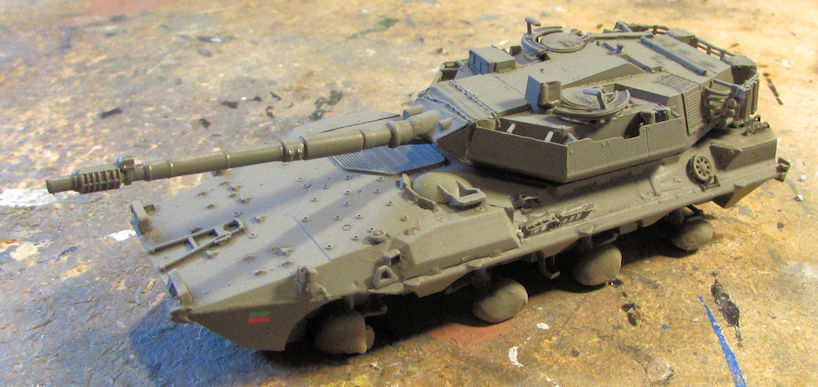
After that this model got the final wash and then dullcoat:
Image

Image

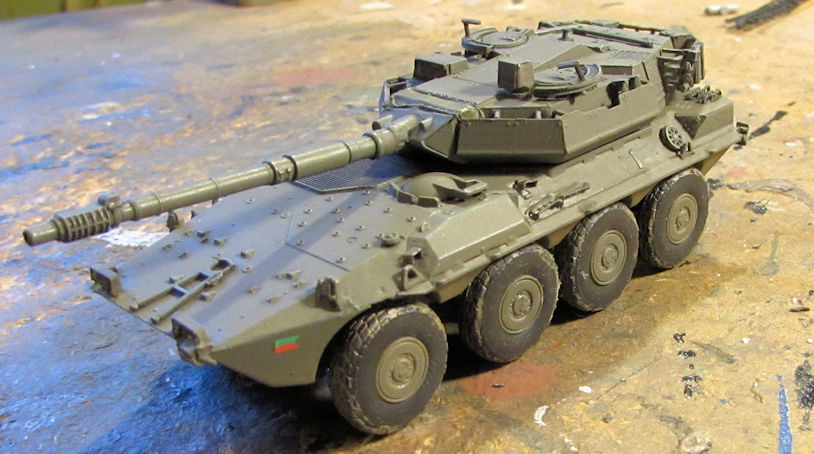
After doing some 'pre-weathering' on the wheels, I installed them on this vehicle:
Image

Image

Some final 'dusting' later along with the Centurion, this beastie is done!

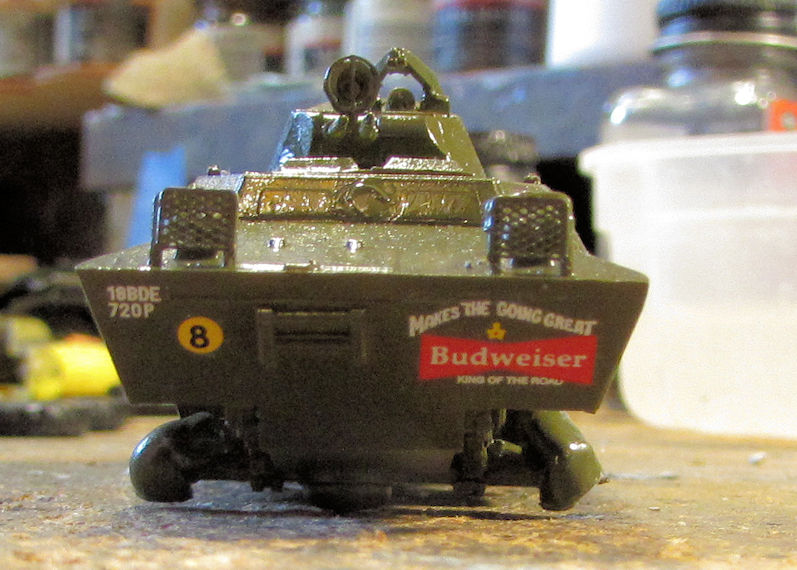
My next model I moved forward on was the little V-100 armored car. Here it is with the decals. I love that Budweiser logo!
Image

Image

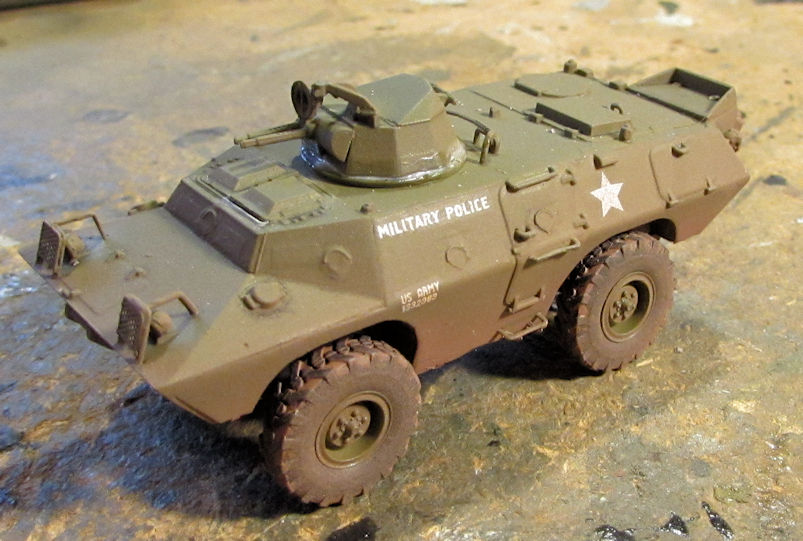
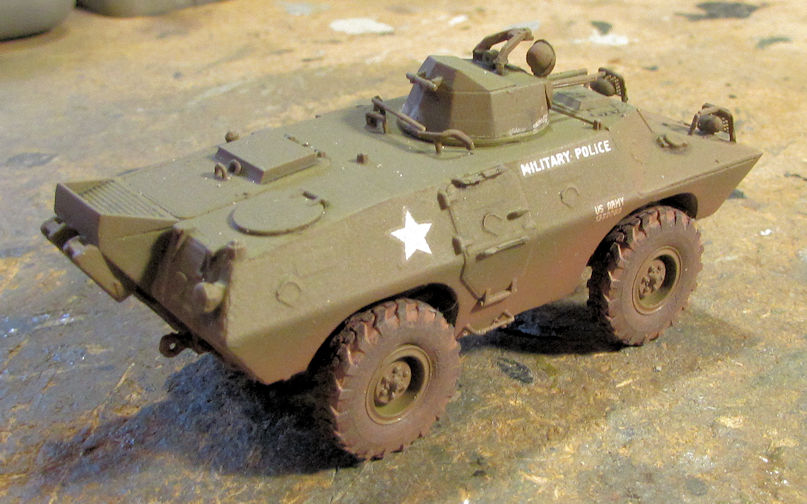
After that I 'pre-weathered' the tires with a reddish brown color to try and match the red clay of the 'Nam and mounted them up. I then dullcoated this and tried 'dusting' it. This was the closest I got to that red clay color:
Image

Image

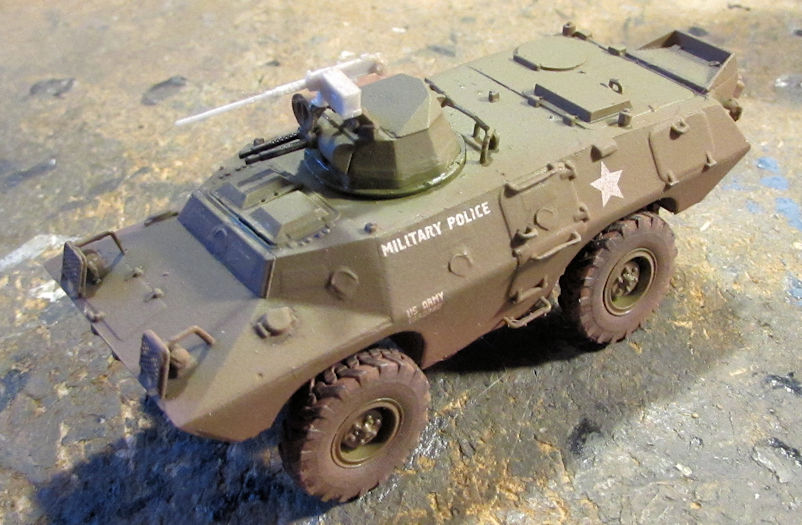
After that, I did some touchups on the details and then added the turret mounted .50 caliber Ma Deuce:
Image

Painting that Ma Deuce brought this over the finish line as well.

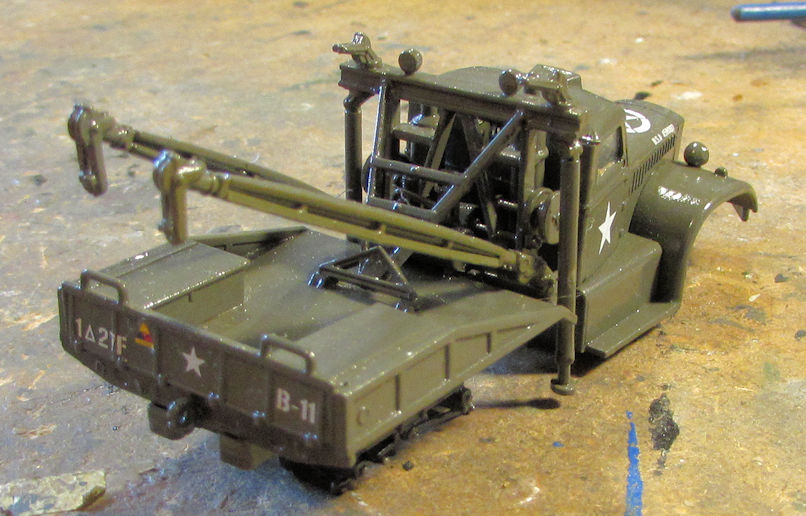
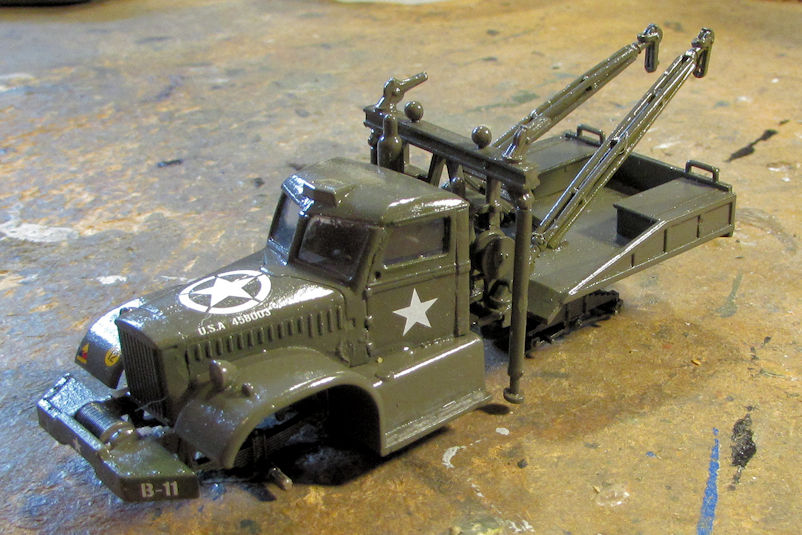
Moving on, I added the decals onto the Diamond T wrecker:
Image

Image

I know the markings on this truck are fictitious. I wanted to build it as US Army truck but; despite having decals for at least three US Army trucks, they only gave you the schematic/layout for a Canadian truck. I spent hours looking online; trying to find pics of a Diamond T Wrecker sporting the numbers, codes, and (hopefully!) that armor logo on the front fender that were offered on the decal sheet. Nothing popped up at all that even remotely had any of the decal sheet codes on it. So, I just winged it and chose what I wanted. Later I can get another one and make it Canadian.

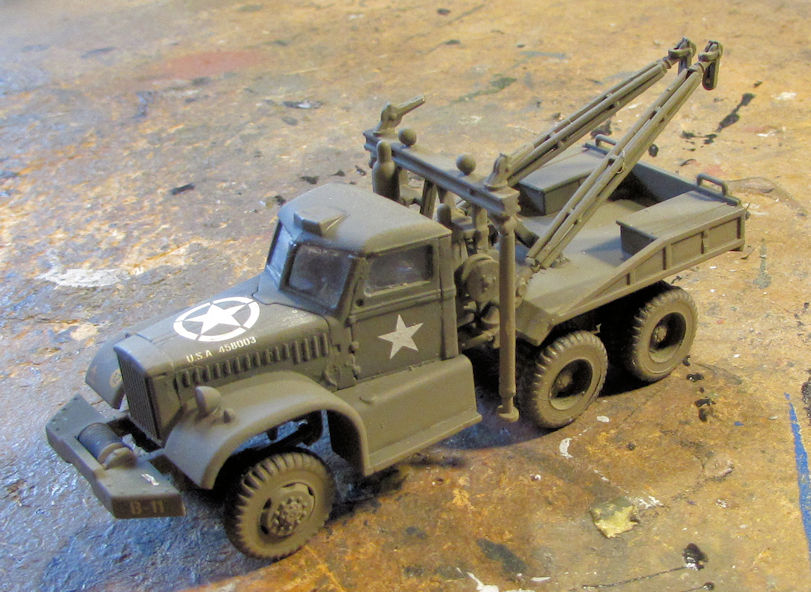
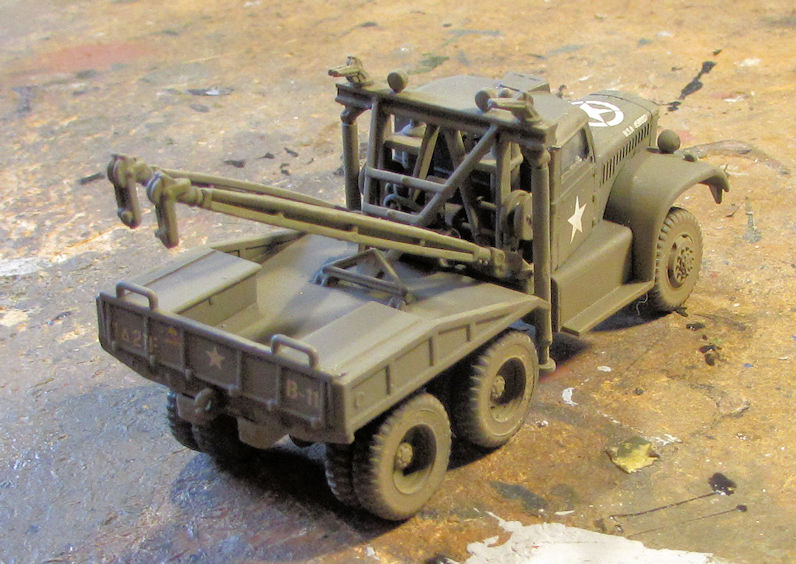
Later on I dullcoated this and then added the wheels to it. The four twin wheels on the back were a real bear to do given how delicate the attachment points were for those wheels! What a pain! I finally got them all cemented on:
Image

Image

I had forgotten to mask the windows before dullcoating this again so I'll have to fix that. Also, the cab is still not glued down, which will help greatly in fixing the glass as the back wheels are still so delicate. The less I handle that chassis the better. There's a few more things I still need to do with that truck, so it's not quite finished yet.

One truck that did get finished is my Italian Trattore truck. I glossed this and added the decals to it:
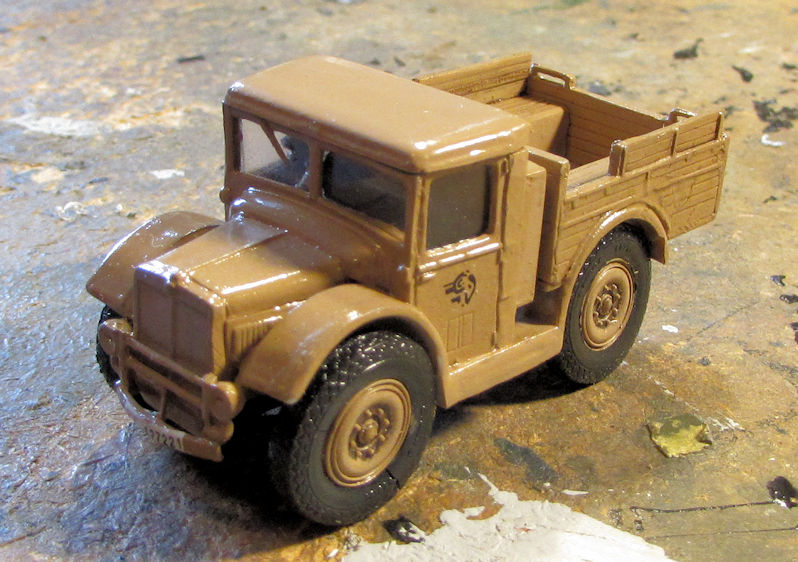
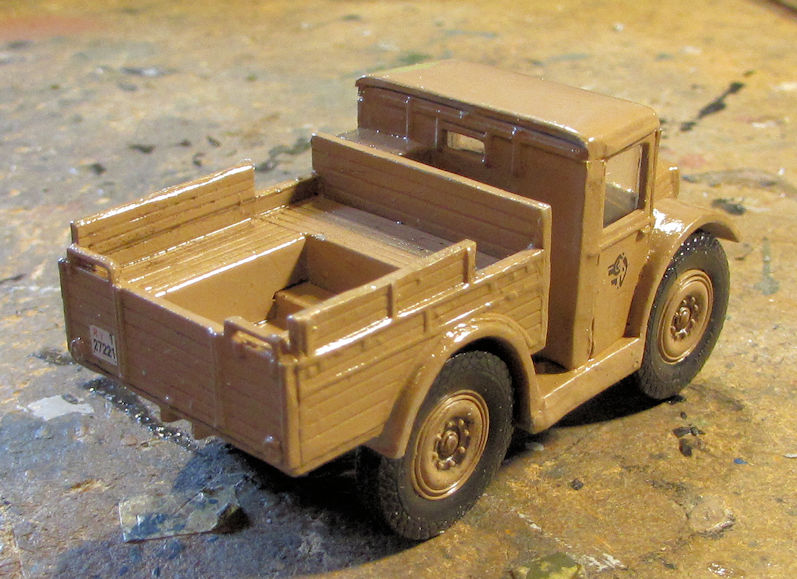
Image

Image

You can see I also started the wash on it. I also noticed one of the tires cracked. Oh well...

Later this was dullcoated. I remembered the windows this time:
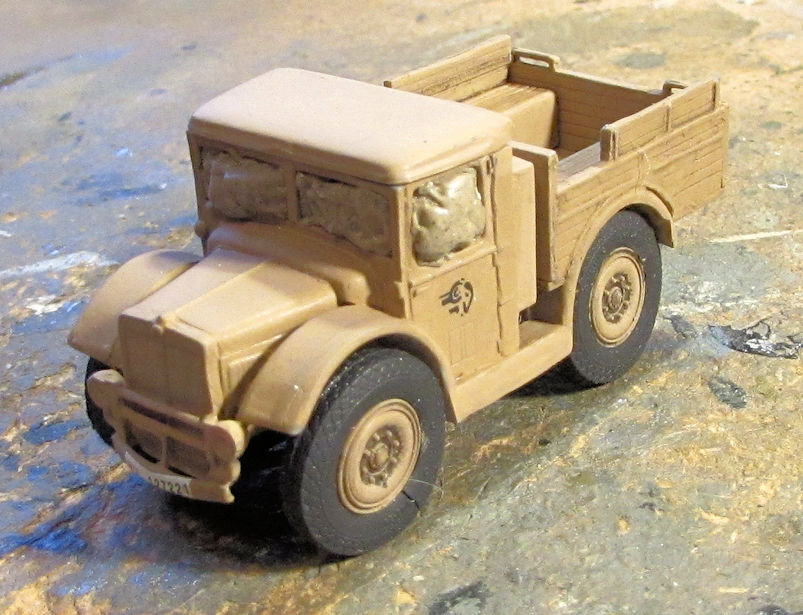
Image

I completed the tilt on this and then called it done.

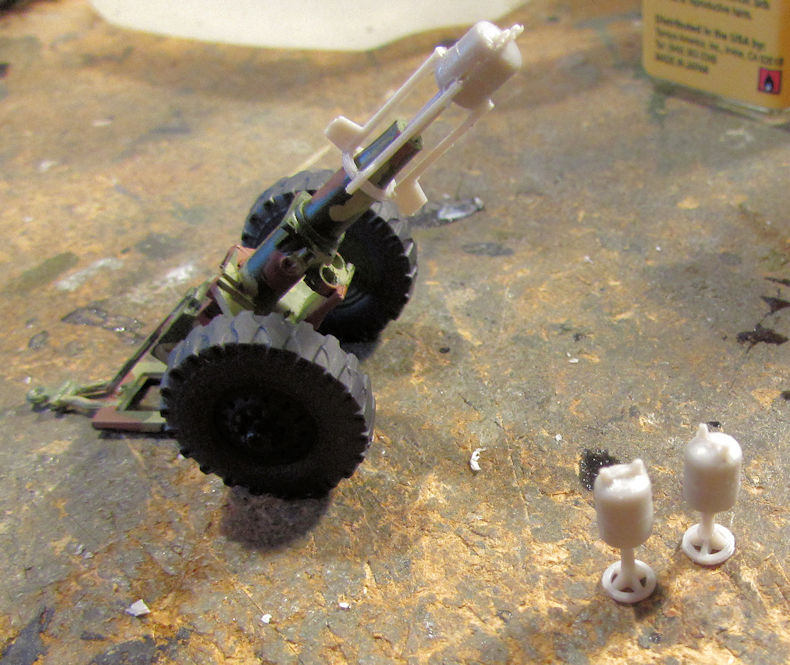
After all that, I needed to finish up the Hell Cannons. All that was needed was to assemble and paint the ammo rounds that came in the kit. Here you can see that I assembled the smaller cannon's rounds by fitting them to the barrel and gluing them together. I later removed then from the barrel for painting:
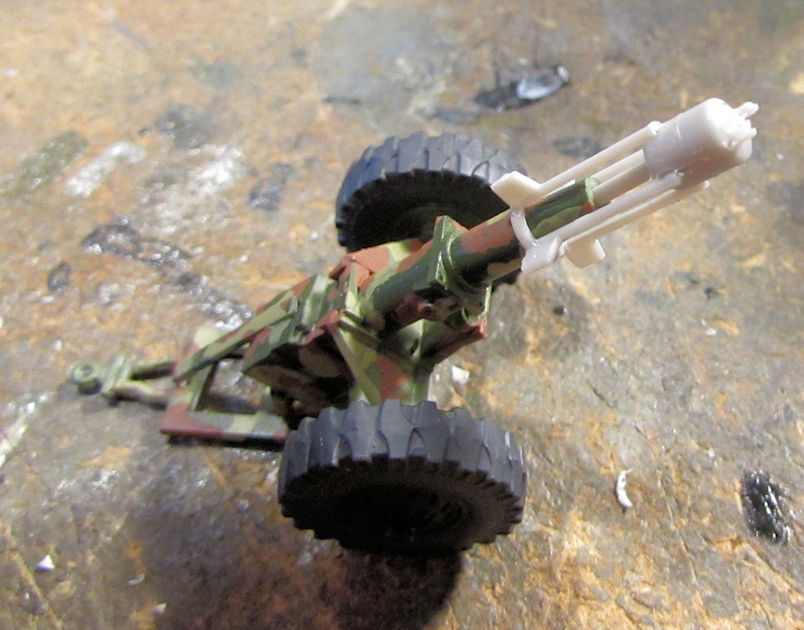
Image

In this pic, you can see two of the rounds for the larger cannon too:
Image

I later painted them all and was able to declare the Hell Cannons done.


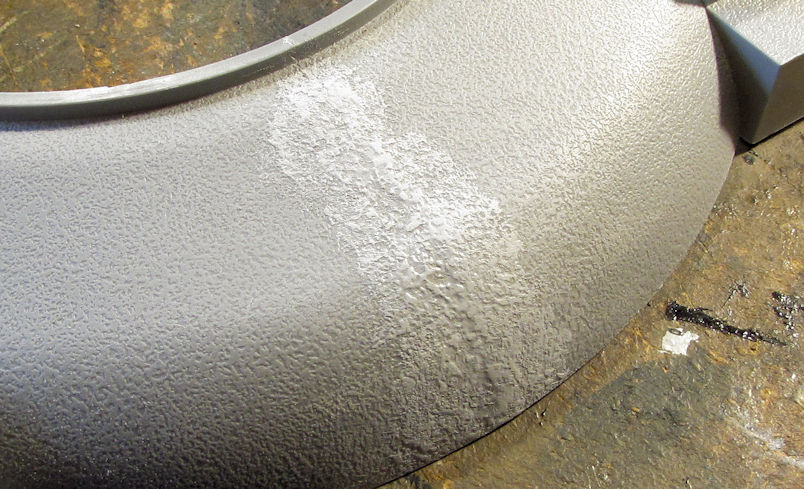
Finally I worked on the Austratt turret. First I tried to eliminate the seam on the base. This was my first attempt:
Image

My second attempt was a bit better. Pics of that forthcoming in another update.

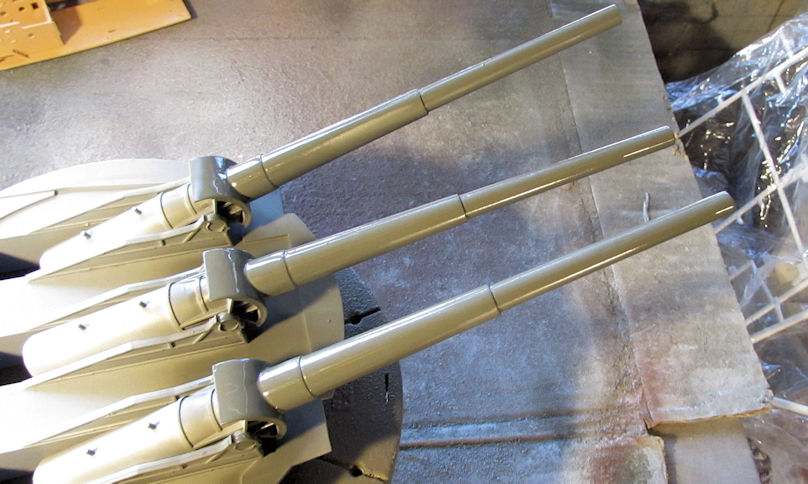
Next, it was time to paint the turret itself. I started by removing the upper shell and hitting the guns and gun shields first:
Image

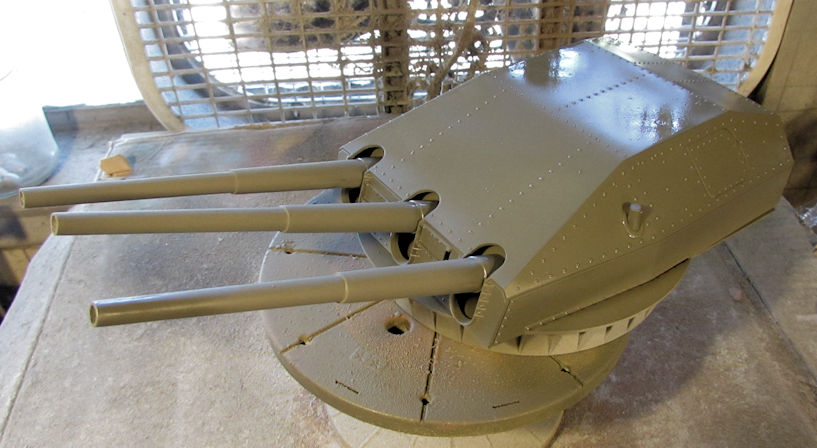
Next I carefully replaced the top and shot it with the green again:
Image

Two thirds of the way through this I ran out of paint in the airbrush and re-mixed some more. It was too thin and ran badly. I tried smoothing it out but this was the result:
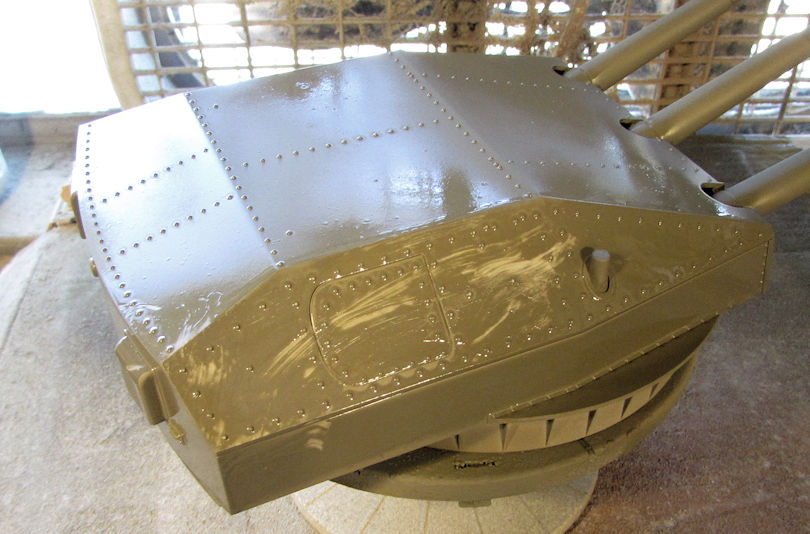
Image

Story of my life! Every time I think I might succeed, something stupid like this happens! So, I soaked a paper towel in Airbrush Thinner and wiped it clean:
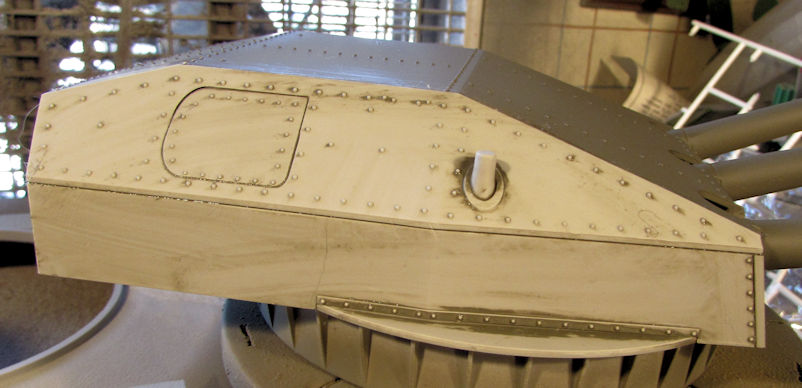
Image

Fresh, properly mixed paint went on after that! It still looks lumpy from debris left behind by the wipe down, but I think I can possibly fix it further. Pics forthcoming on that too.

This looks like a great place to finish off this update. Thank for looking in, comments are welcome.
Re: Maddog Manufacturing Production for 2019

Posted: Sat May 25, 2019 2:46 pm
by BlackSheep214
Looking pretty damn good! But... you just had a senior moment on that last one. :giggles: Time for a do over on the paint job, Duke.