Page 44 of 52
Re: 1/32 Tamiya F4U-1a Corsair - Boyington 17740
Posted: Thu Jan 02, 2020 4:40 pm
by Floki
My first thought was also too much hairspray. Patiently awaiting round 2 or would it be 3 now?
Re: 1/32 Tamiya F4U-1a Corsair - Boyington 17740
Posted: Thu Jan 02, 2020 5:45 pm
by jkim
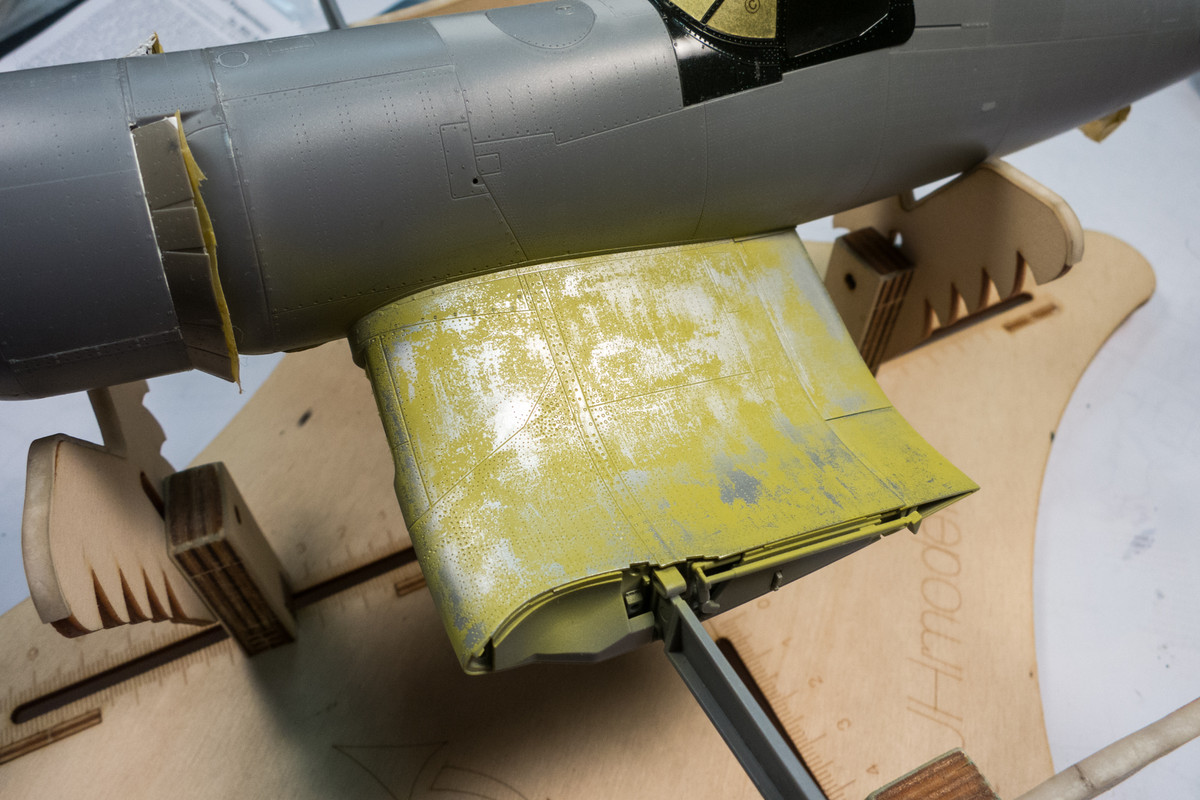
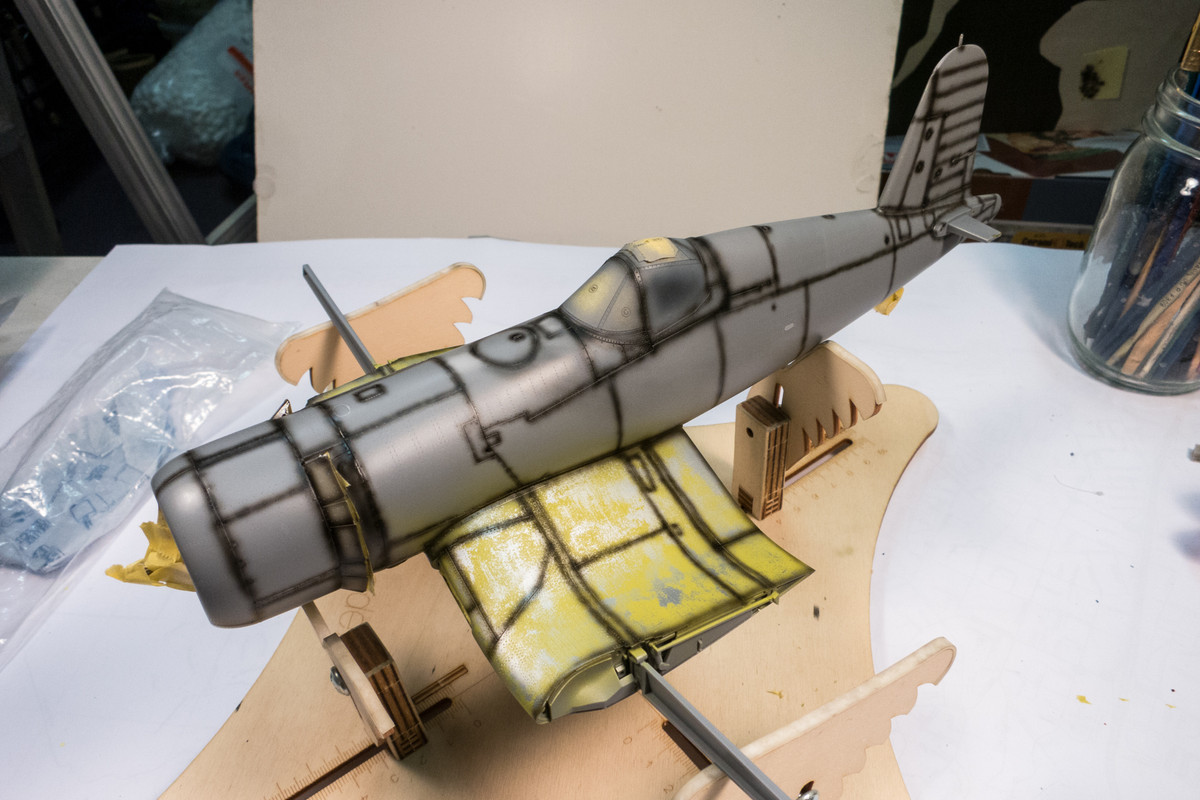
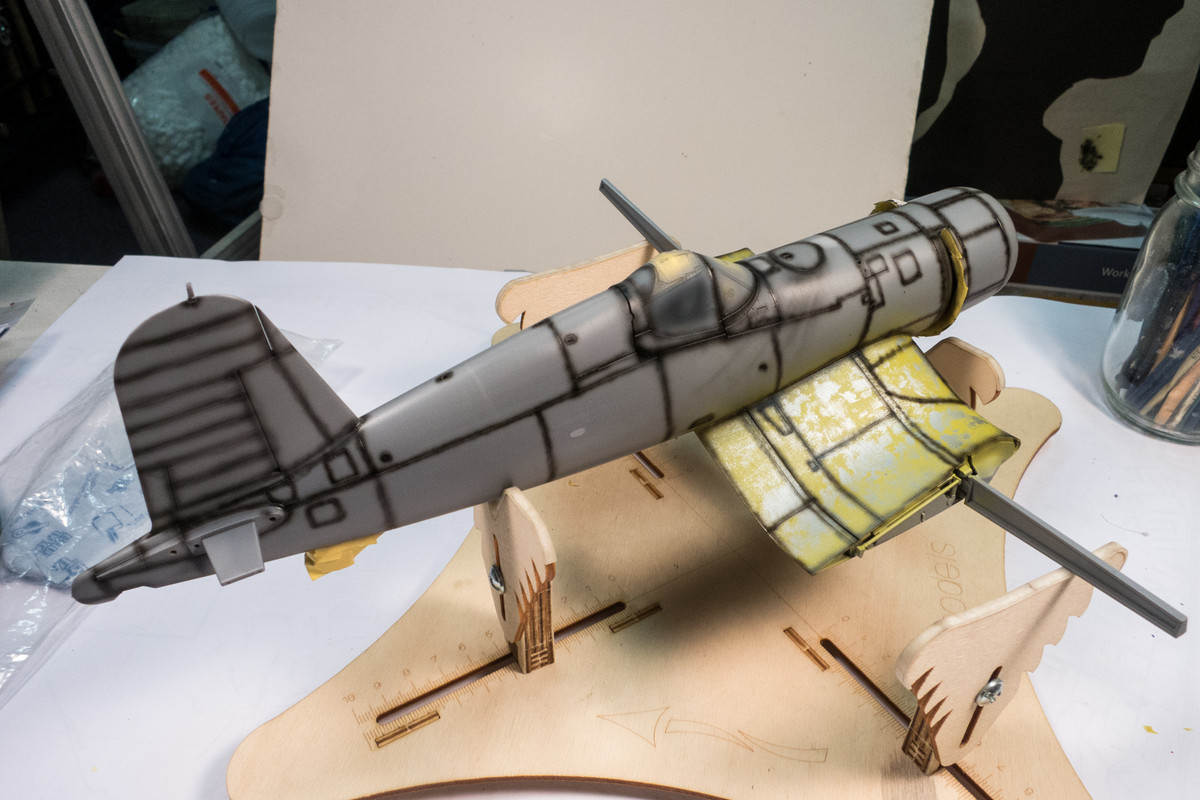
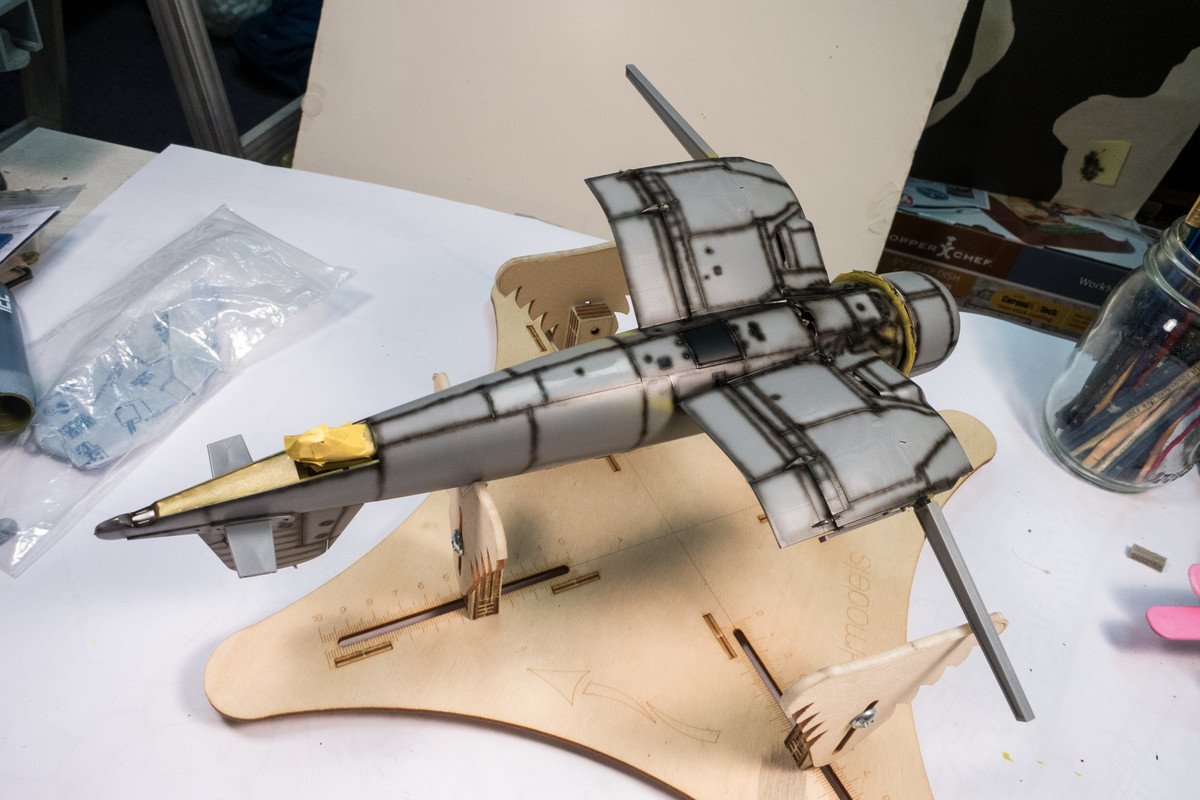
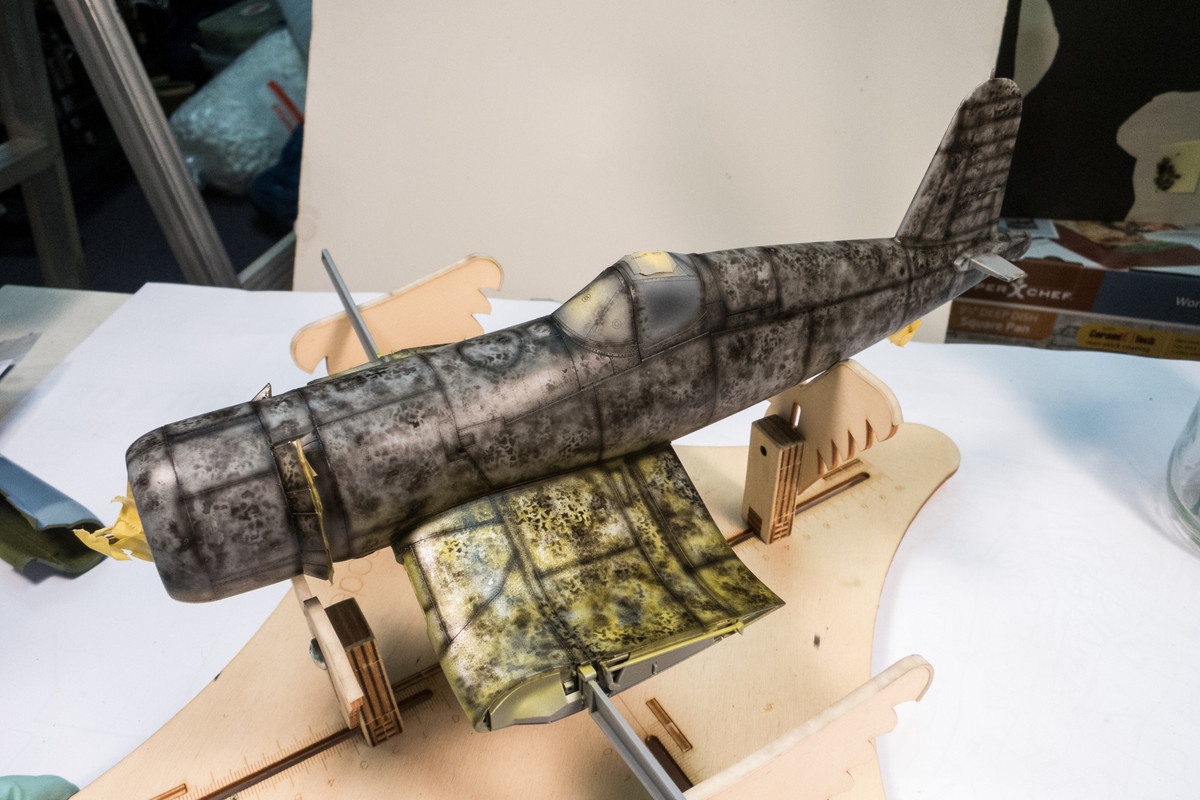
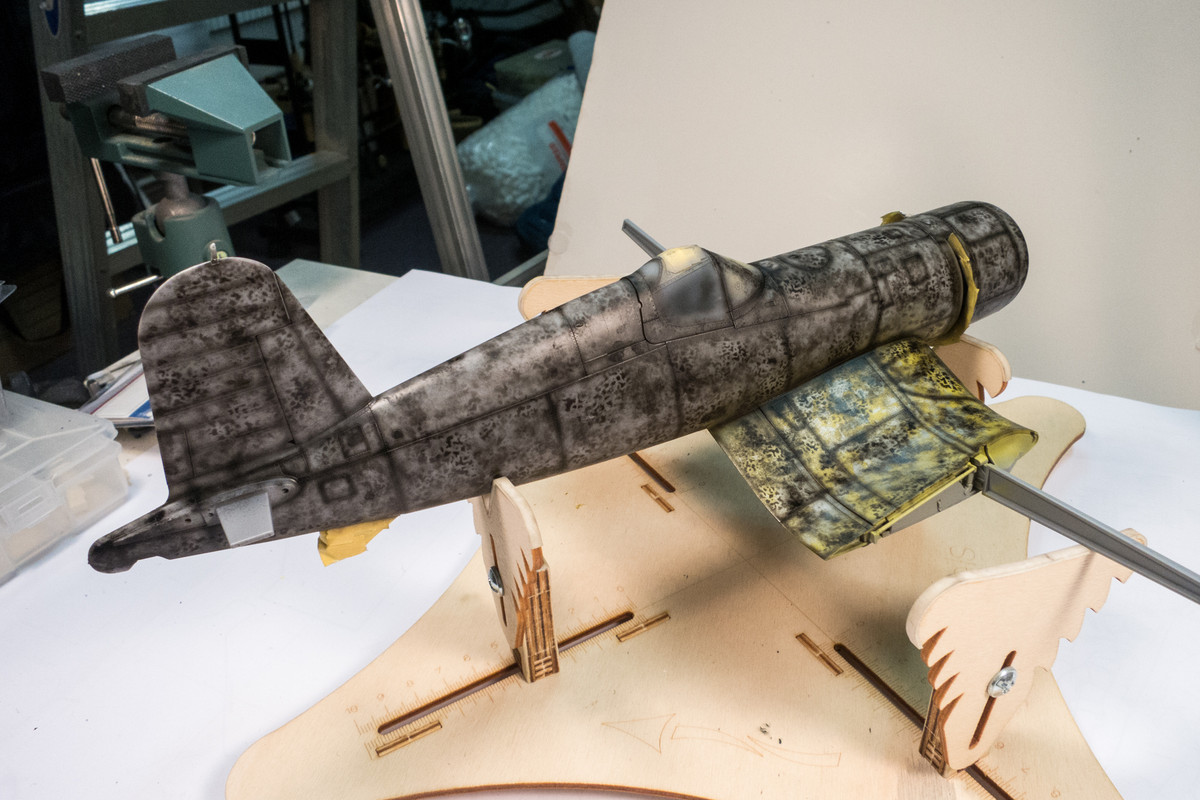
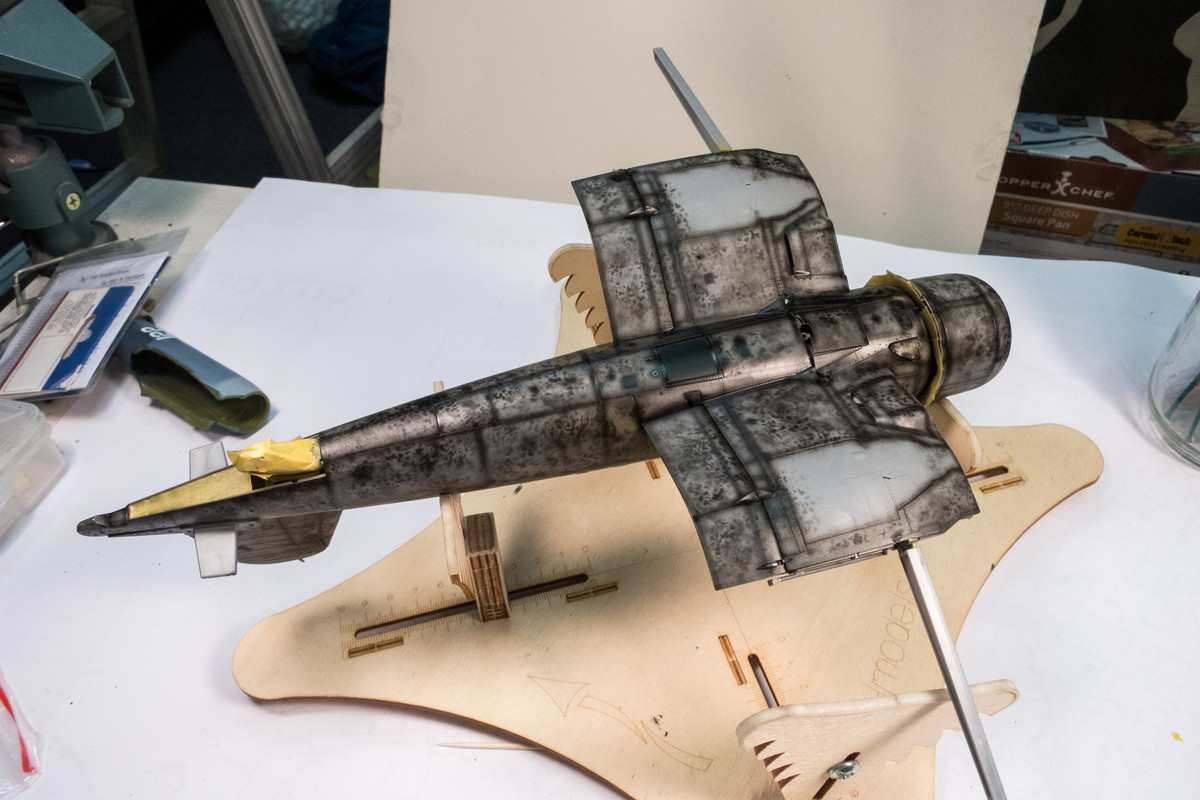
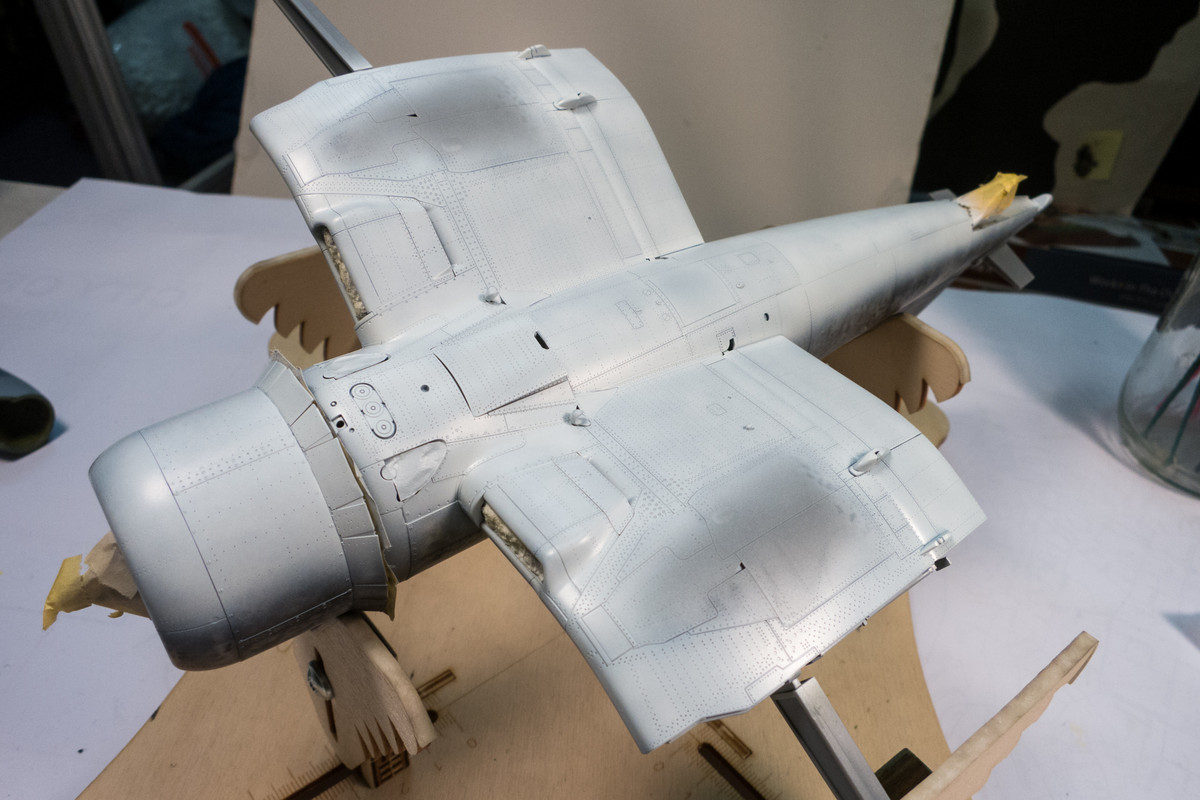
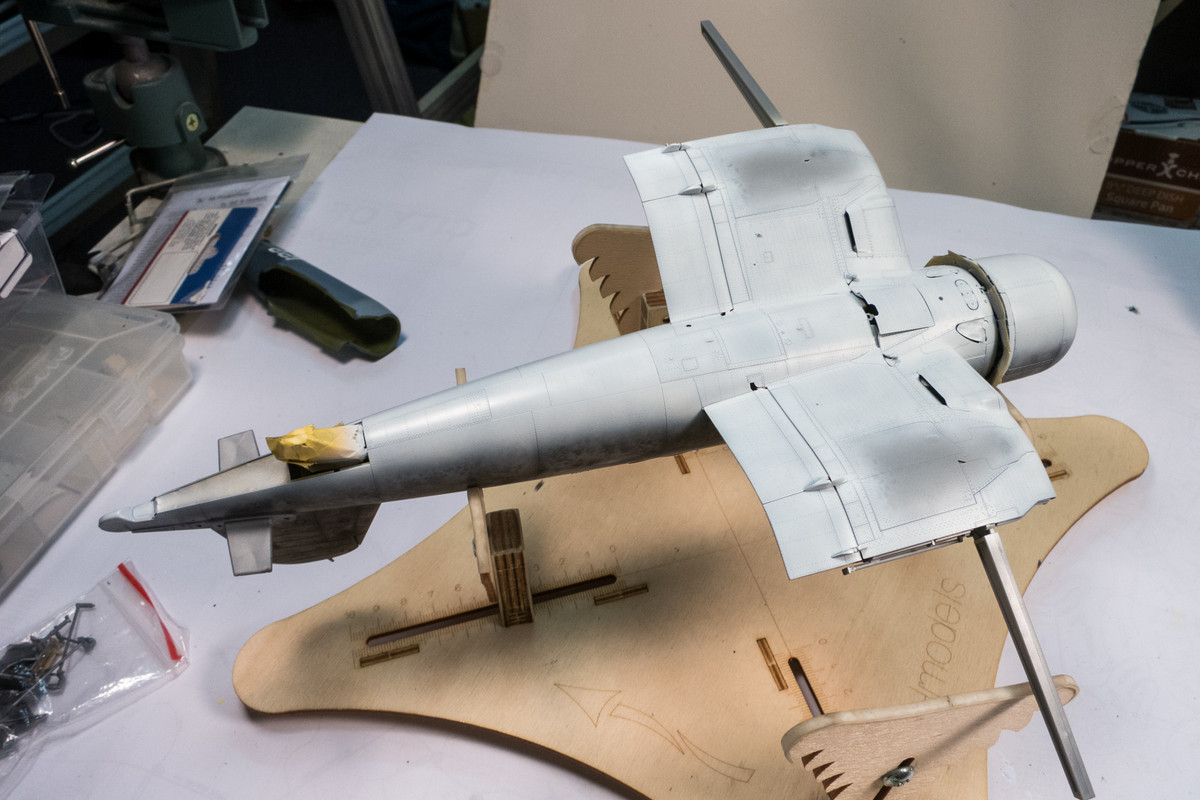
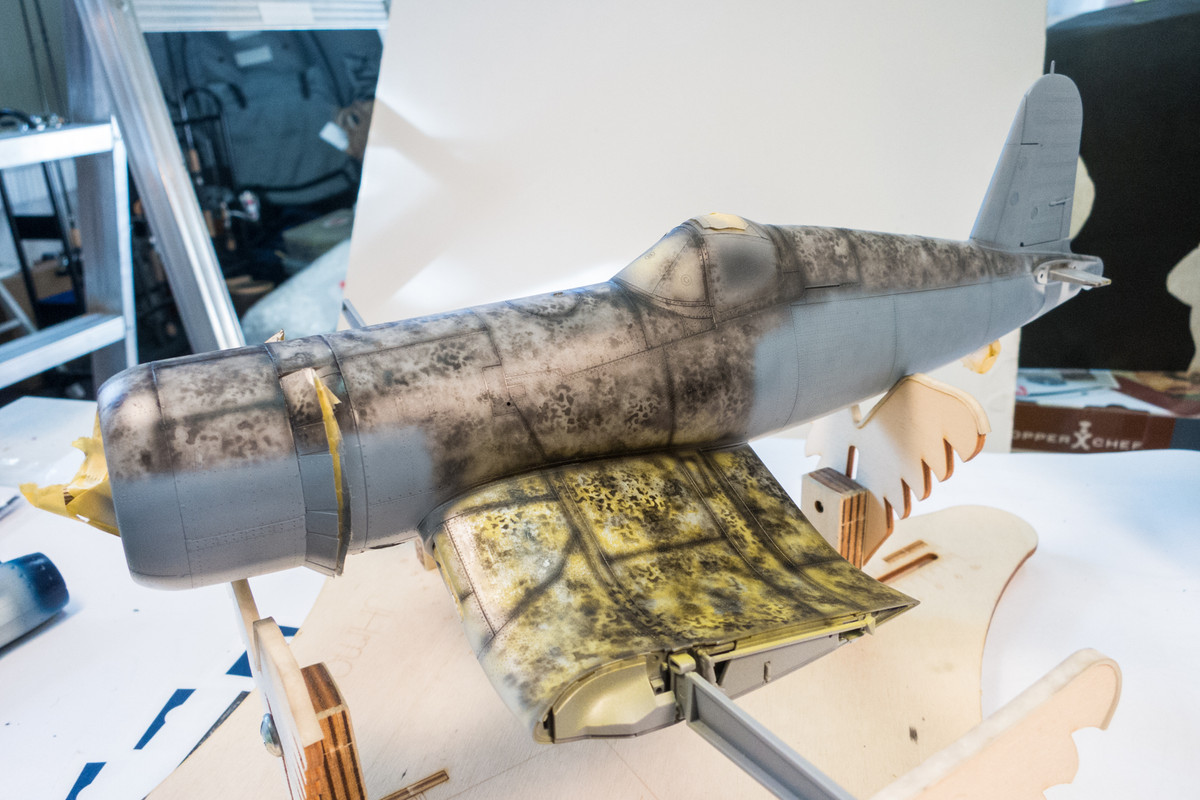
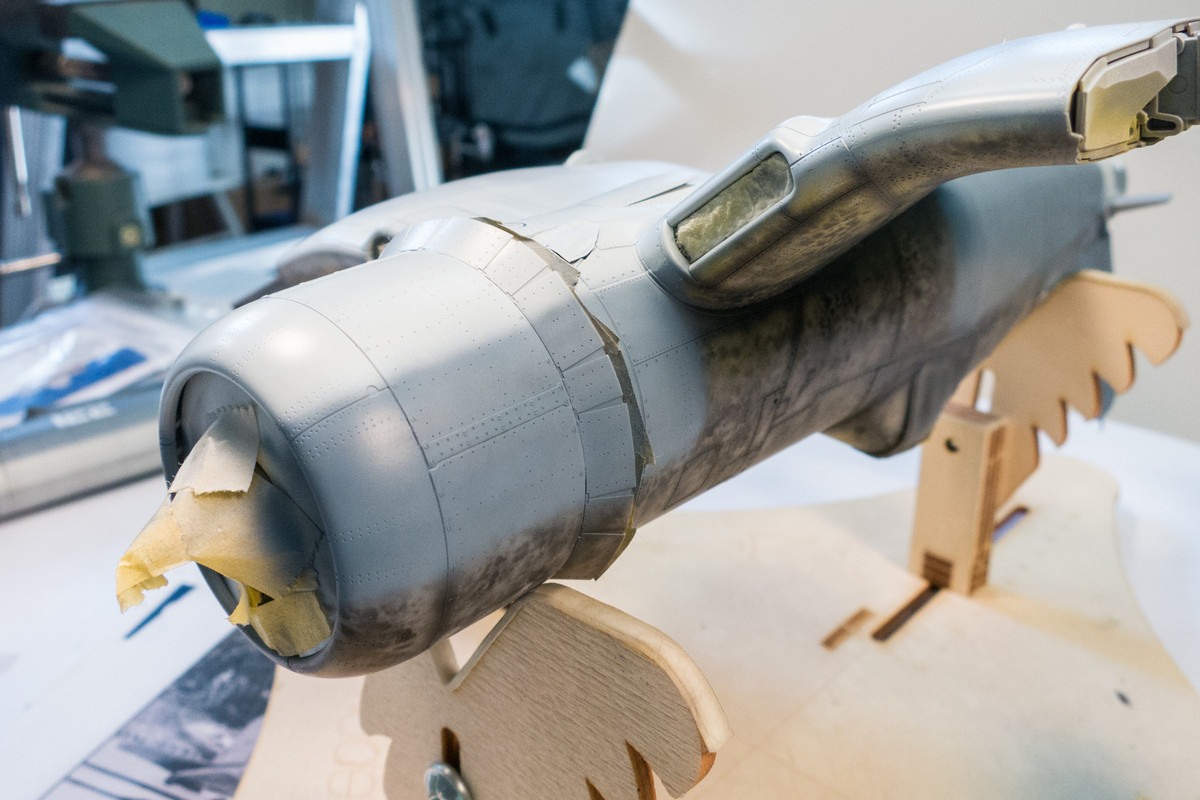
Round 2.5 if you count the aborted MIG Heavy Chipping Effects, which I wiped off before applying any ZC.

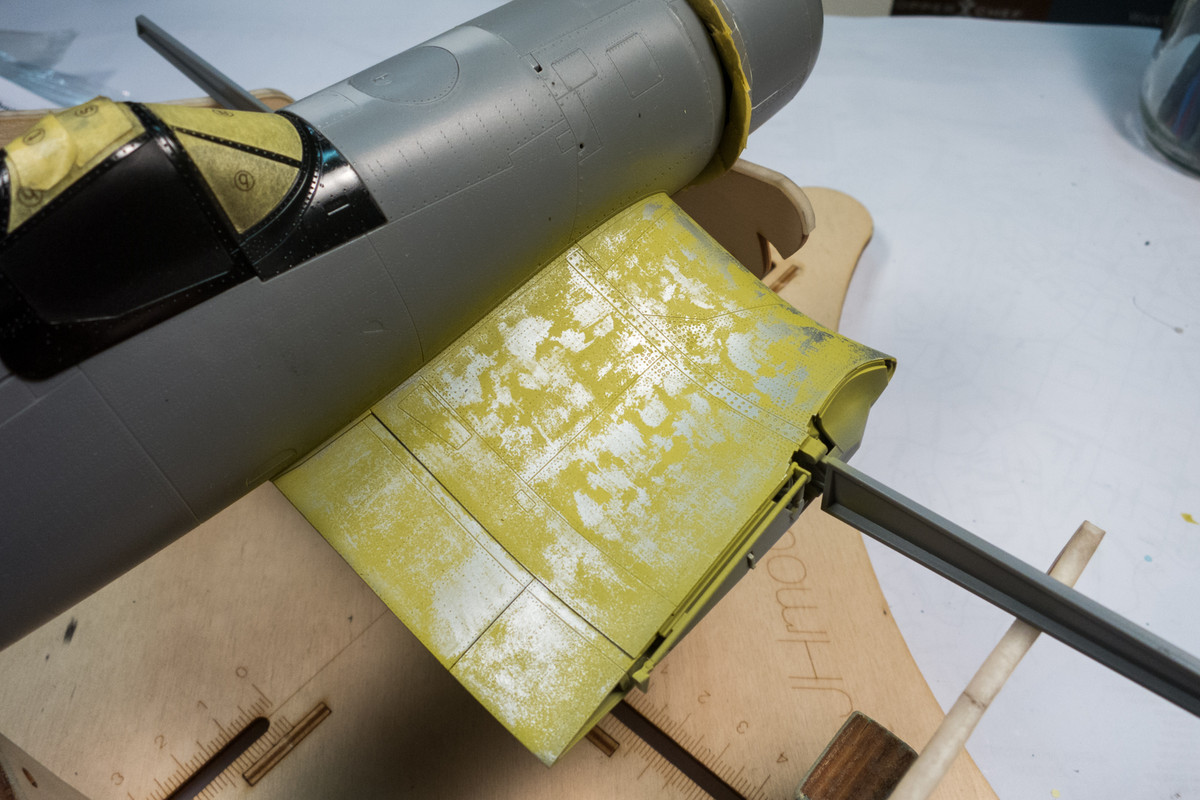
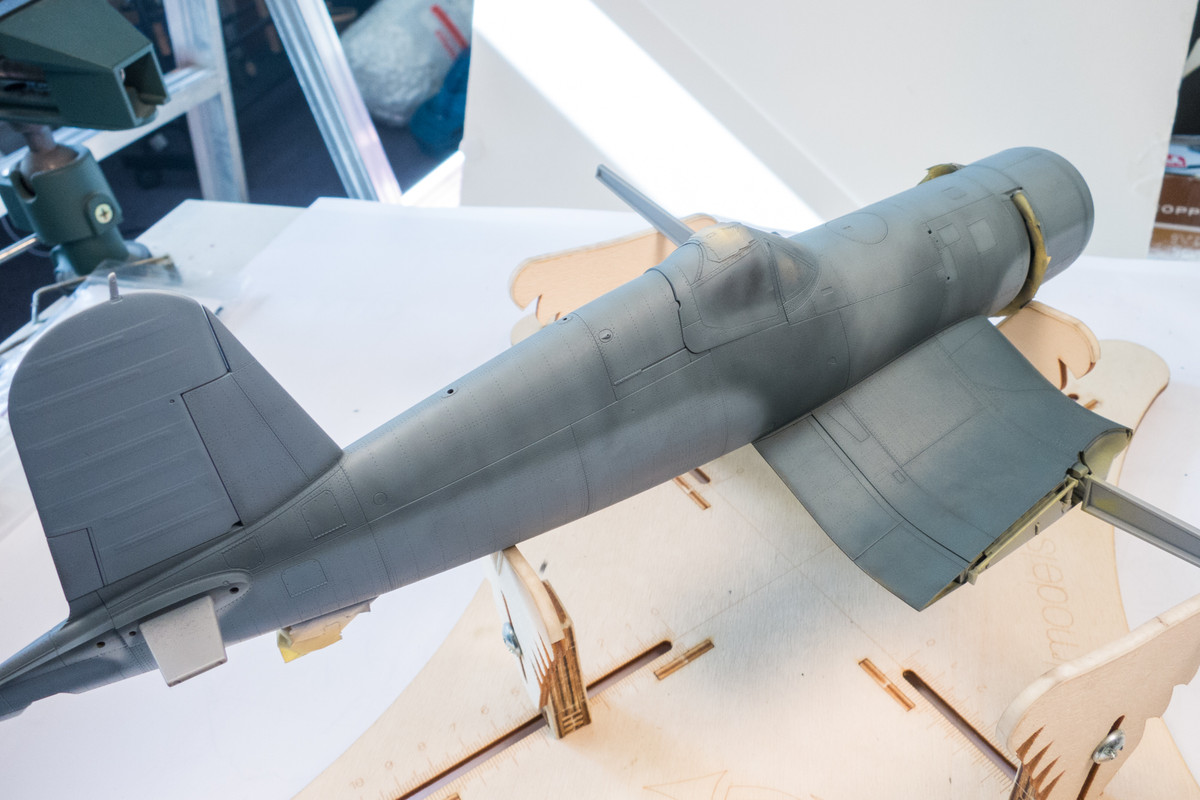
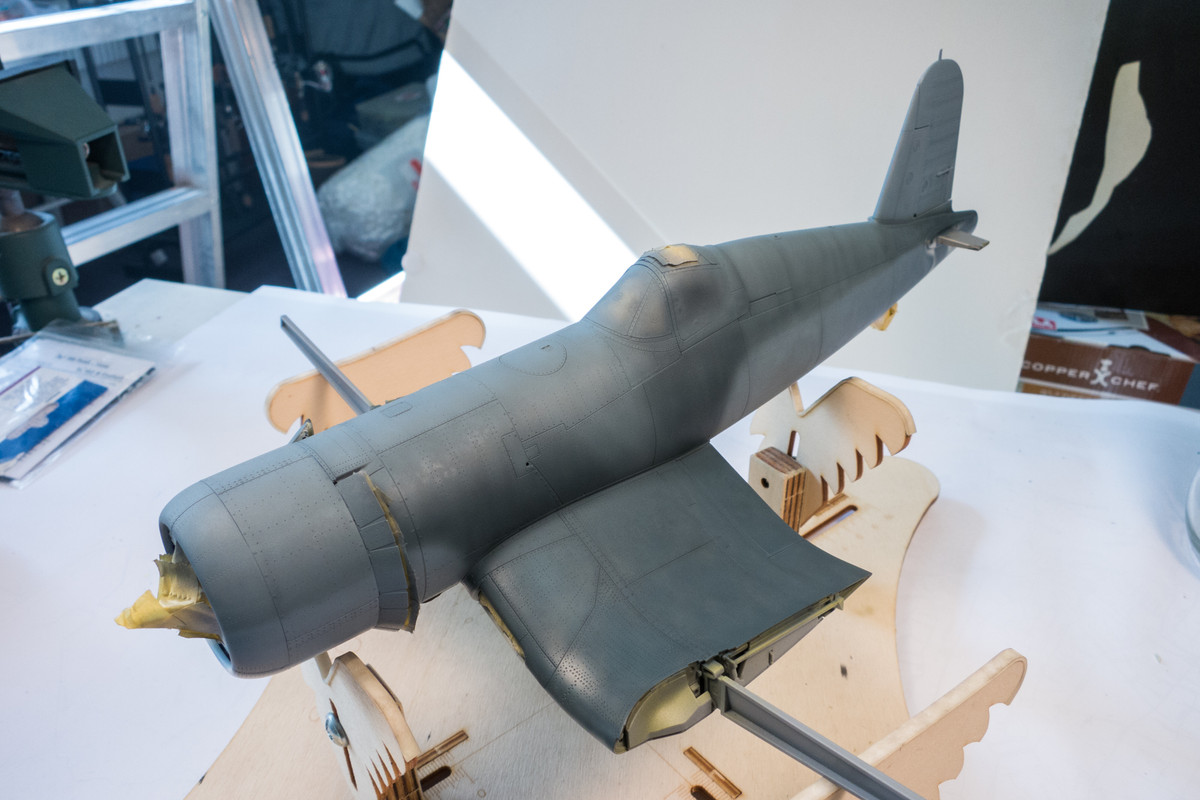
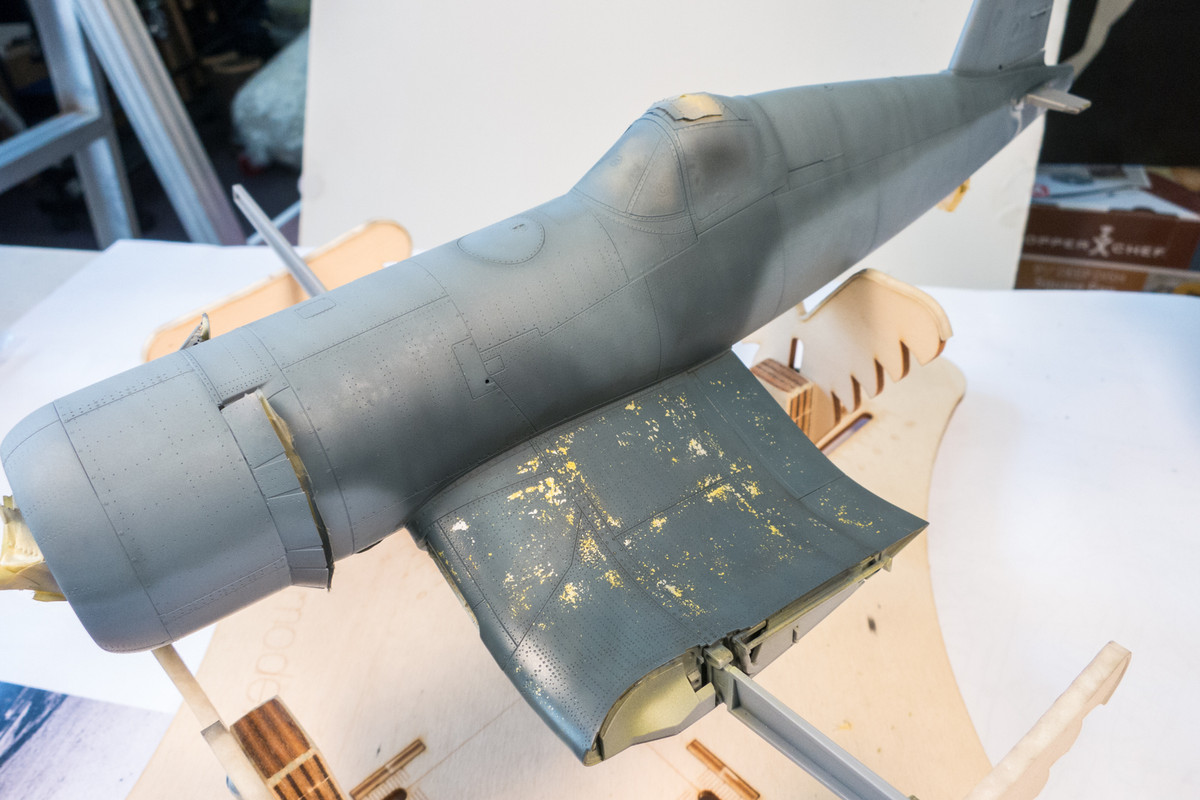
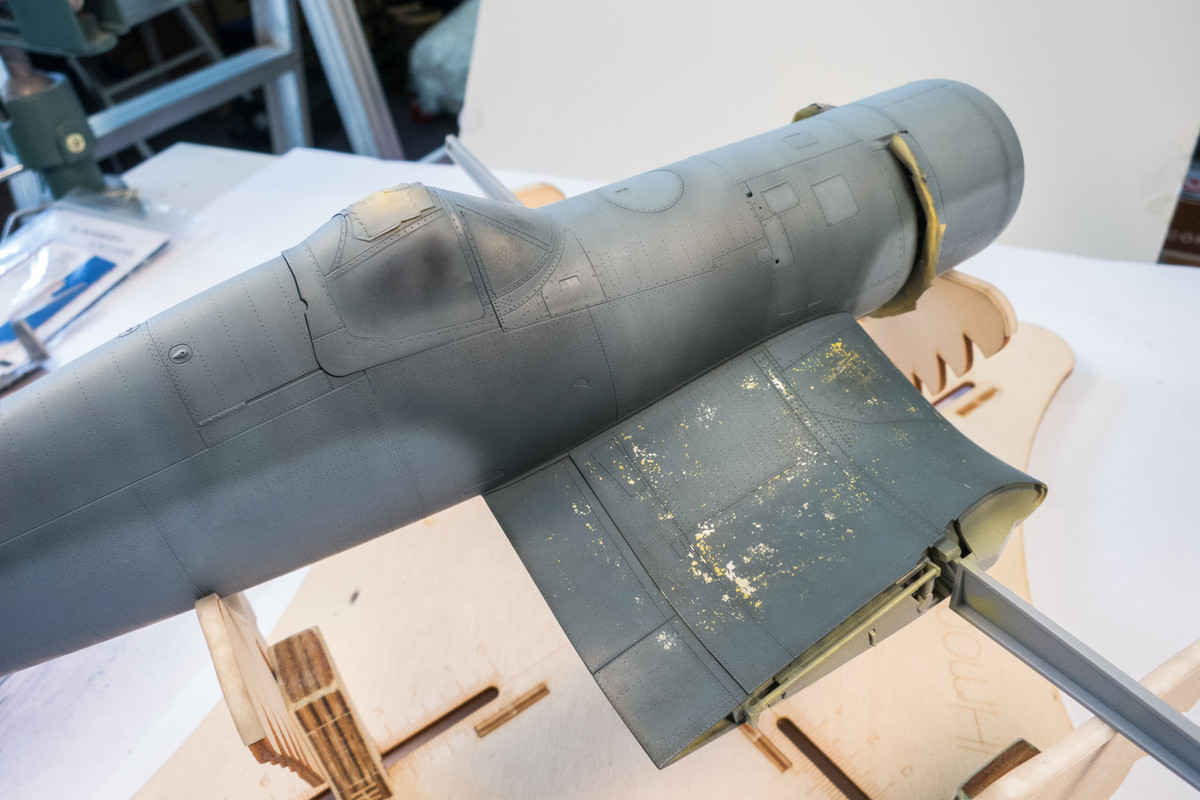
I sprayed the ZC over the reduced hairspray during my lunch break. Will try to do the chipping this evening when I get home. Another slight change I made was to revert back to thinning the Tamiya ZC with iso alcohol instead of Tamiya Lacquer Thinner. For this build and the K-4, I've been thinning my Tamiya acrylics with Tamiya Lacquer Thinner, which I believe is getting me a slightly smoother finish. But on past builds, I've been thinning with 91% iso alcohol and have reverted back to that for this ZC layer.
Re: 1/32 Tamiya F4U-1a Corsair - Boyington 17740
Posted: Thu Jan 02, 2020 6:06 pm
by mustang1989
Looking forward to the outcome on this John. I have yet to use the hairspray method but I think what I'll be doing is practicing on a spare piece of styrene before attempting on an actual project. Initial test work/ experimentation has been the devil to me on past builds.

Re: 1/32 Tamiya F4U-1a Corsair - Boyington 17740
Posted: Sat Jan 04, 2020 12:29 am
by jkim
Re: 1/32 Tamiya F4U-1a Corsair - Boyington 17740
Posted: Sat Jan 04, 2020 7:23 am
by LyleW
The chipping looks good. Preshading looks good....another masterclass in building!
Re: 1/32 Tamiya F4U-1a Corsair - Boyington 17740
Posted: Sat Jan 04, 2020 11:37 am
by BlackSheep214
What he said... something I'm very afraid of trying myself. You make it look too easy. Well, done!!
Re: 1/32 Tamiya F4U-1a Corsair - Boyington 17740
Posted: Sat Jan 04, 2020 3:24 pm
by jkim
Re: 1/32 Tamiya F4U-1a Corsair - Boyington 17740
Posted: Sat Jan 04, 2020 3:53 pm
by LyleW

Wow. I thought I was doing good that I remembered to put on pants today!
I do have a question, though. When you reference using a Brillo pad, is it a spent one? Don’t think you want the soap...or is it steel wool? Then, do you dab it in the paint and apply to the model?
Re: 1/32 Tamiya F4U-1a Corsair - Boyington 17740
Posted: Sat Jan 04, 2020 9:02 pm
by Floki
That's a very impressive paint job did you do this all freehand? It looks like your chipping went well this time around.
Re: 1/32 Tamiya F4U-1a Corsair - Boyington 17740
Posted: Sat Jan 04, 2020 11:37 pm
by jkim
LyleW wrote:
Wow. I thought I was doing good that I remembered to put on pants today!
I do have a question, though. When you reference using a Brillo pad, is it a spent one? Don’t think you want the soap...or is it steel wool? Then, do you dab it in the paint and apply to the model?
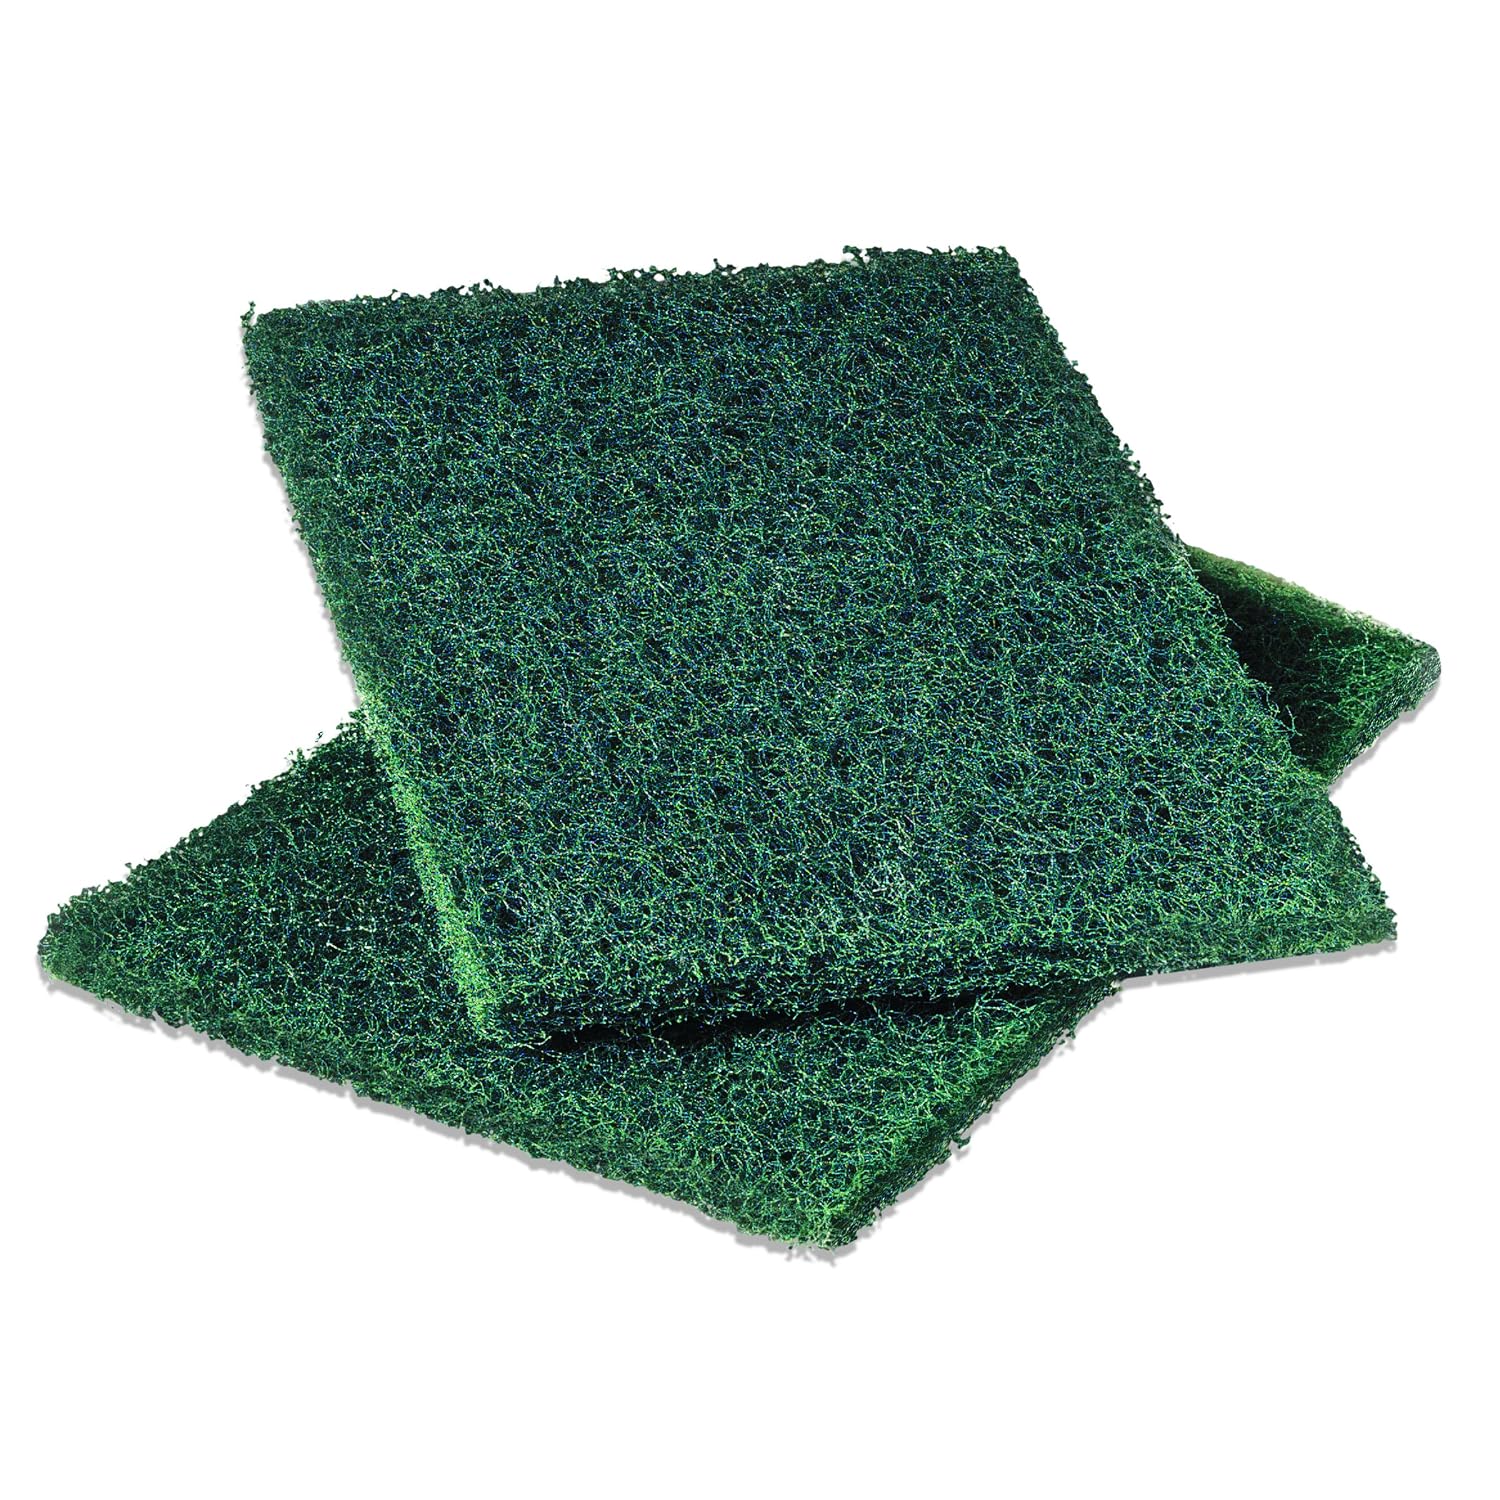
Sorry for the confusion! By Brillo pad, I mean these green scouring pads. It's plastic, not steel. I shoot paint THROUGH it and it acts like a mask. The pad is too thick for airbrush use straight out of the package so I have to thin it using scissors... kinda tedious.
quote="Floki"]That's a very impressive paint job did you do this all freehand? It looks like your chipping went well this time around.[/quote]
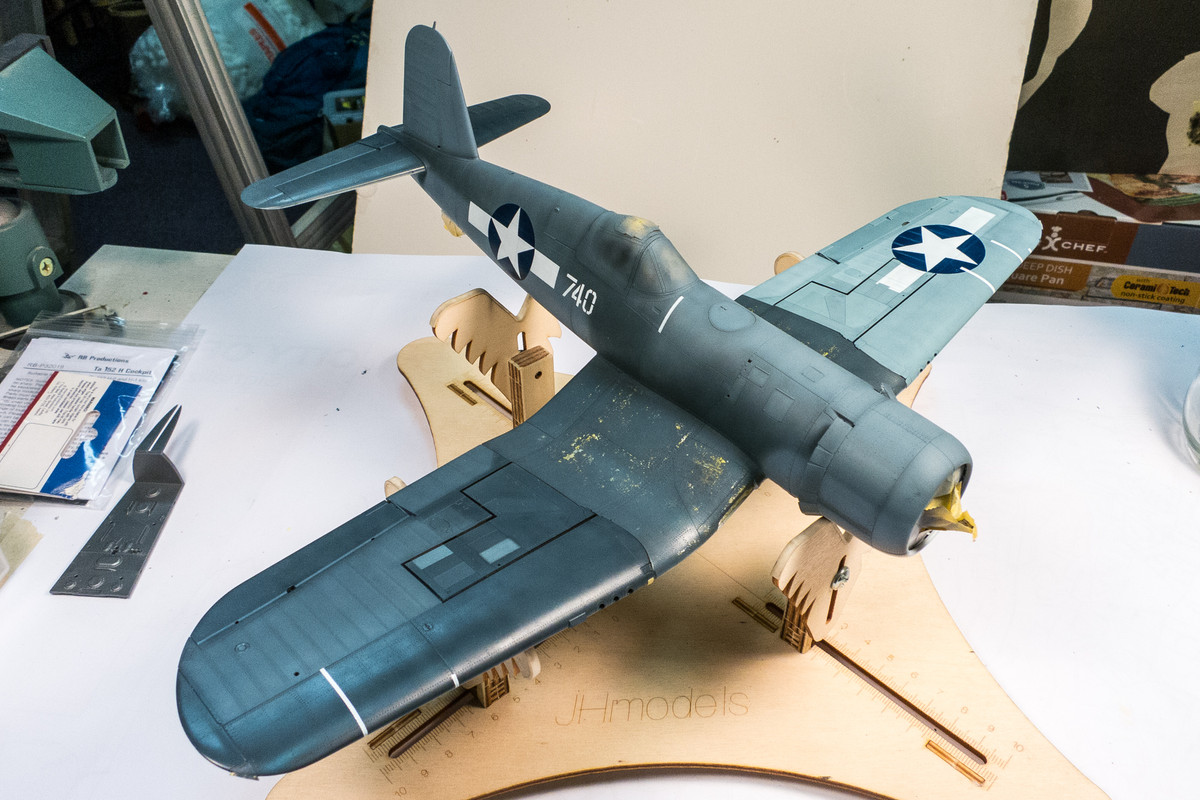
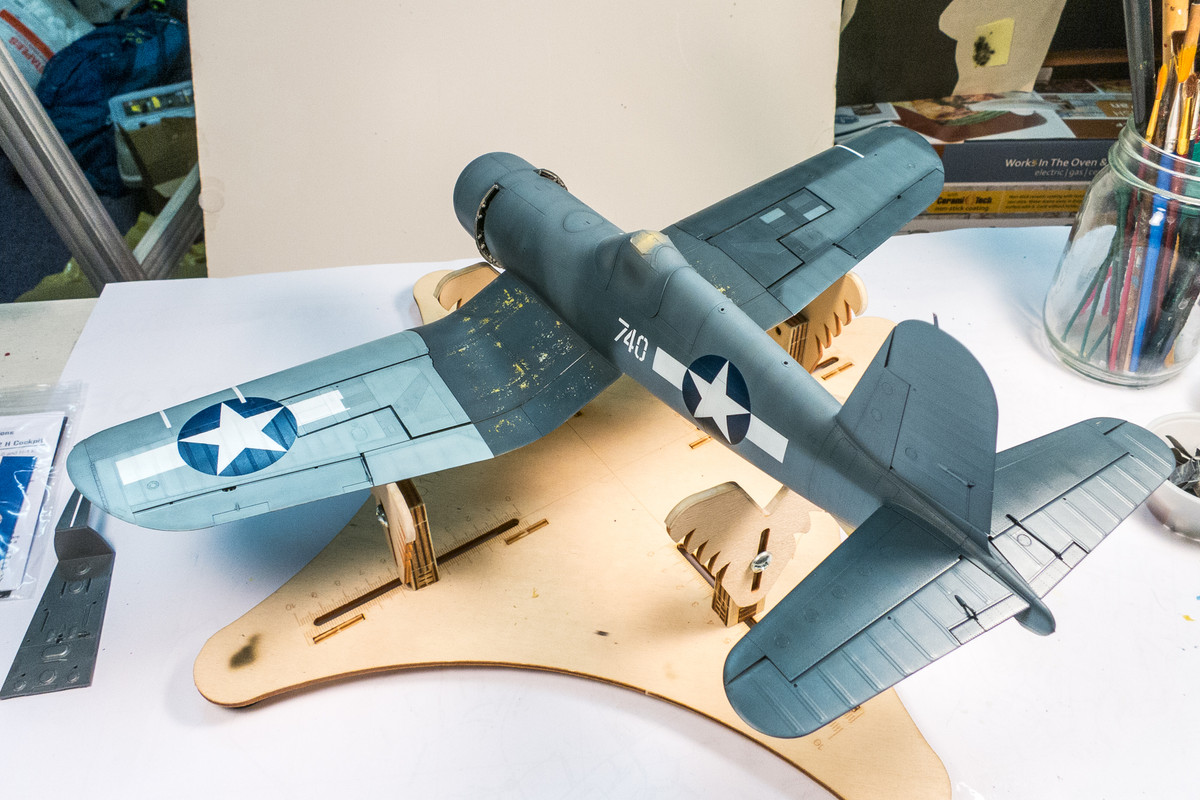
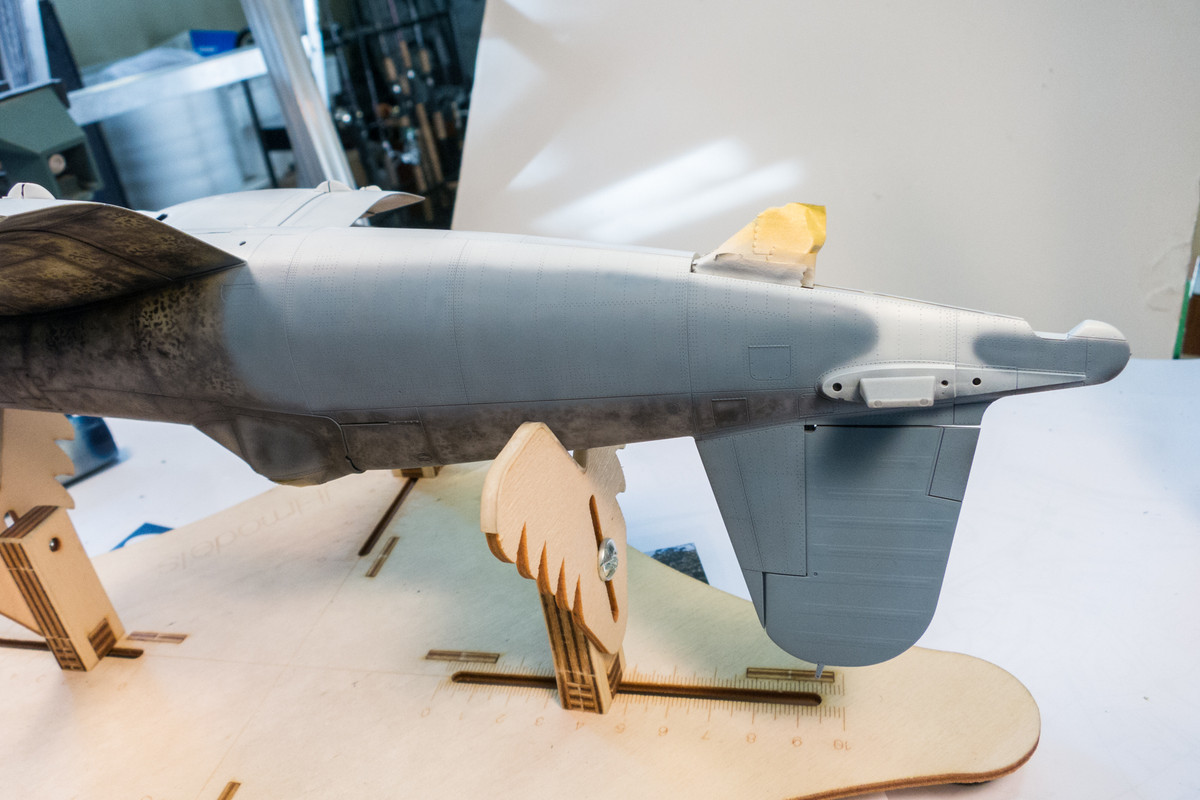
Yes, all of the airbrush is freehand. No masks involved in the camo demarcation lines.
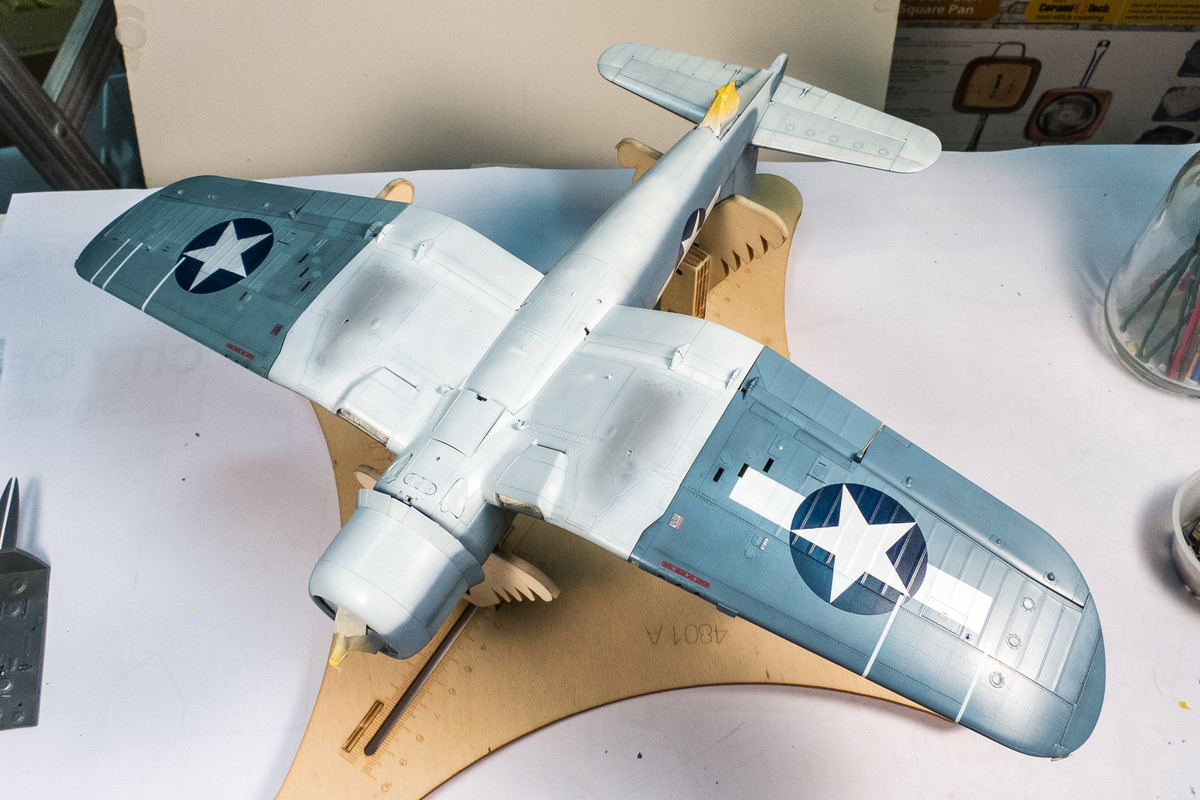
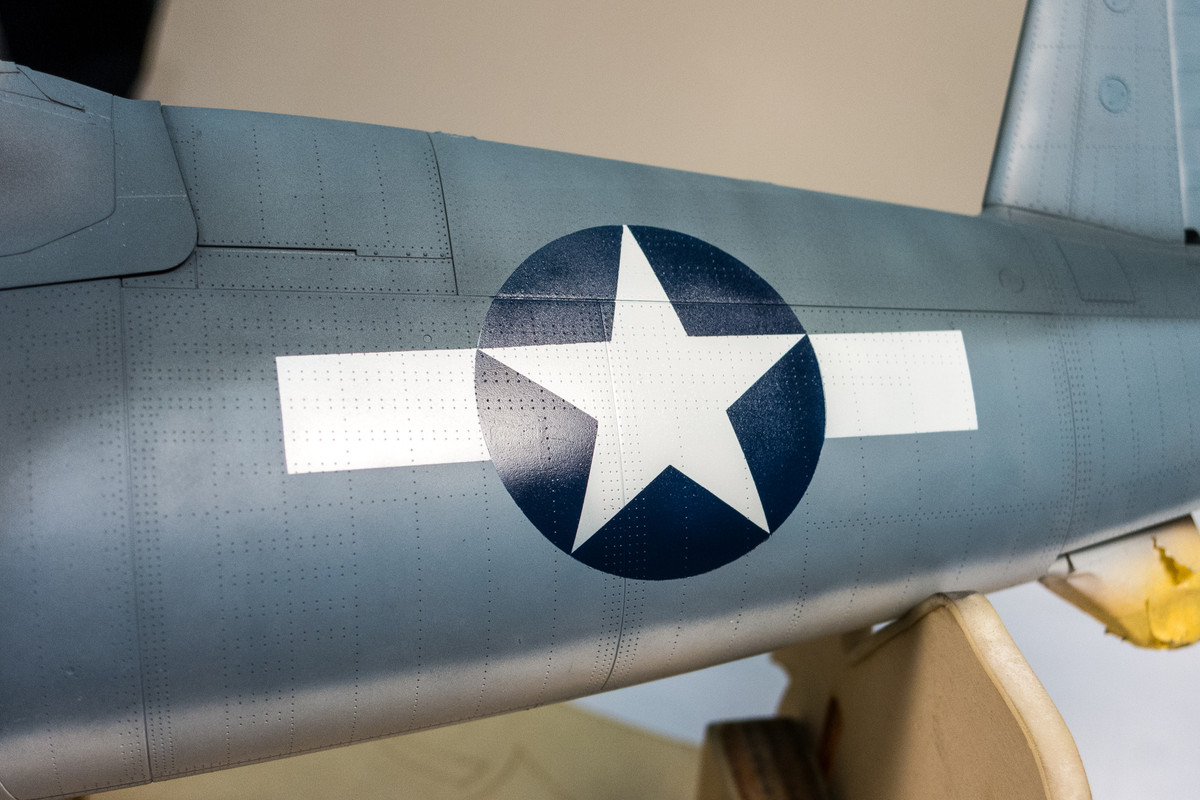
But I did employ masks to paint the insignias. The Montex masks had expanded a bit in the package so I chose to cut new ones with the Silhouette cutter. The blue is painted first and then the white stars and bars.
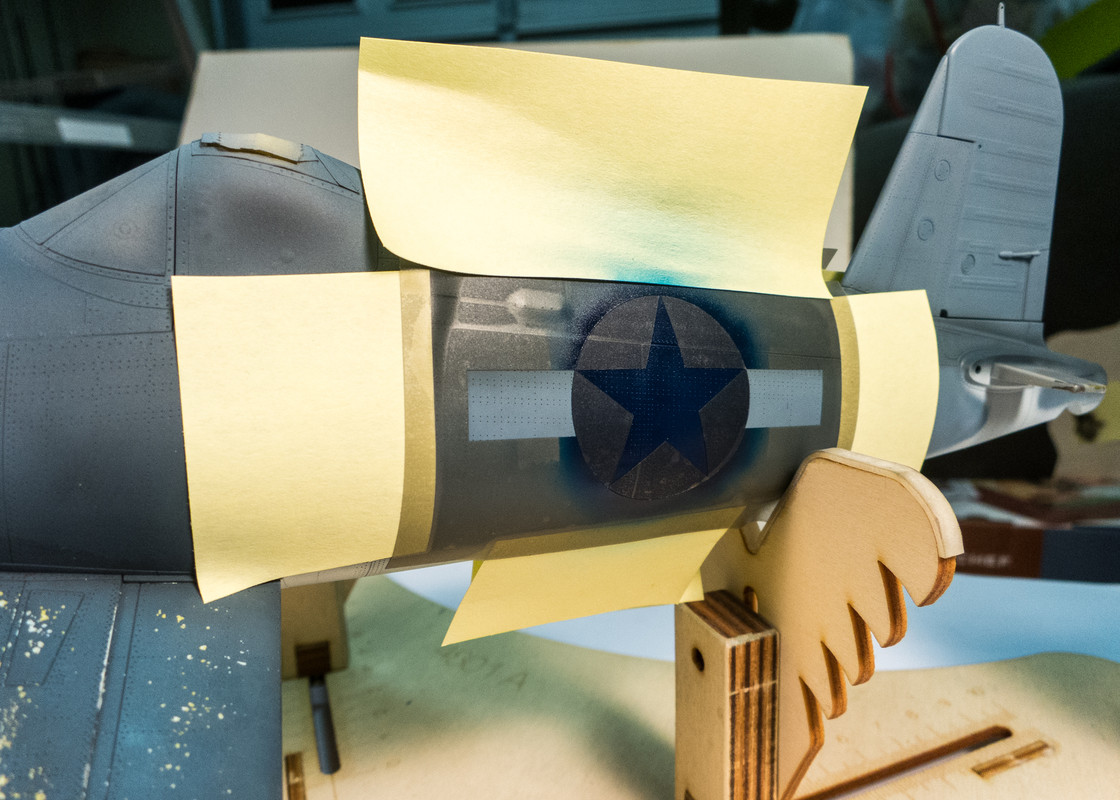
First time the masks worked without having to do any touch-up work. And no paint pulled up when removing the masks!
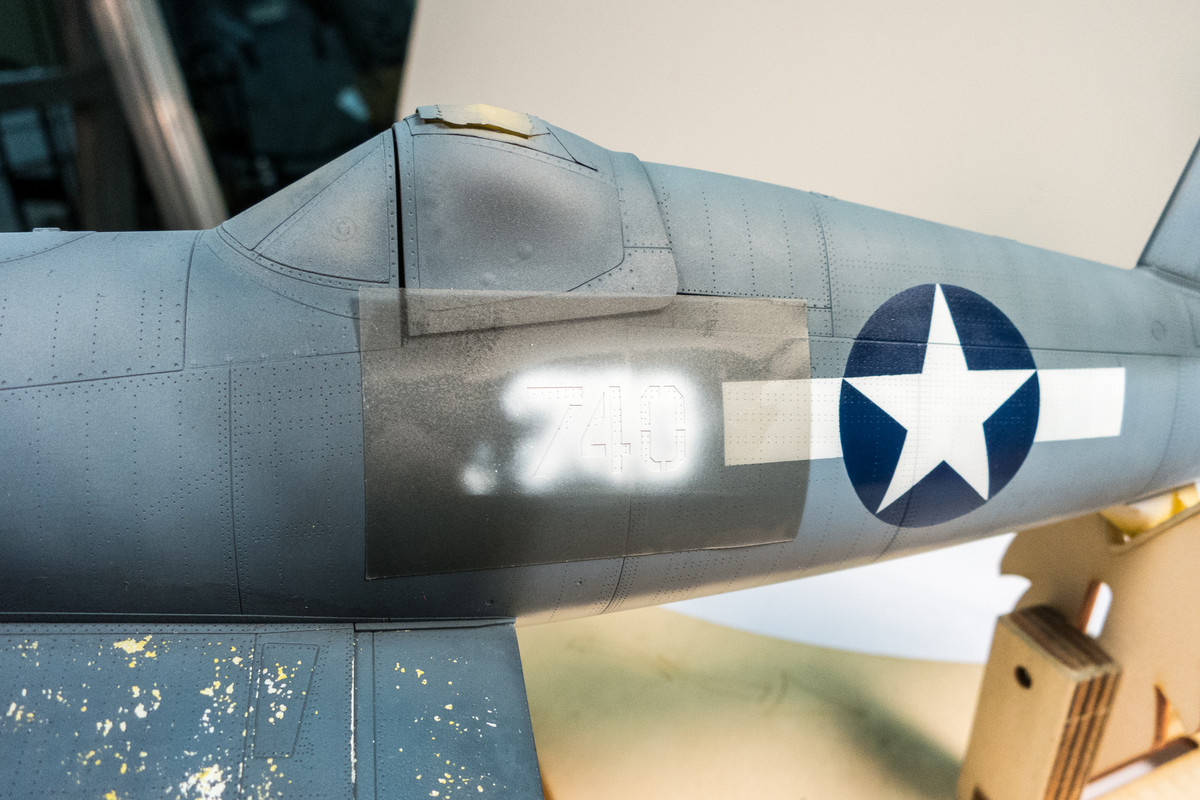
The aircraft number was masked and painted afterwards.
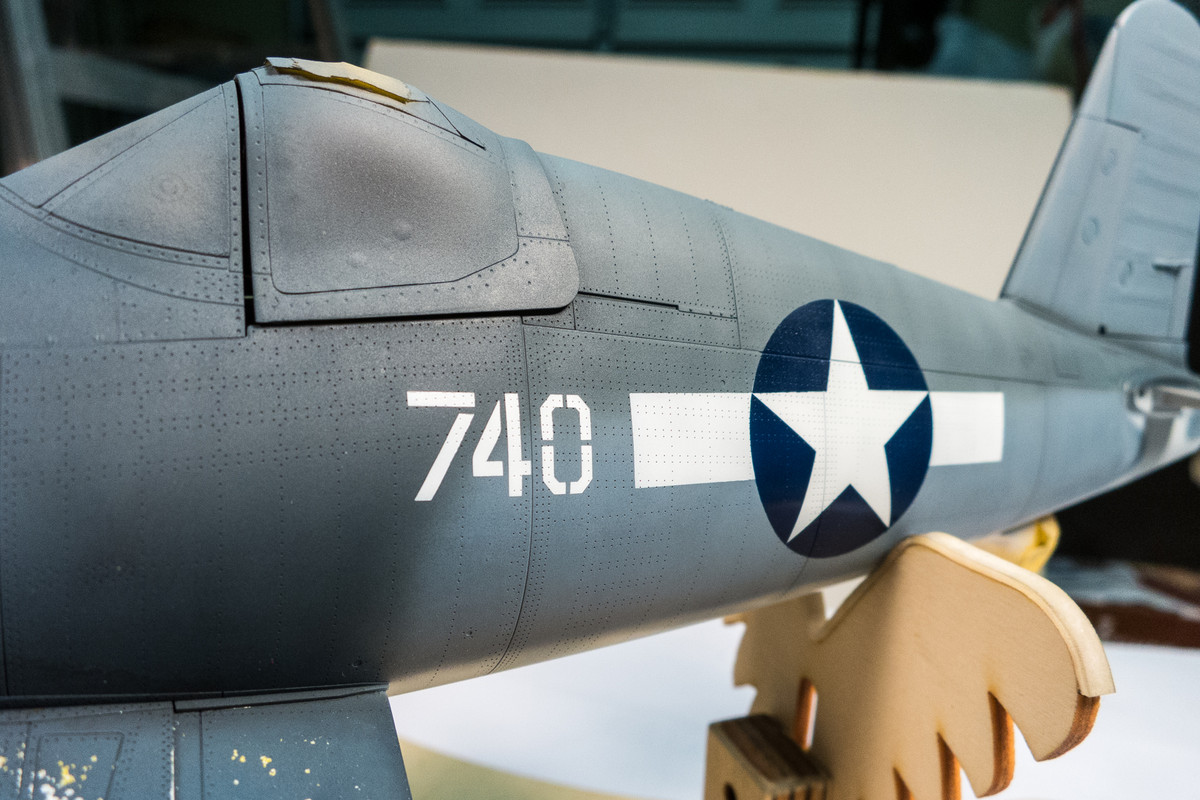
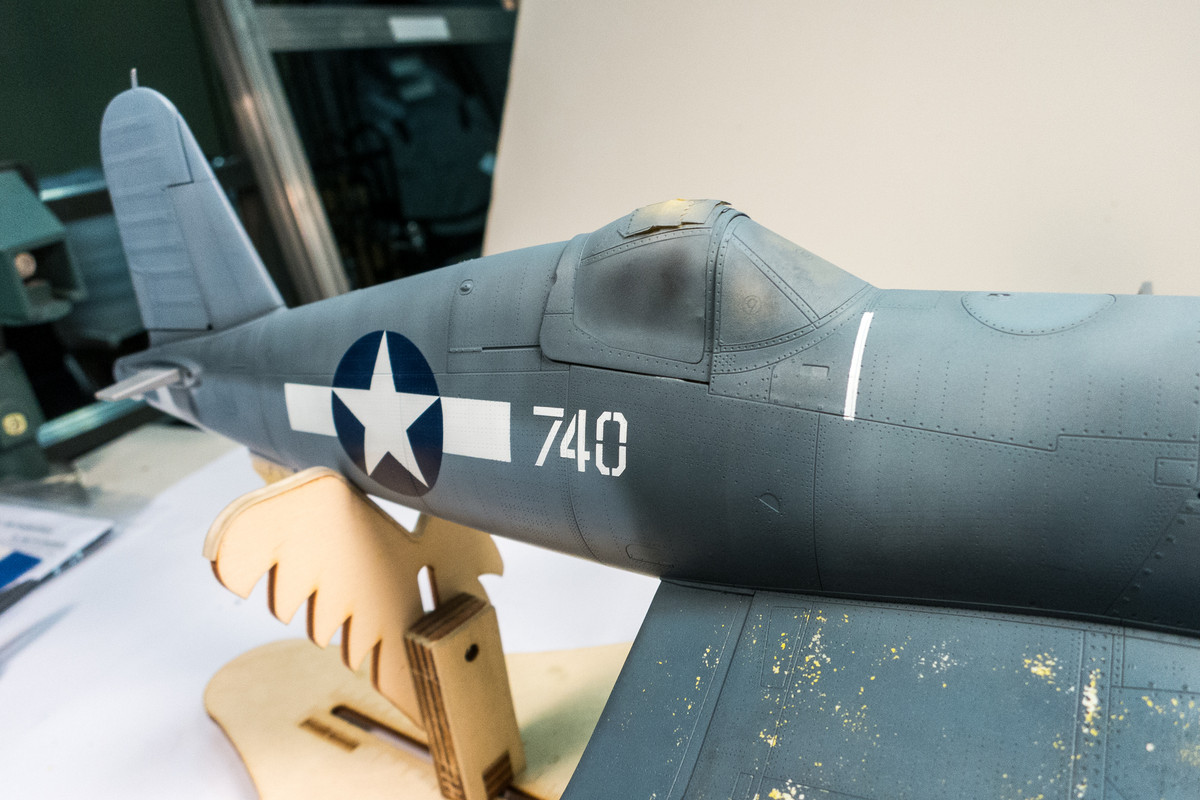
The HGW wet transfers are yet to arrive from Europe. I still need to mask and paint the tread areas on the wings but I may have to shelve the project temporarily until the transfers get here. In the meantime, I thought I'd slide the wings and stabs on to see how the Corsair looks so far. Keep in mind that the fuselage has not been sealed in a gloss coat so the wings and stabs are naturally a shade darker.