Now with a new month looming, here is another tour showing what we got done these past few weeks. Everyone who's ready, all aboard the trams and buckle in, there's some good things to see here.
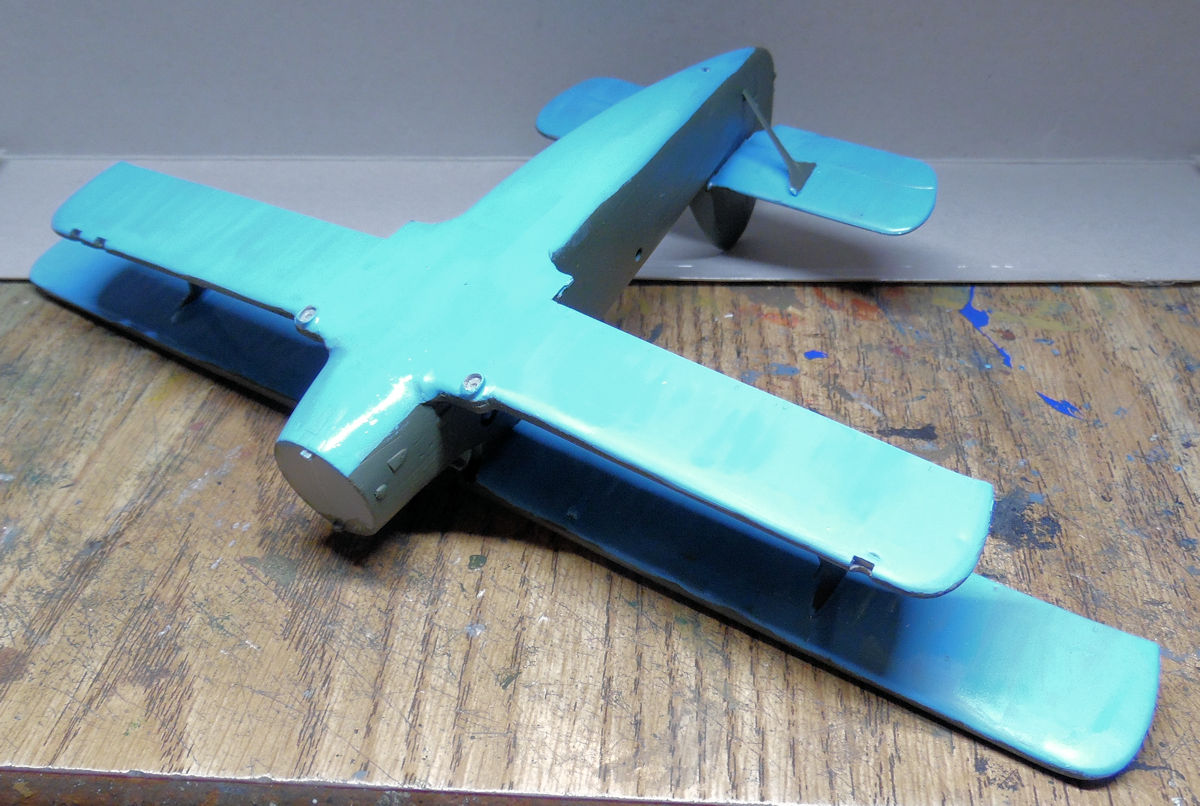
As usual, we start the tour in the Hangar, where a little bit has been done. Actually, the only thing done was the painting of the underside of the Russian An-2 Colt:
Now that that quick view was done, we move on to the Shipyards.
In this first slip we have final details added to the HMS Revenge:
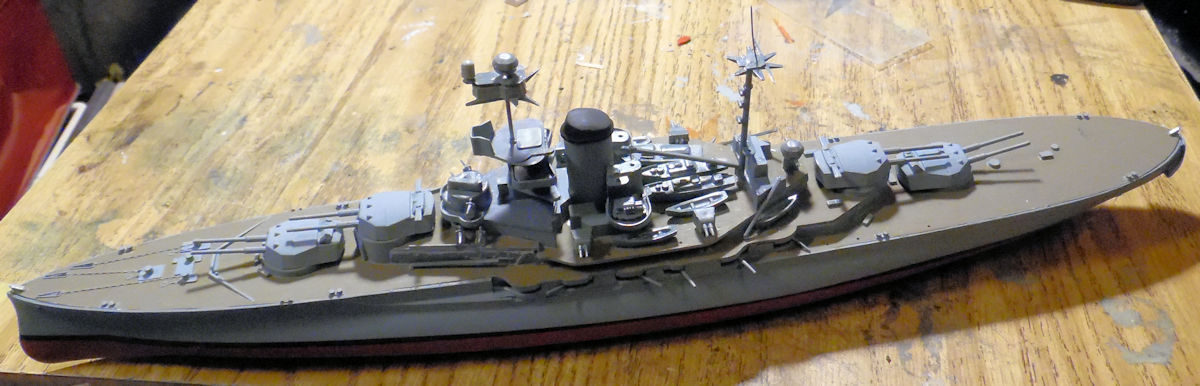
She should be wrapping up soon, hopefully. Until then, in the next slip we have our little Japanese LST which was painted up here and final detail parts added:
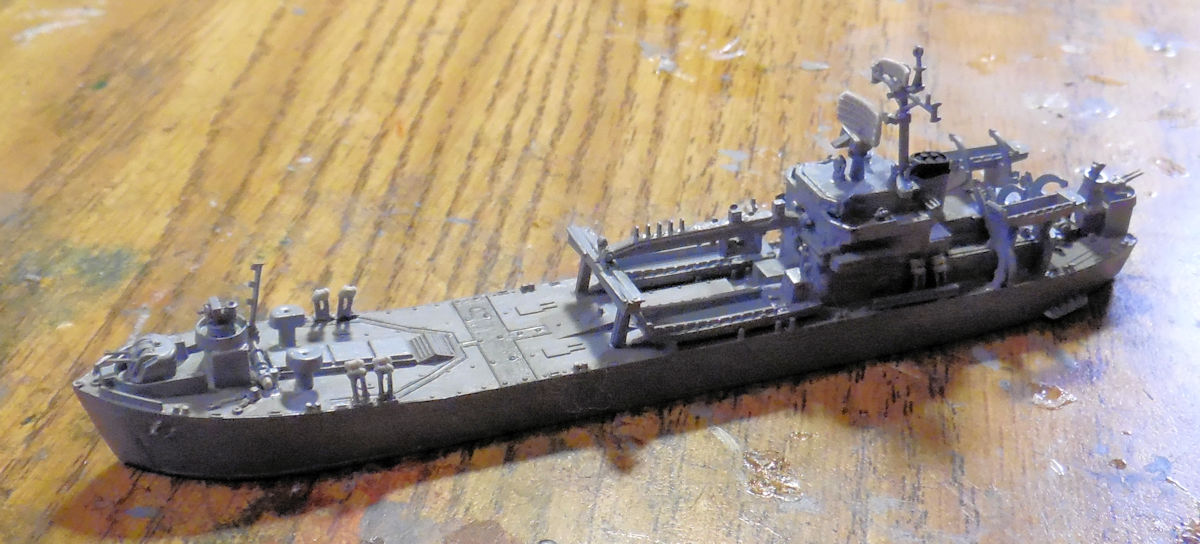
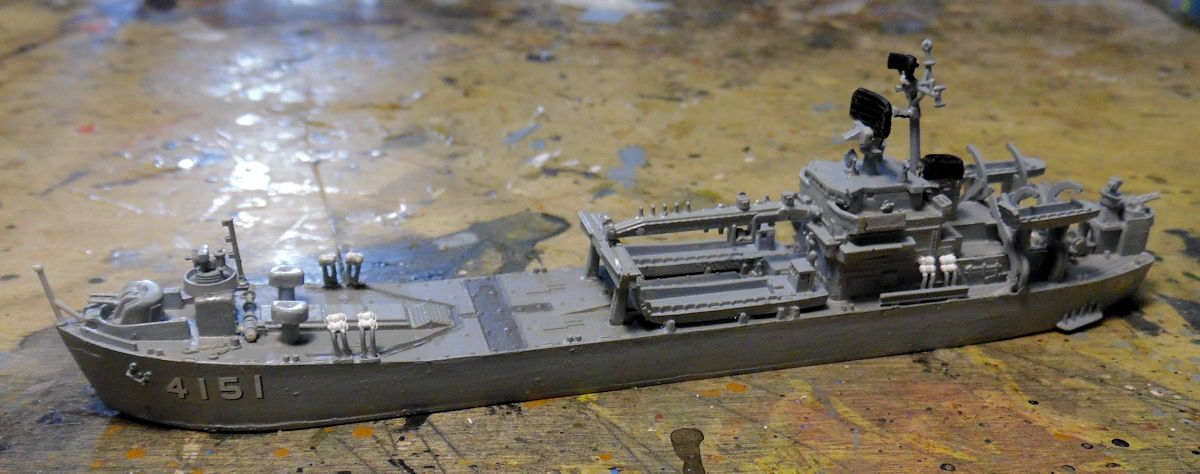
Final painting and decals went on next. This one is close to being launched:
In the following slip, the USS Albany has finally been completely built up the deck and superstructure are dry-fit together:
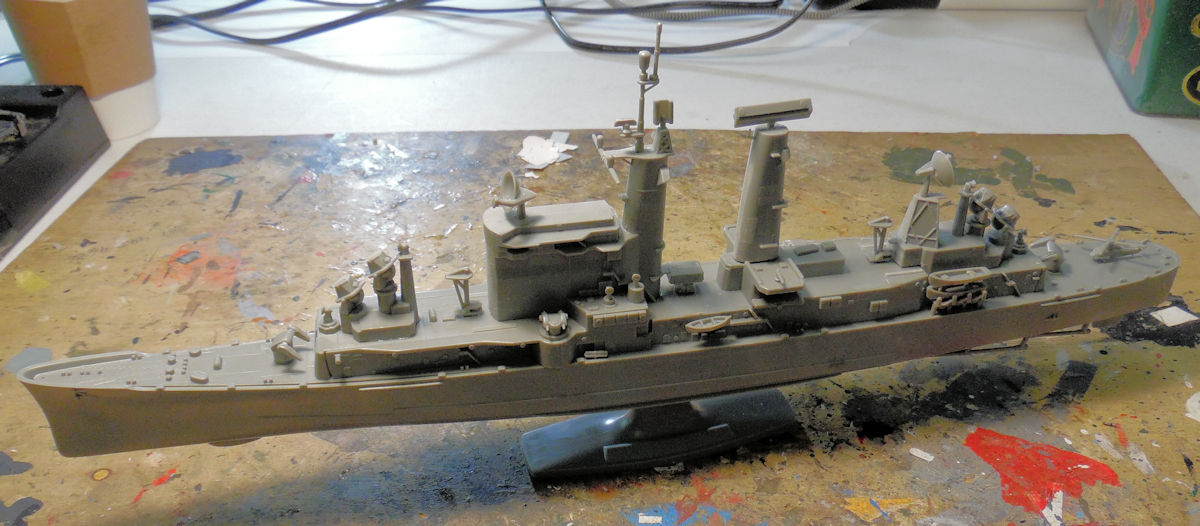
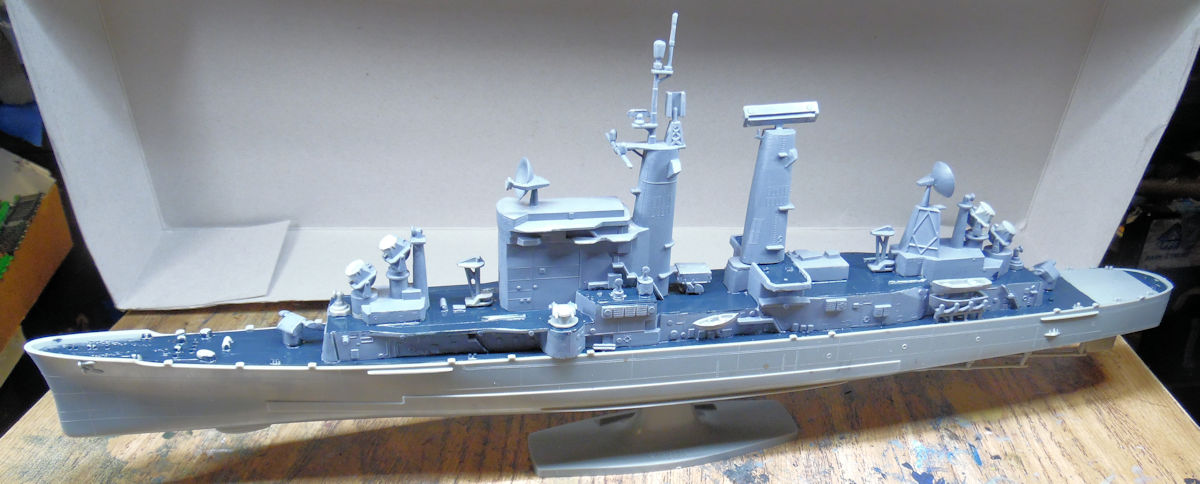
Next the deck and superstructure were given their base coats:
While that was drying, the bottom hull was painted with the red anti-fouling paint, then after it dried, it was taped off. The black boot stripe was then painted:
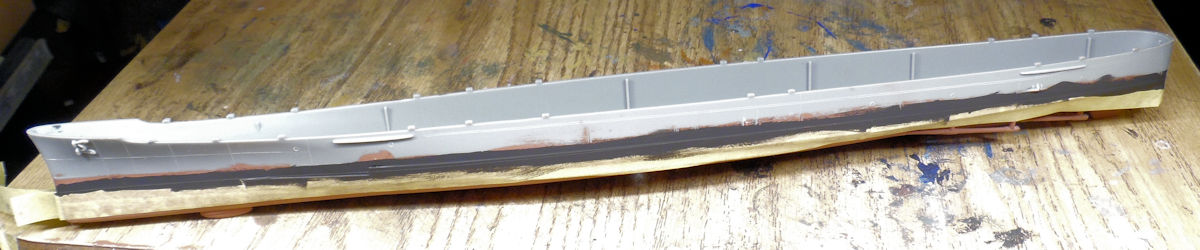
That was then masked off and the upper hull was then painted the same grey as the rest of the superstructure:

While that as drying, the rest of the detail parts were painted. Once dry, all the tape came off and the final result was revealed:
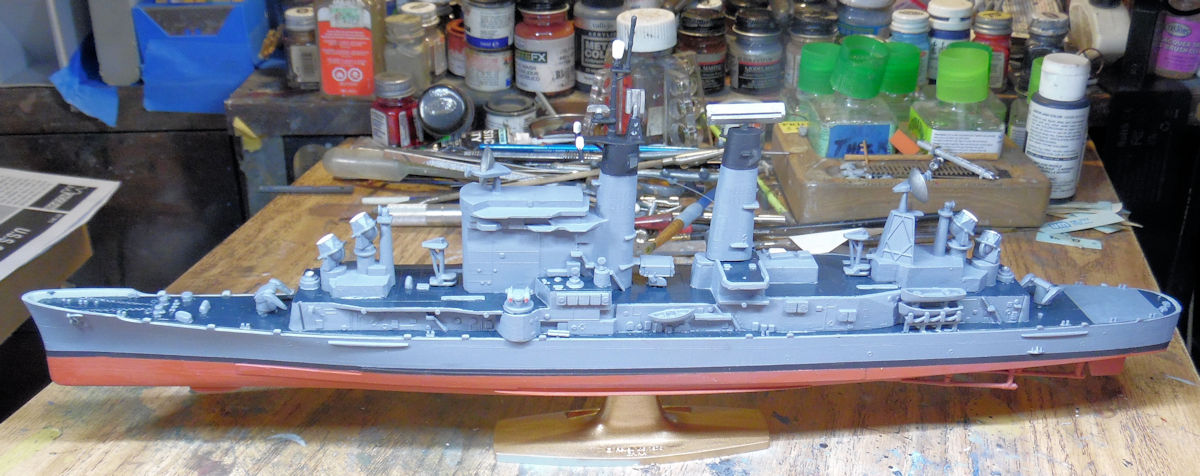
That concludes the tour of the Shipyards, now on to the Motor Pool.....
Here in the Motor Pool, the first bay has the WC-18 Ambulance all assembled and ready for paint:
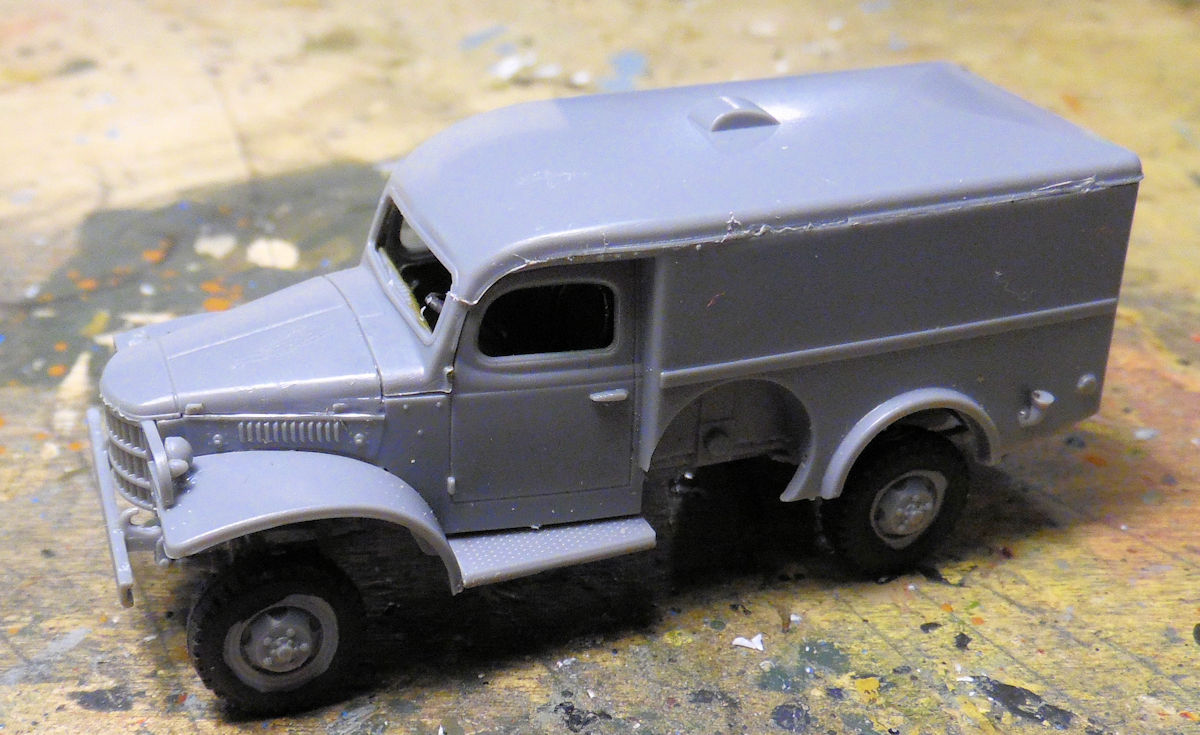
A base coat was then laid down:
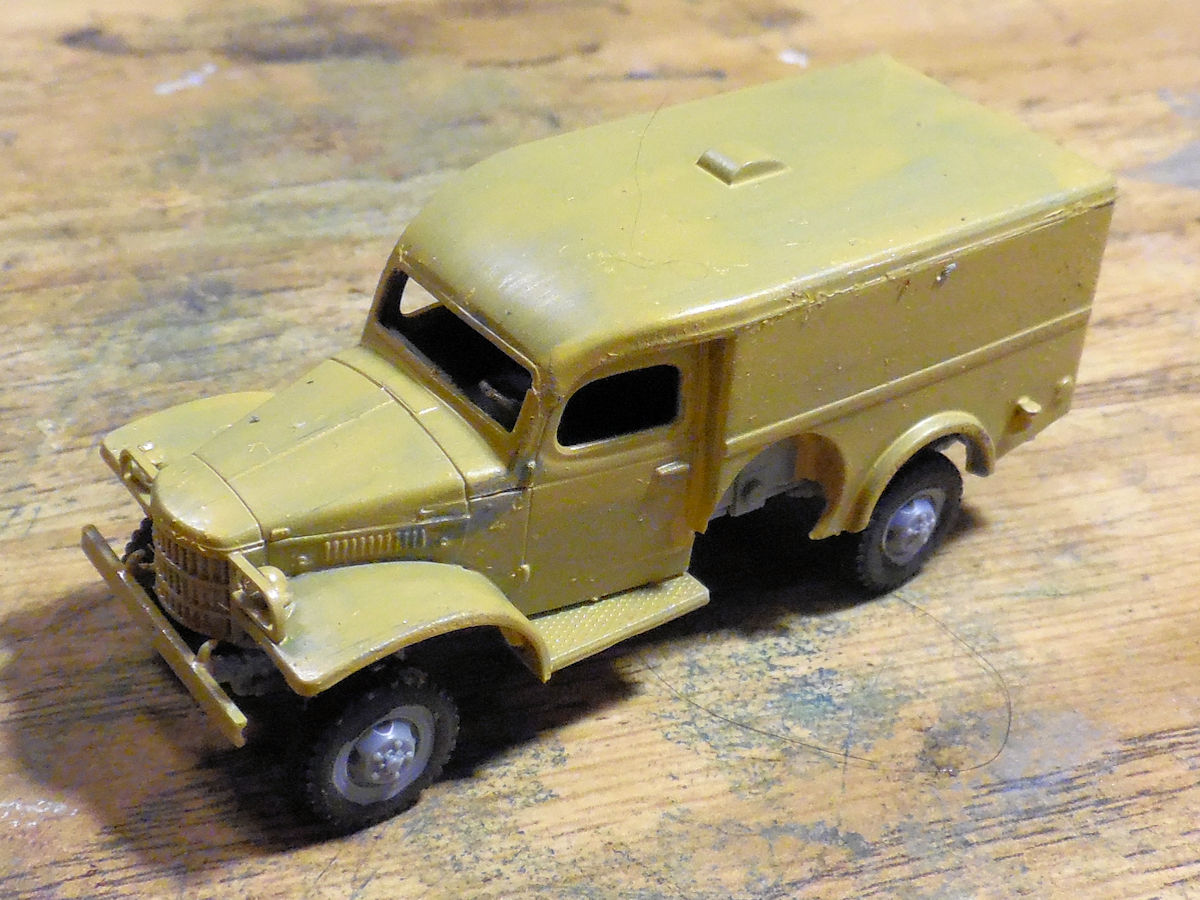
Followed by the camouflage pattern and then decals:
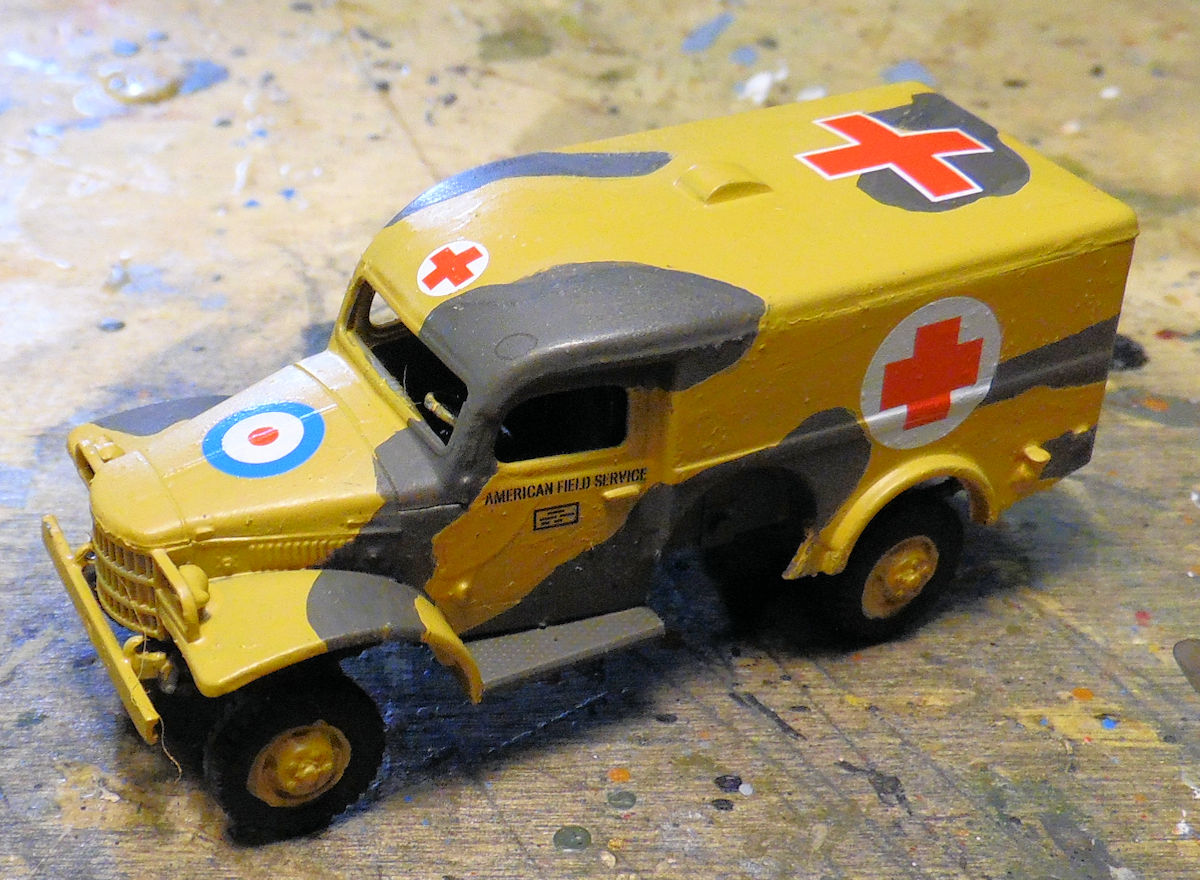
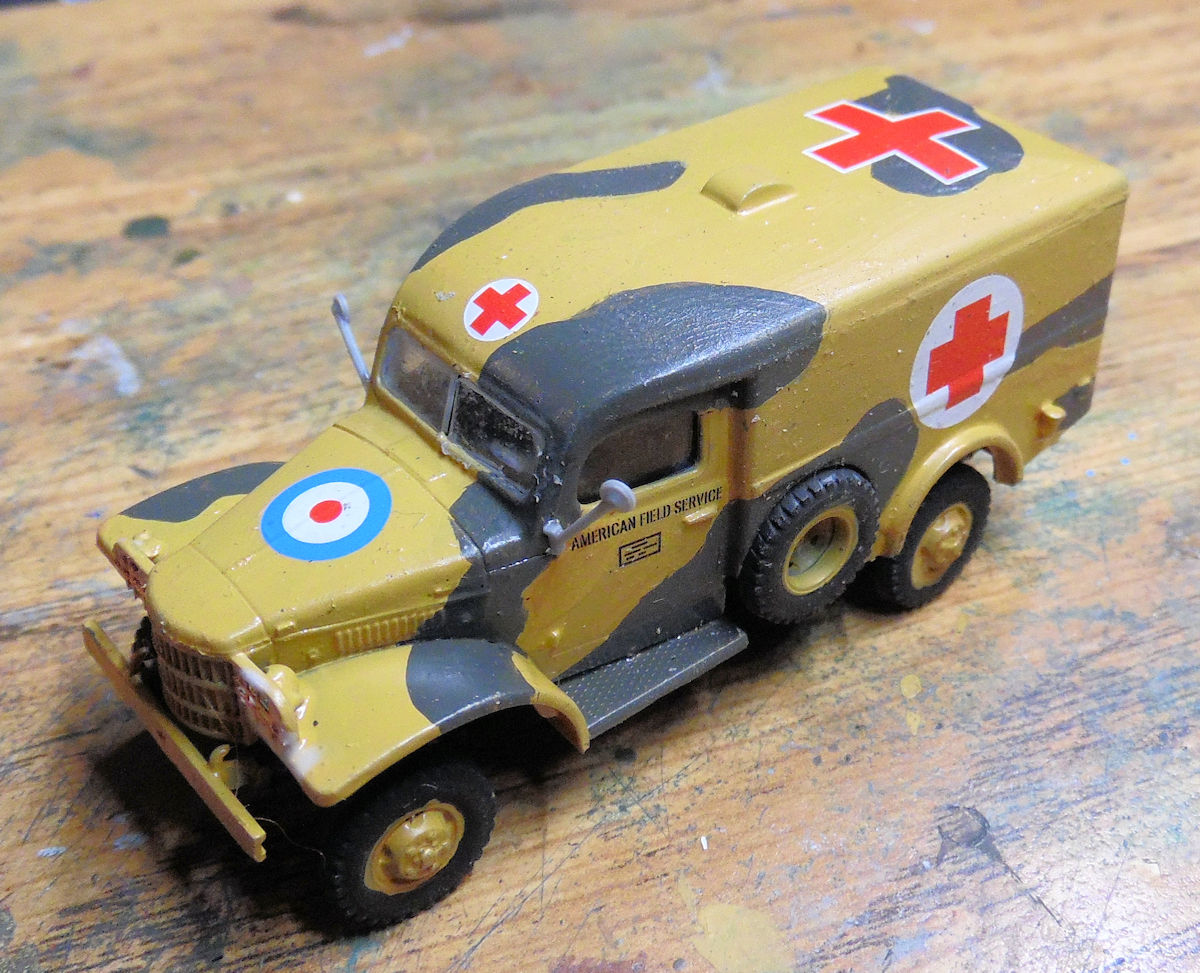
Final details were then added. This one is almost done after some touch up paint and weathering:
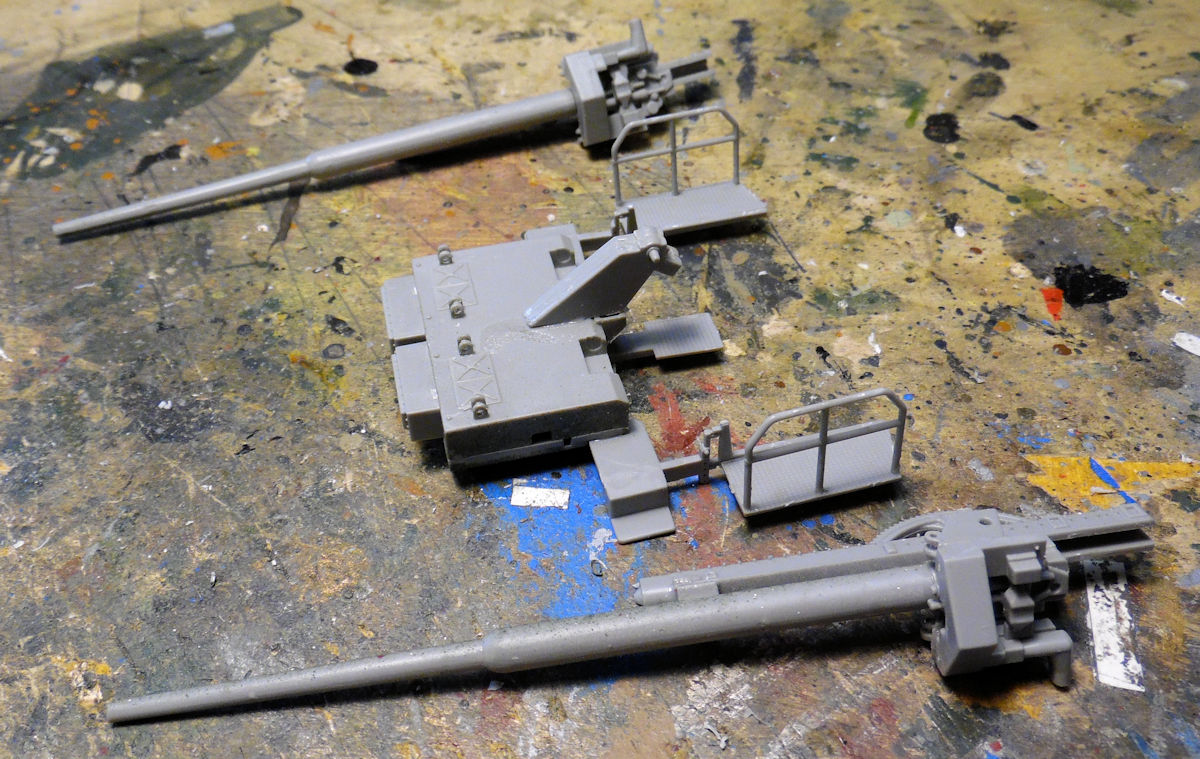
Moving to the next bay, we see the start of a German 128mm twin anti-aircraft gun. This is as far as we can get due to a couple missing parts that can't be fabricated or replaced:
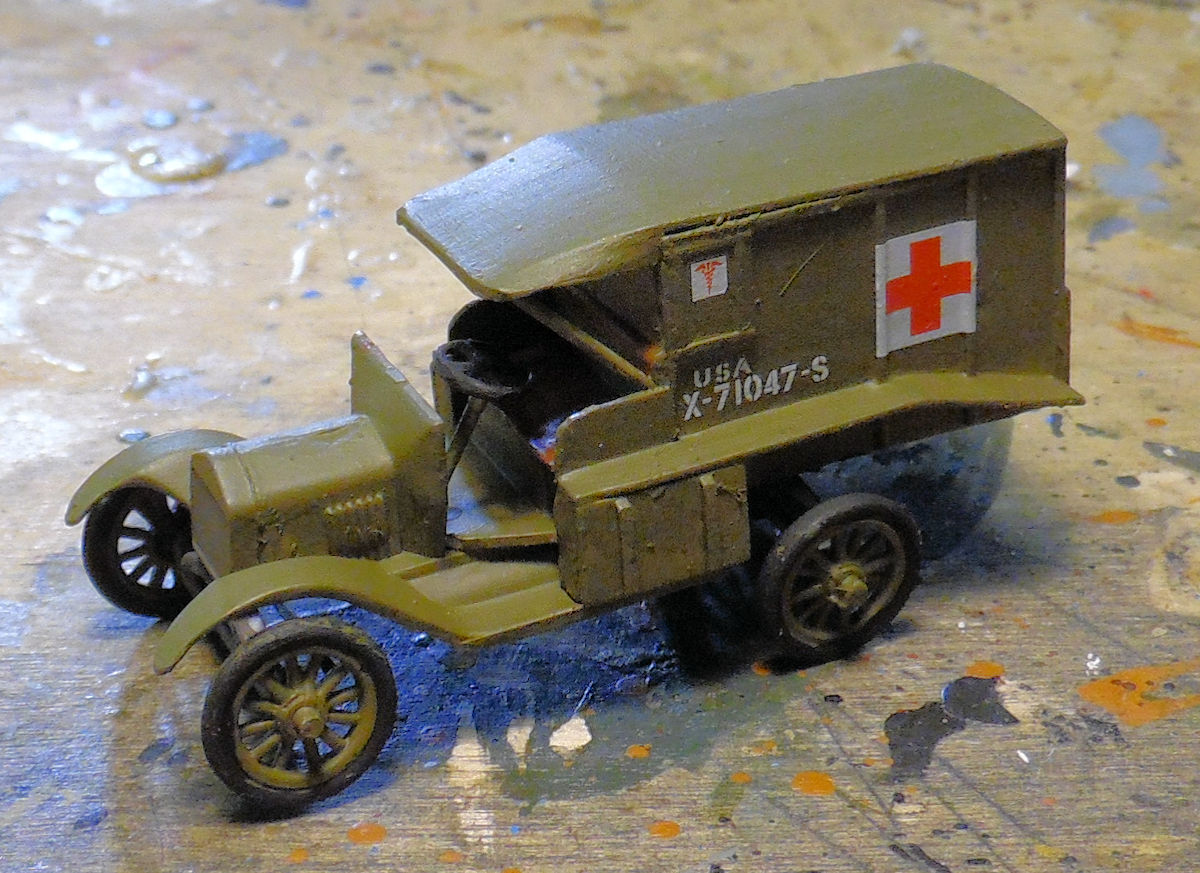
In the next bay there's another Ambulance, a WWI-era Model T ambulance for the US Army. Decals were finally applied. This one is also almost ready for deployment:
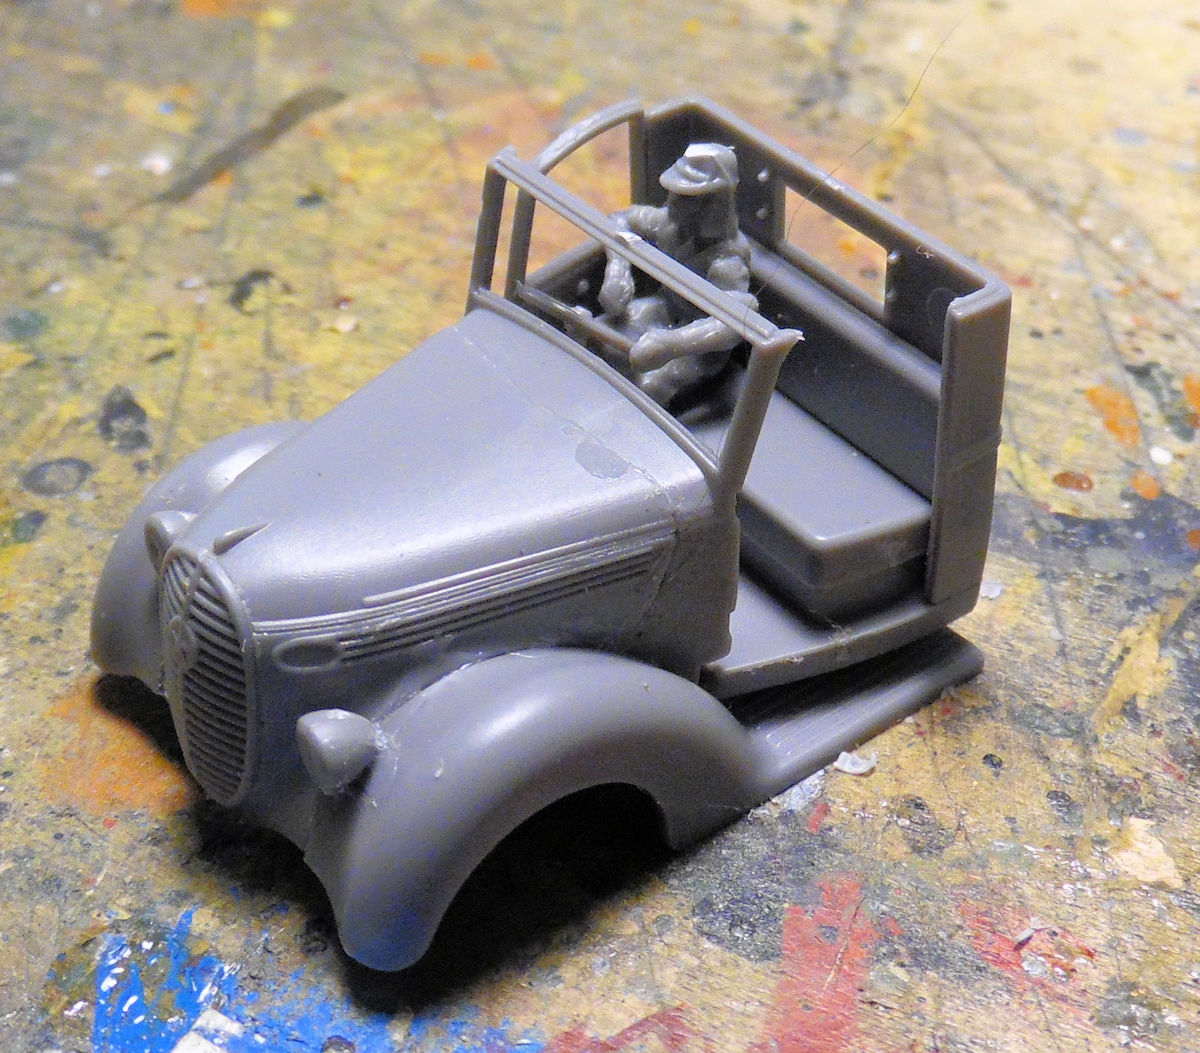
In the next bay over, we have a Japanese 917t cargo truck that had been started. This one came with a driver too:
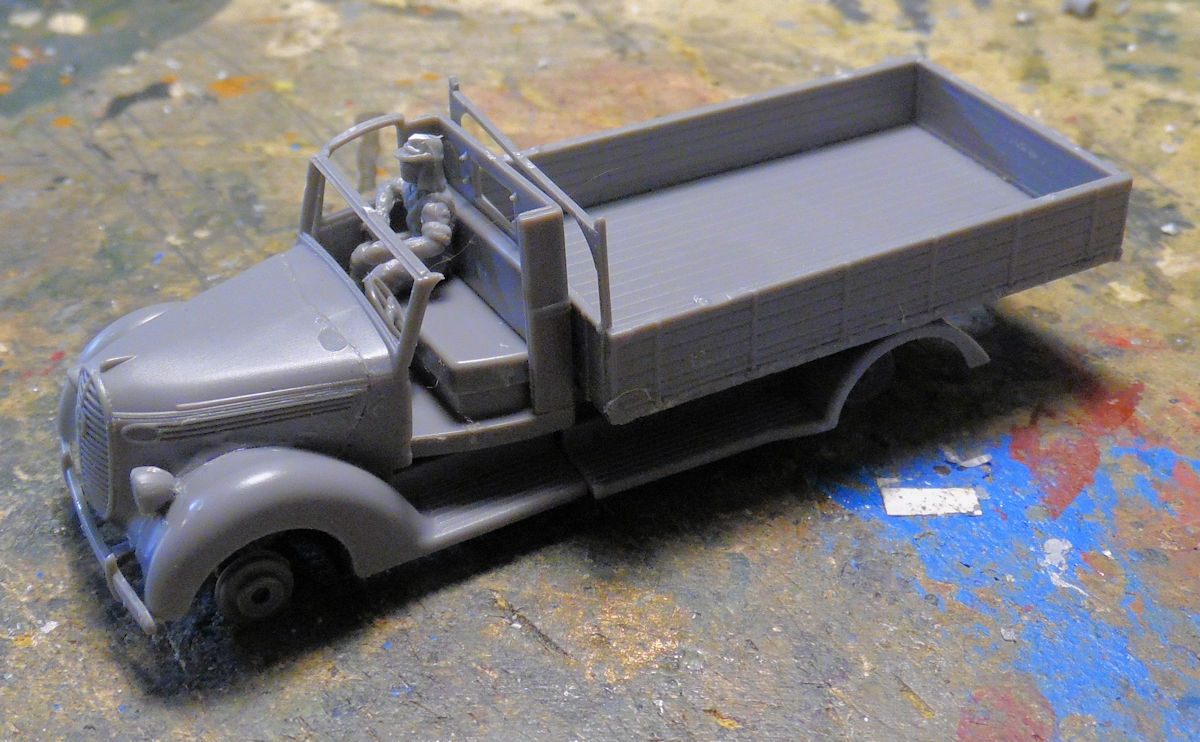
The truck bed and cab were then finished and added to the chassis:
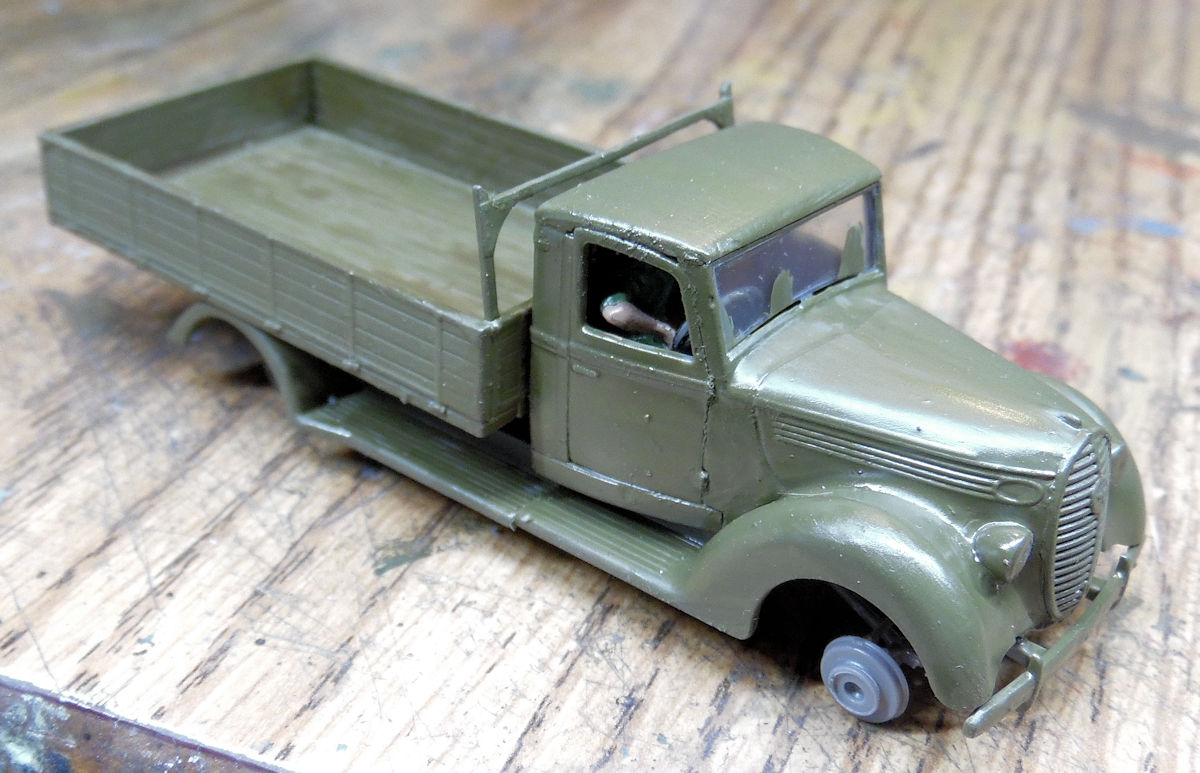
Later, after the driver and interior were painted, the whole thing was assembled and painted a base coat:
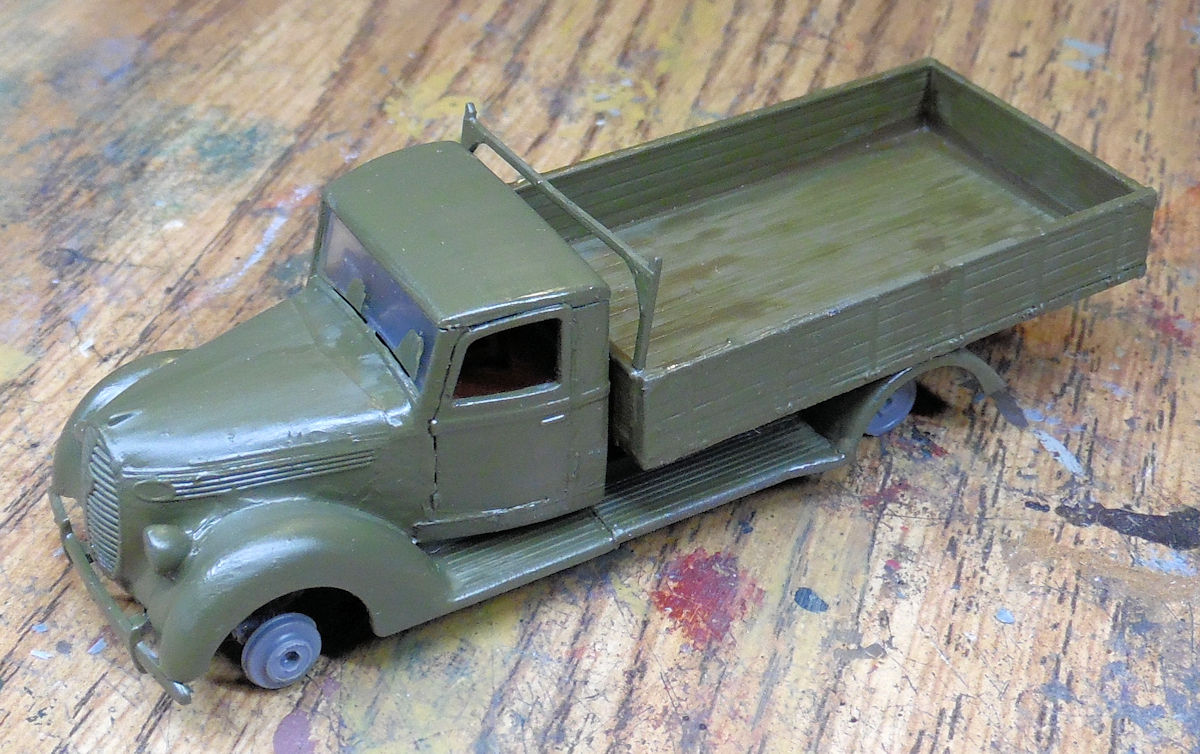
I tried as hard as I could to get that elbow to rest on the window, but no avail:
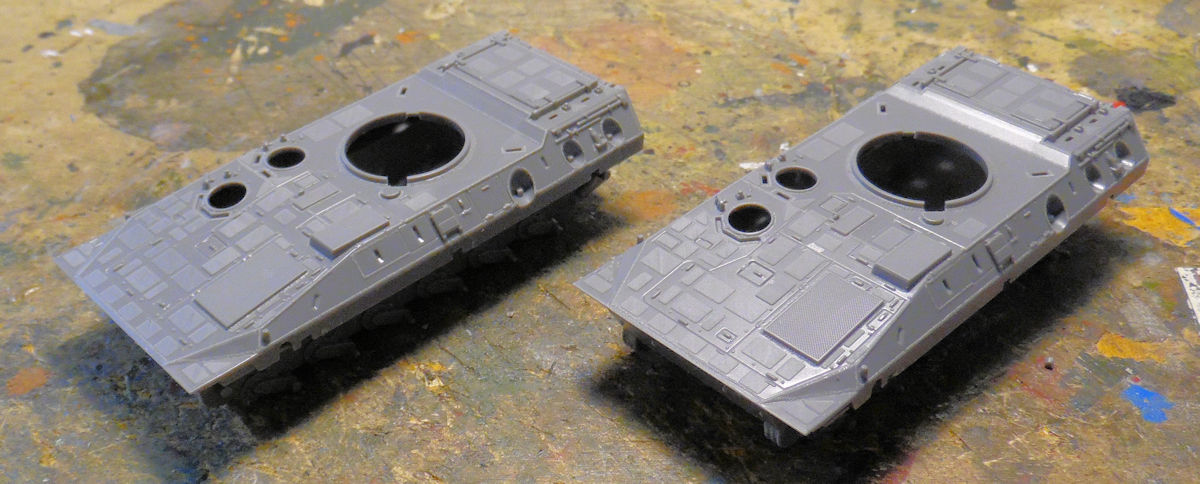
That's as far as we got on that, the next bay has some more Japanese vehicles started. These are from a two-in-one kit of Japanese tracked APC's. The main hulls were built up and later the wheels were all joined in preparation for mounting on these hulls:
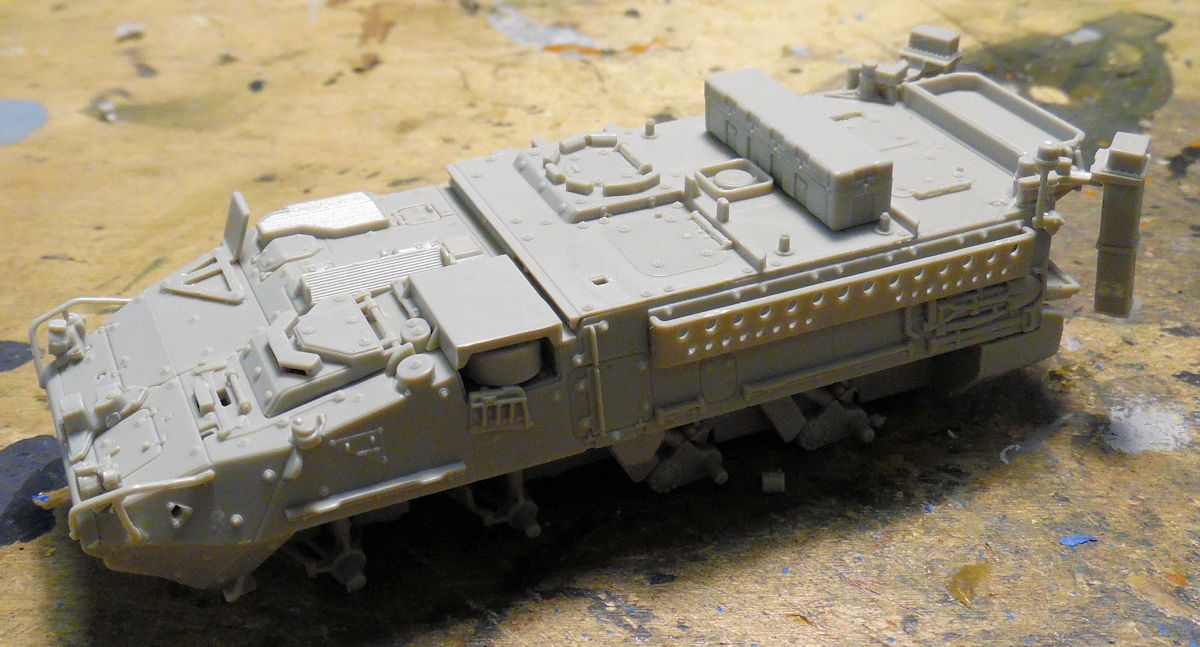
And in the next bay, we started another vehicle, this is a variant of the Striker engineering vehicle. The main body was built up with most of the detail parts added:
In this final bay, the little Saddleback Tank shunting engine got the decals on. These are the original Airfix decals from the early 1970's and I added no liquid decal film or anything to them:
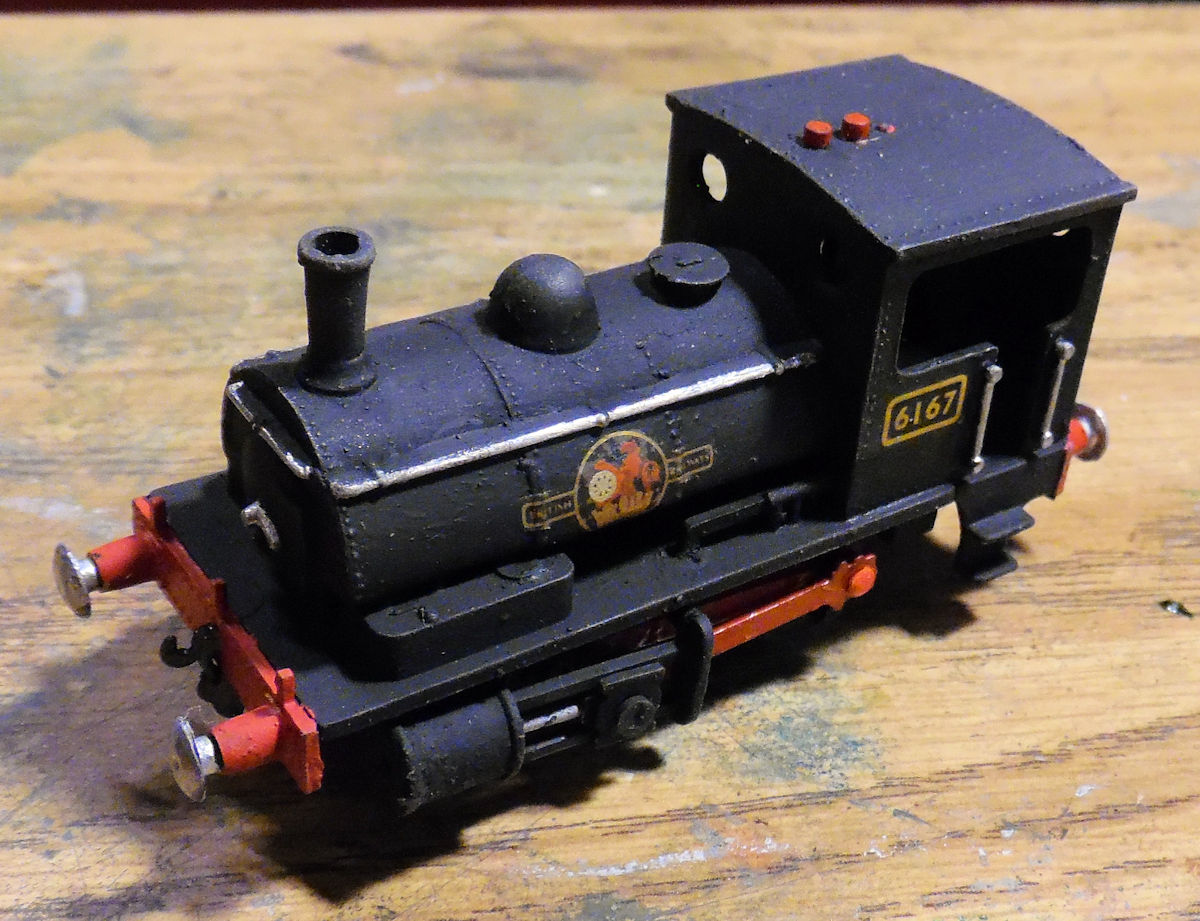
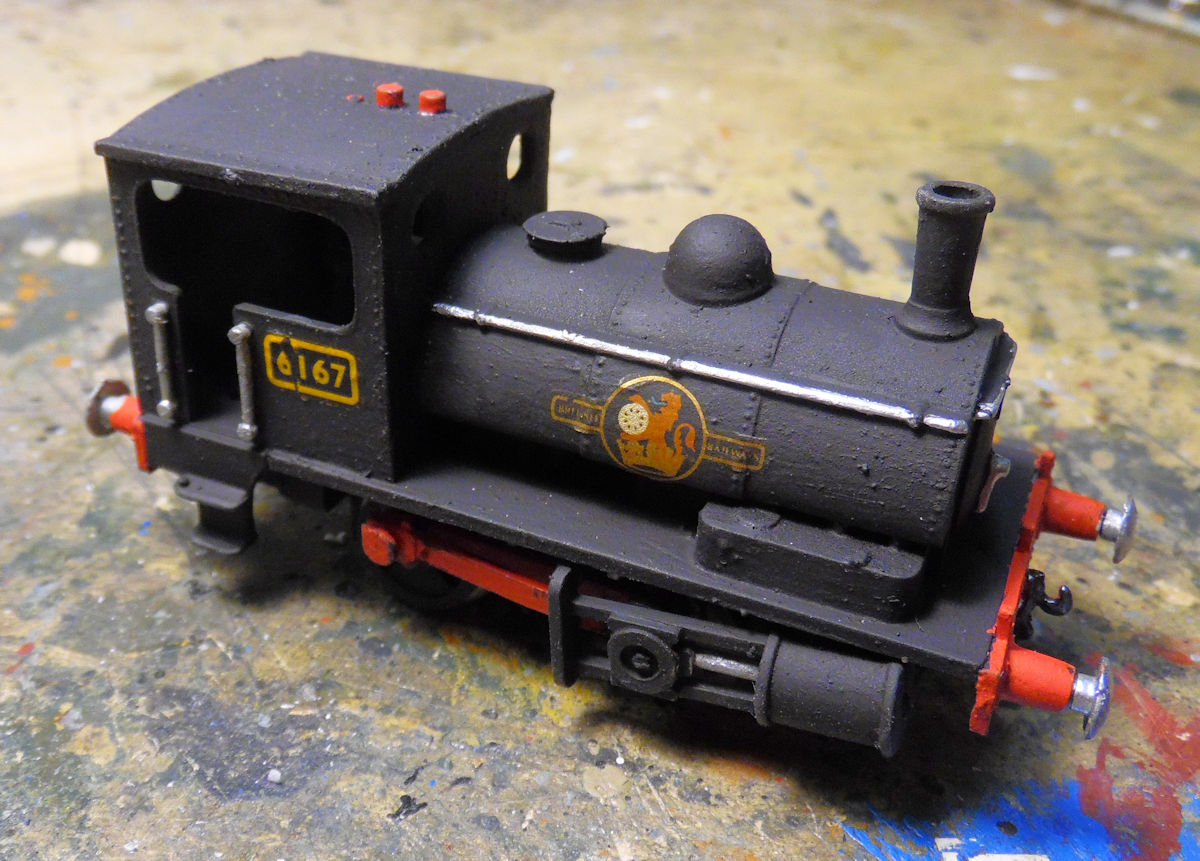
That one is also close to completion.
That concludes the tour of the Motor Pool but it's not the end of the tour. We have a lot going on in the back lot and the Miscellaneous Workshop.
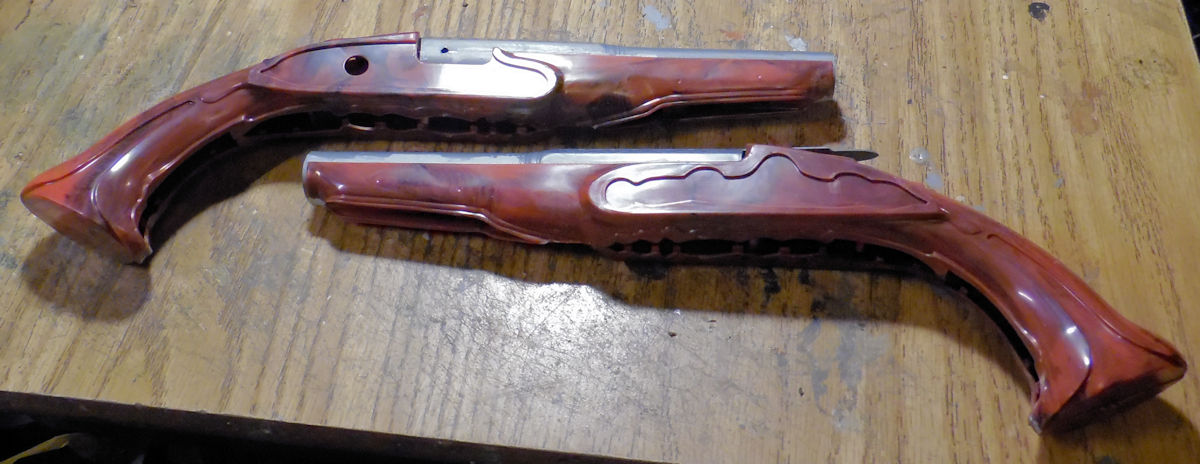
First, in the workshop, we are working on these 1/1 scale models of some 1800's era dueling pistols. The main stocks were built first, and the barrels after. Then they were dry fit to see how they fit:
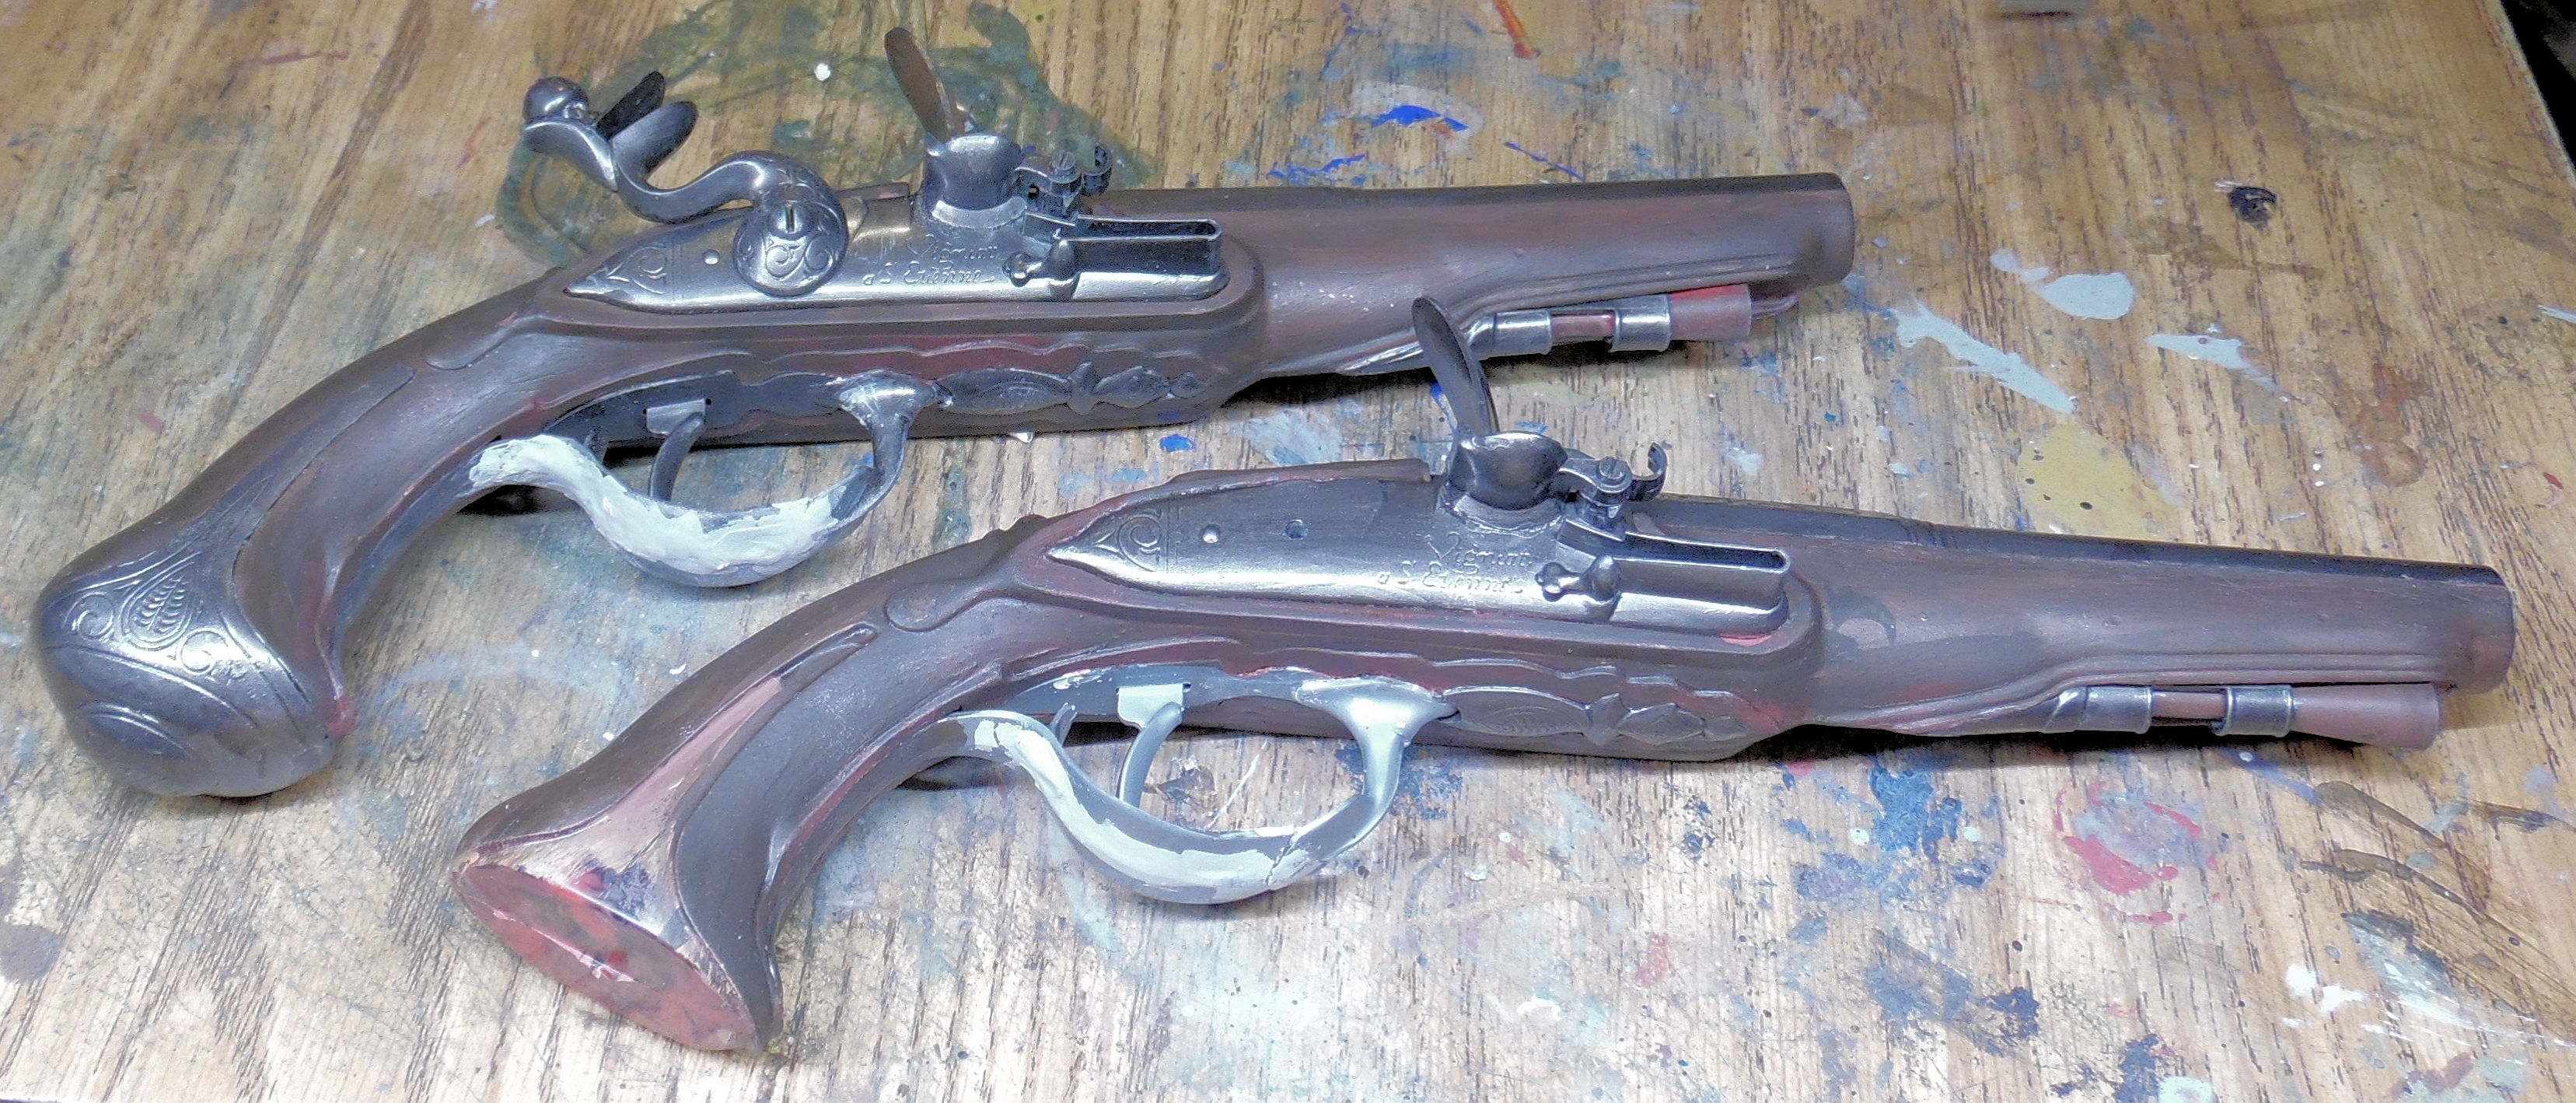
Later I tried to come up with a better color for the wooden parts, while painting the metal parts with Vallejo Metallics Steel. Then I assembled all the parts to complete the two guns, save one: one have of the butt plate is missing so I built the second gun with everything but that. There were a lot of sink marks and blemishes in the trigger guards to I slathered a good amount of Mr. Surfacer 500 over then to fix that:
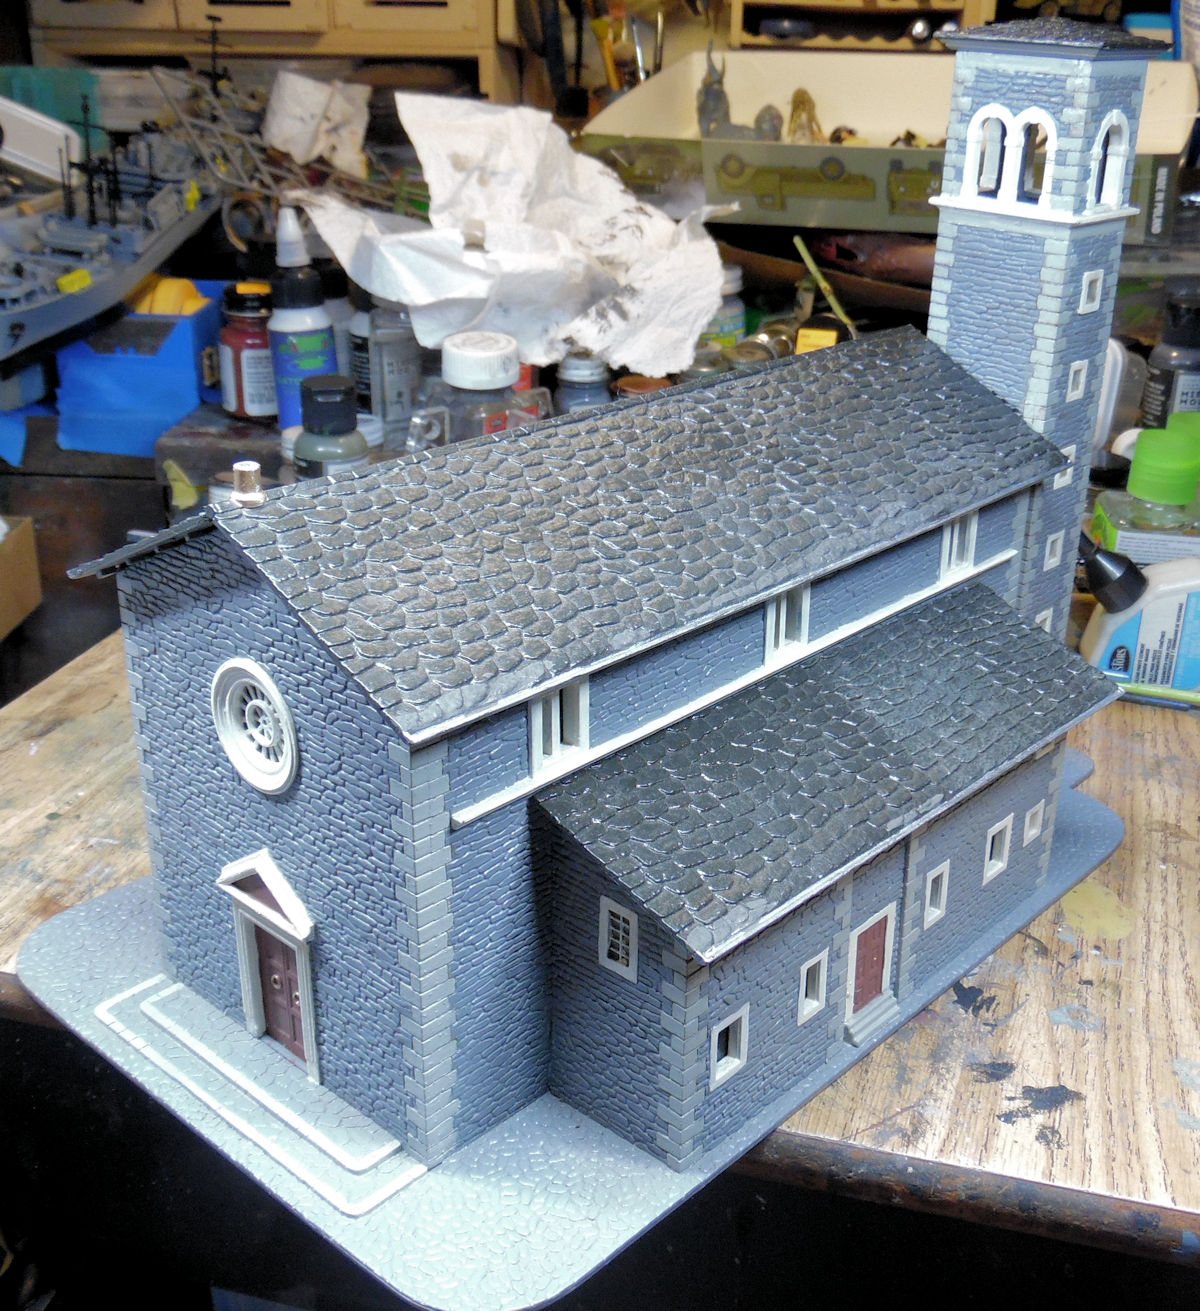
Now in the back lot, we finally moved along on a project that had been languishing for years. This is the Italeri 1/72 scale church I built several years ago. I ordered some stained glass window transparencies for the windows, which I promptly put away (i.e lost) until recently. I found the transparencies and immediately added them to the church windows. They can't be seen very well here:
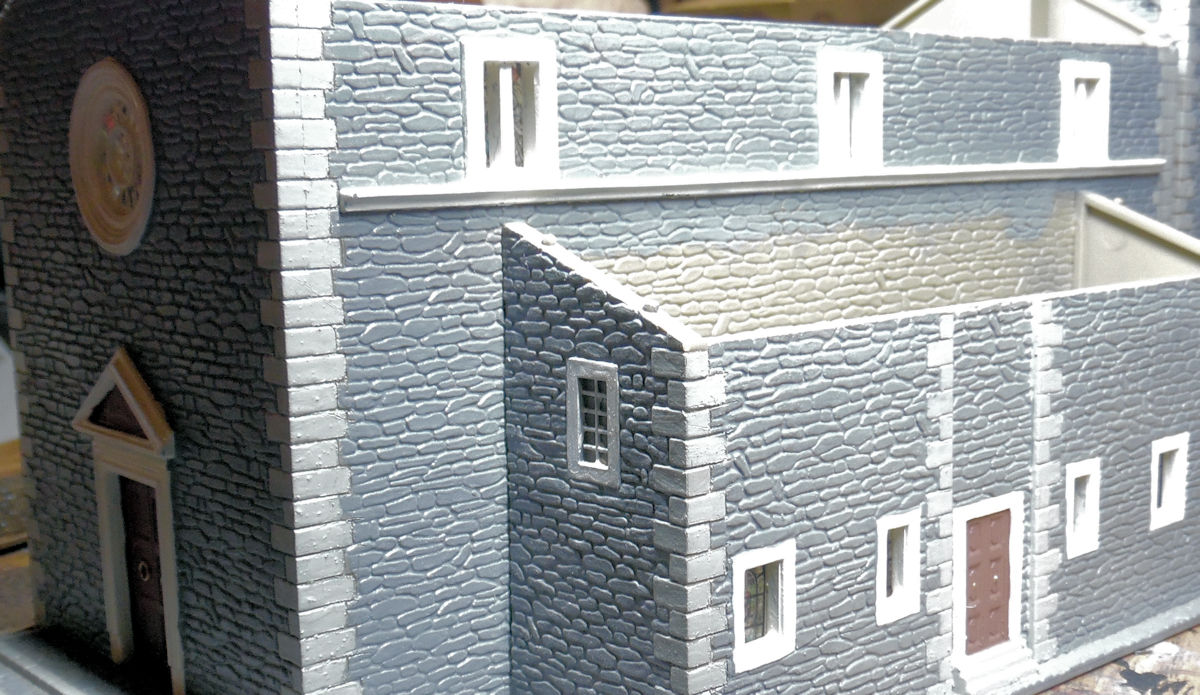
I tried to get better pics, with a light source inside but they are still difficult to see:
Here's the last shot showing the windows as best I can:
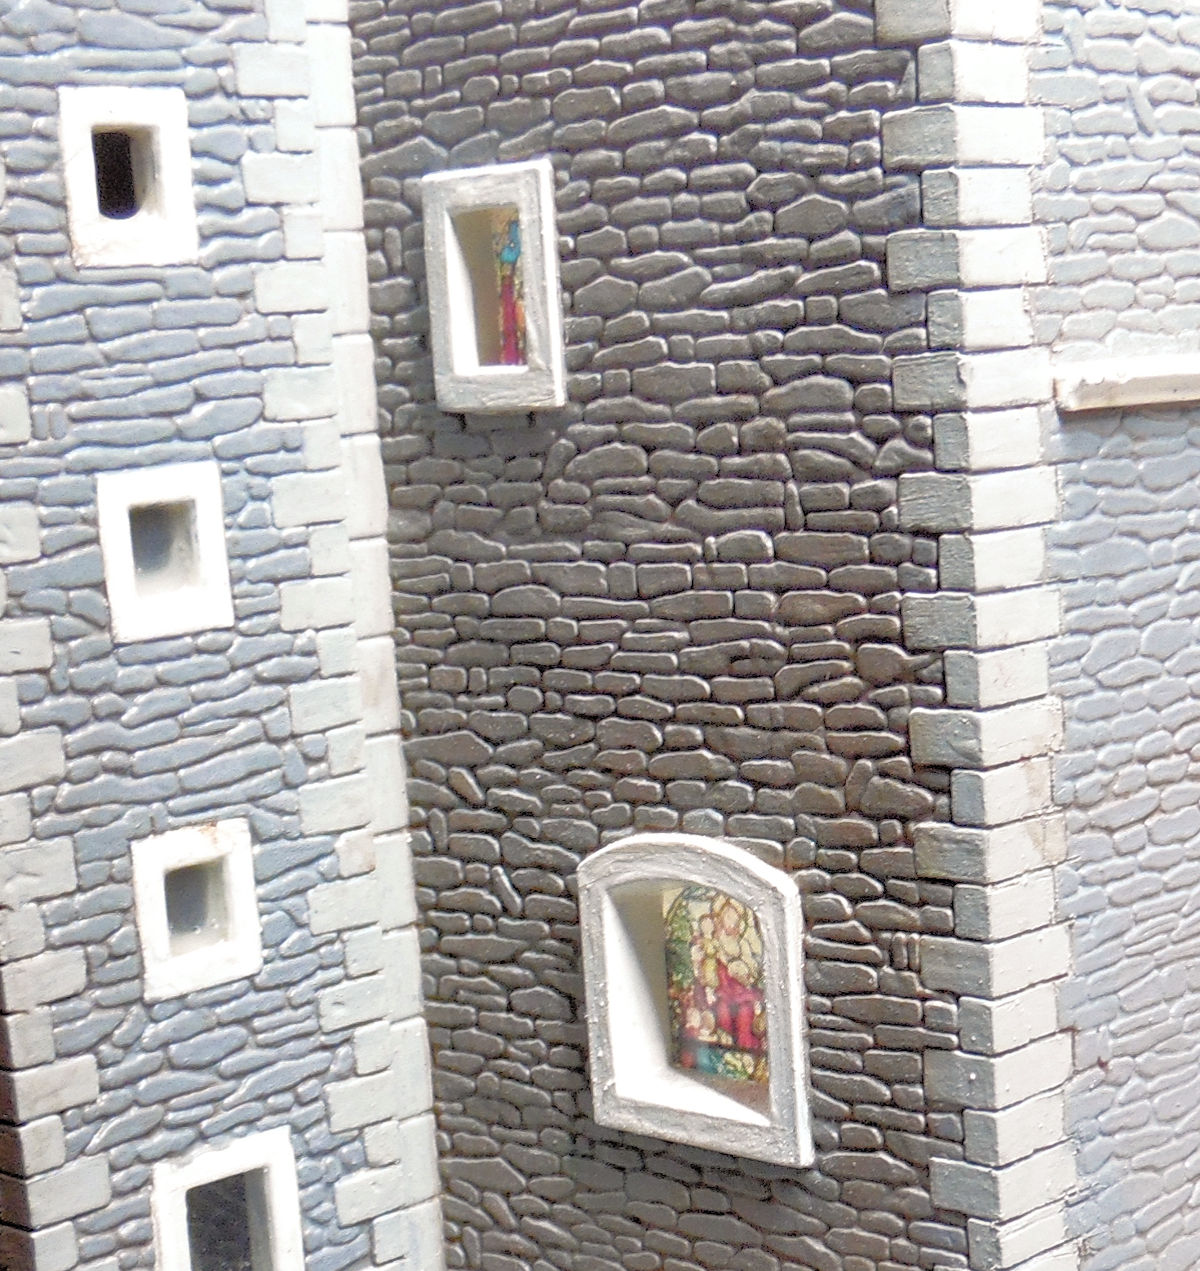
So yes, Virginia, there is stained glass in the windows....
Moving on, the Farmhouse needed some touch up work, but I was out of the blue I originally used. So I tried a different one to see if it would look better:
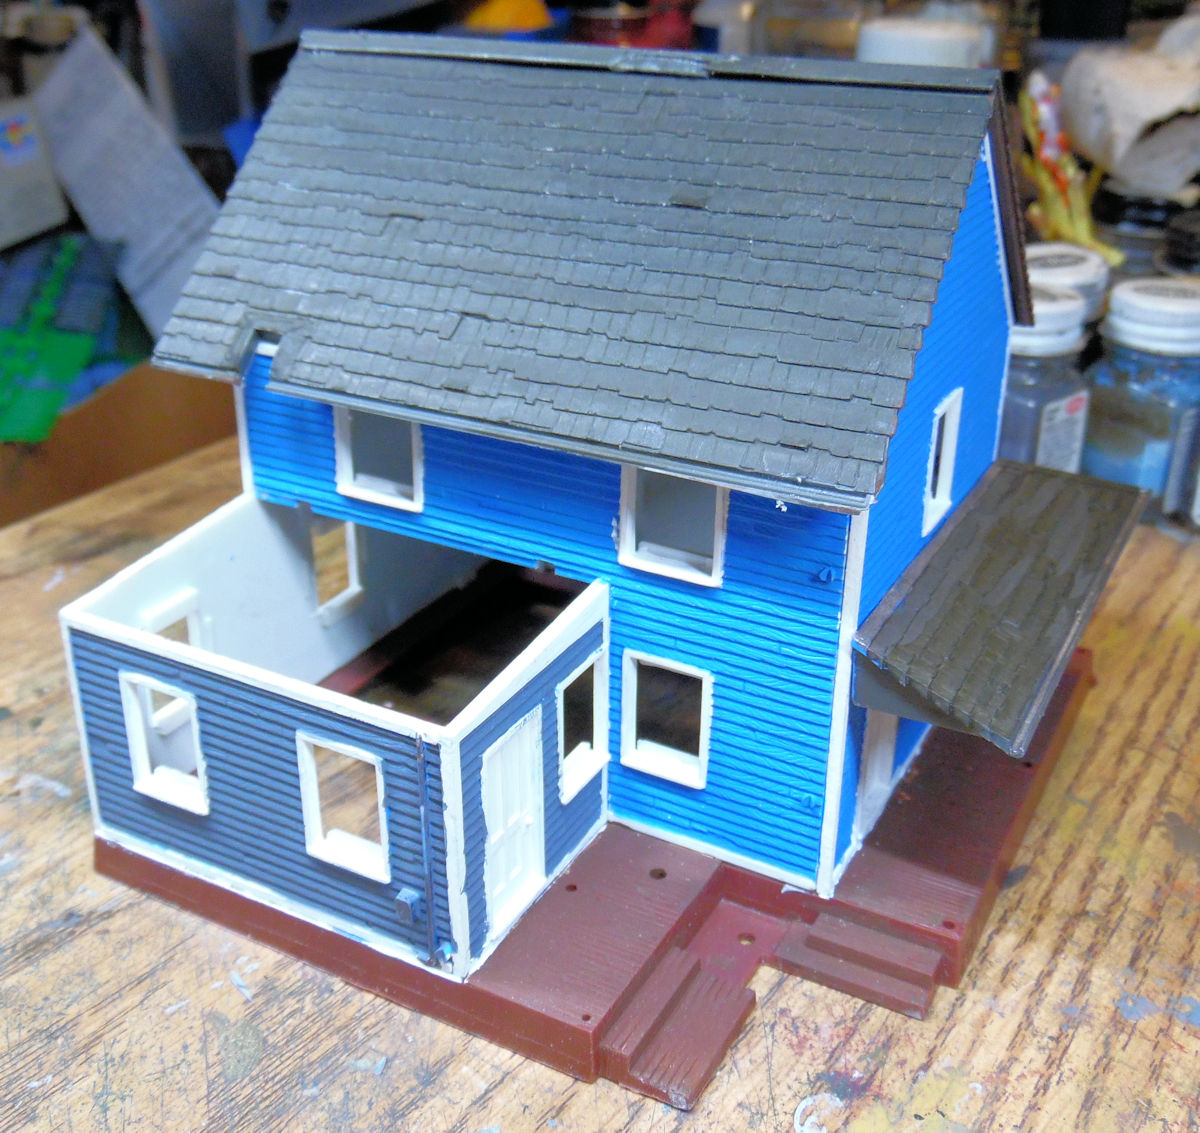
I wasn't happy with it, so I found a better blue and repainted the whole house:
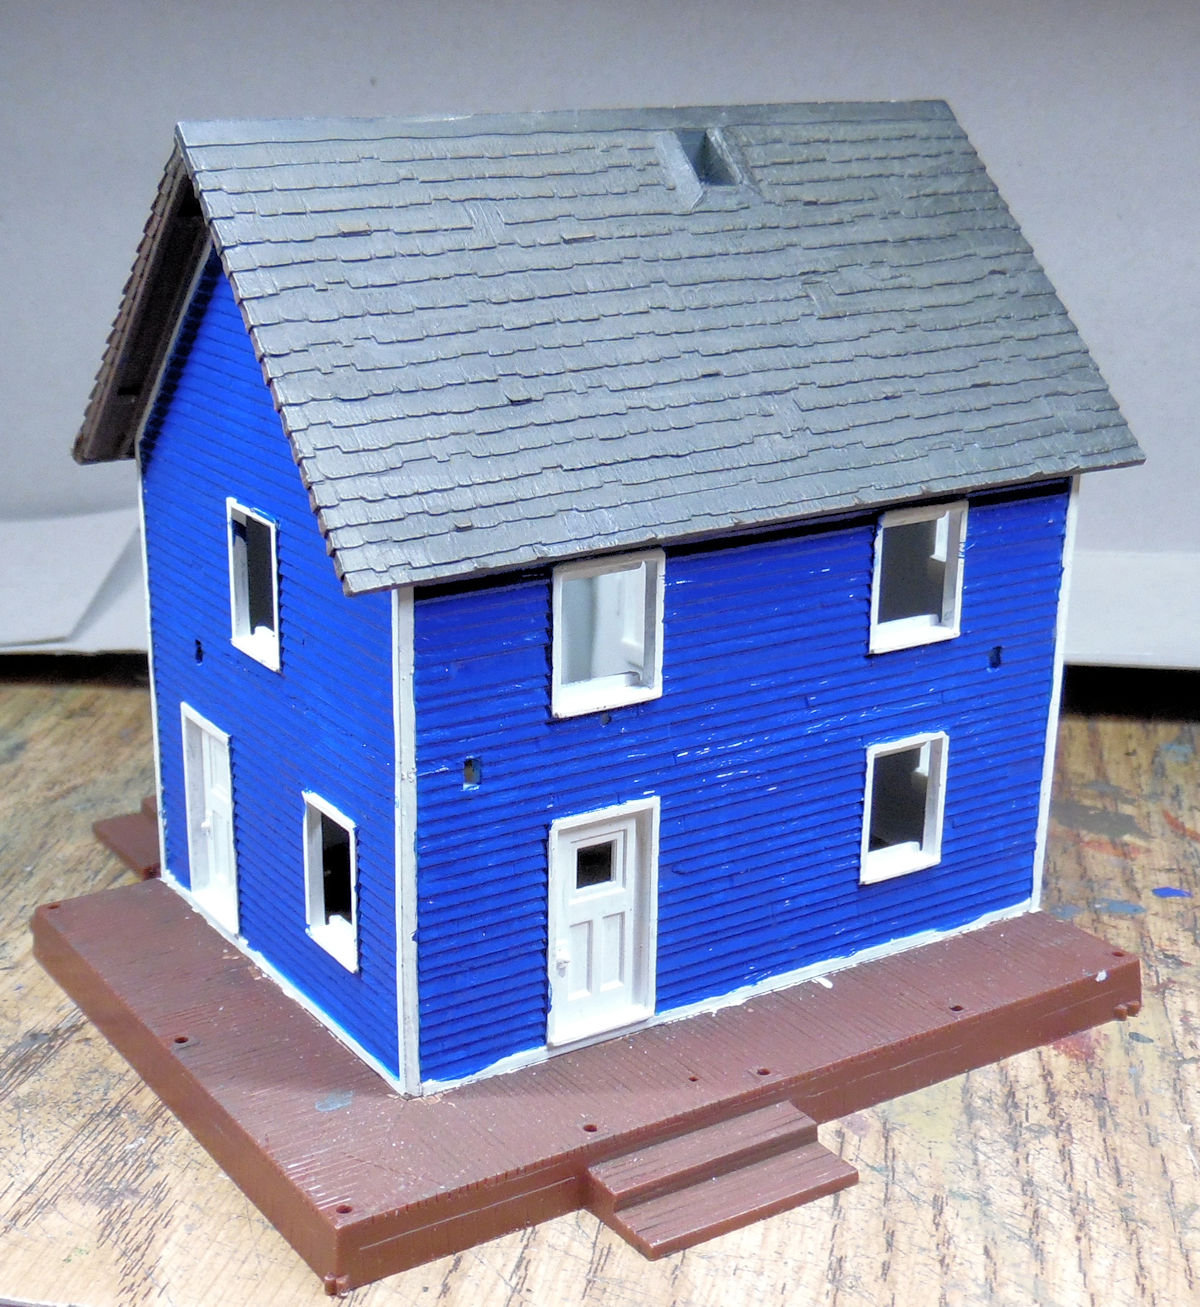
Next the garage was painted with a brown trim on the doors and windows:
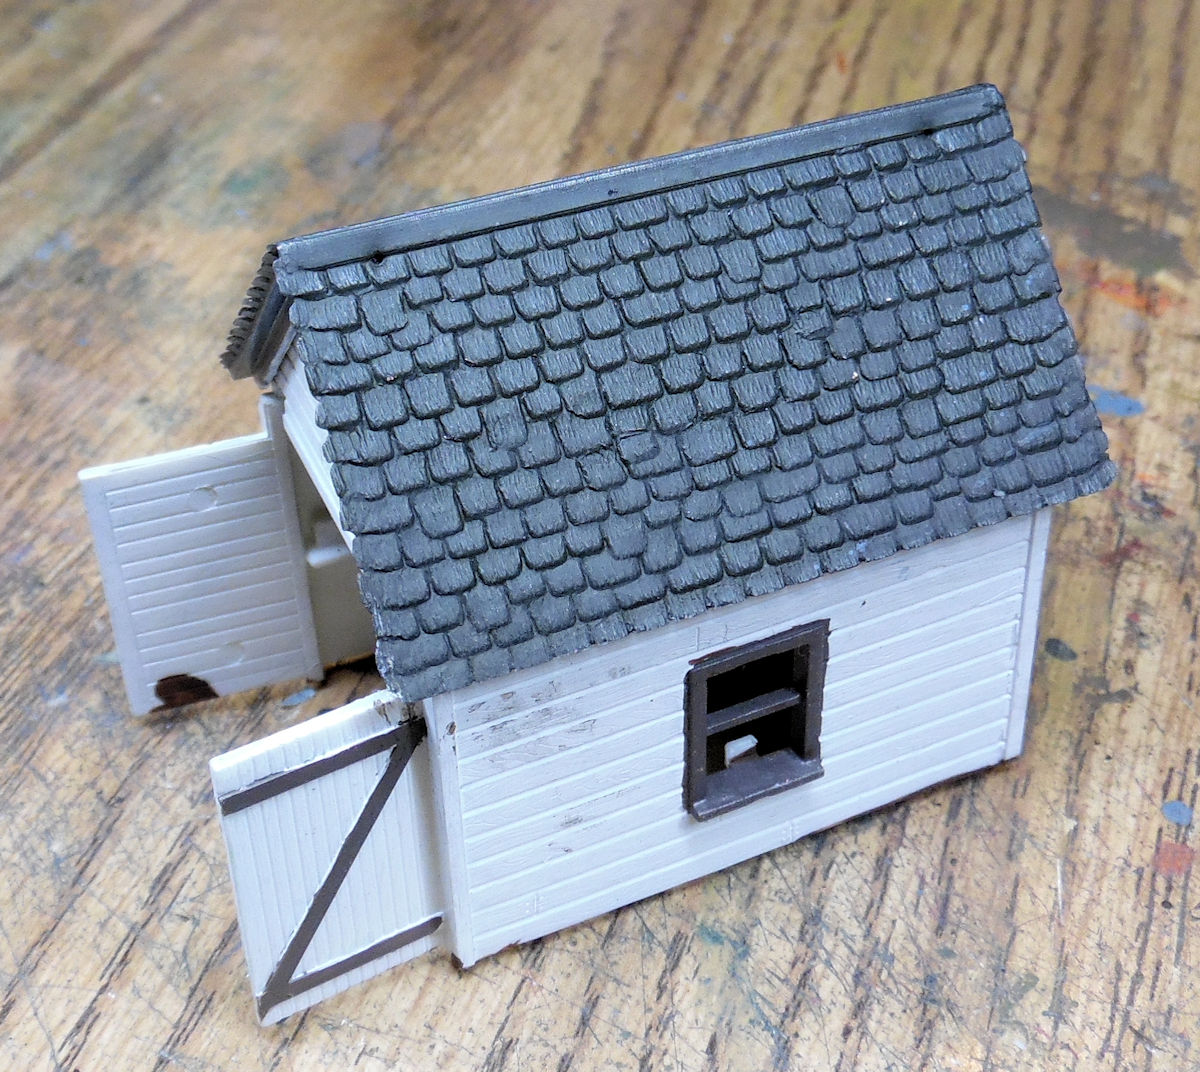
That's gonna need some touch up as well.
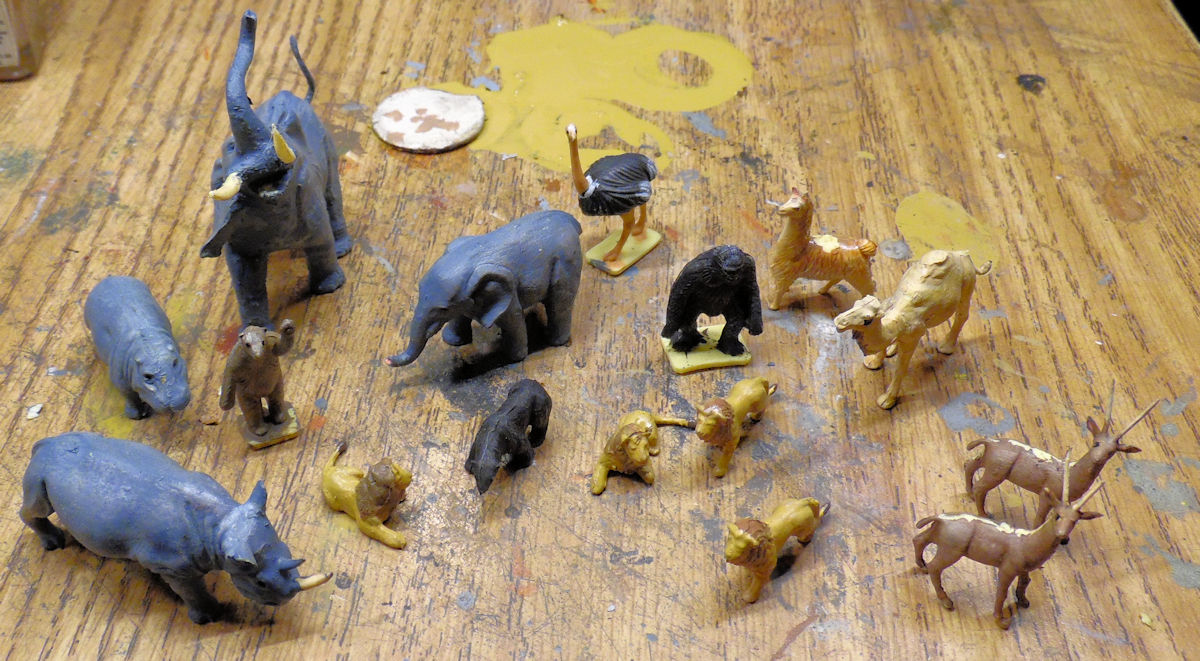
Finally I continued to work on the Zoo animals, getting half of them down and removed from the sprue. A lot of touch up will be needed:
Later, a lot of that touch up was done and even more animals were completed:
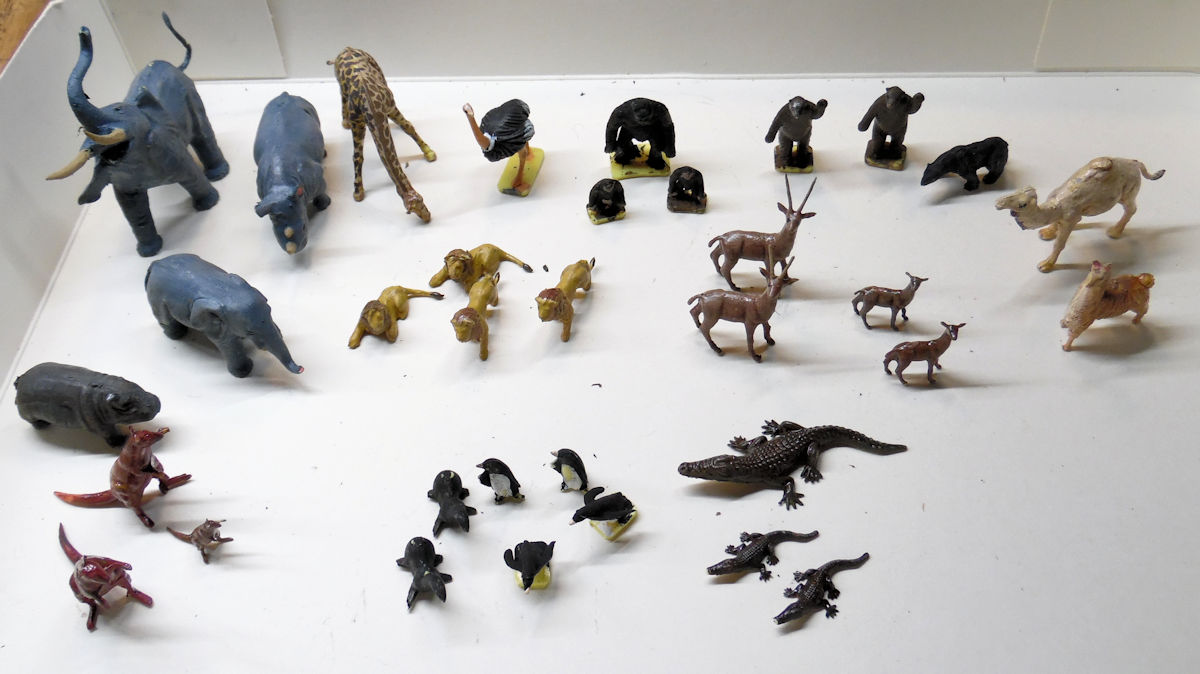
Now to work on getting the enclosures built and make up my Zoo!
That concludes the tour of these facilities, please exit the trams in an orderly fashion and thank you for stopping in and remember, comments are welcome.


