Page 2 of 28
Re: 1/32 Hasegawa Bf109K-4 Weisse 8
Posted: Sun Apr 28, 2019 9:58 am
by jkim
Hey Thomas! You can call me John.

Yes, I also post over at LSP under the screen name Thunnus. I don't know why I chose that... I shoulda just kept it JKim to be consistent but oh well.
The pigment wash that I use is just a homemade concoction of pastel pigment and water. I use appropriate colors of pastel chalk and scrape some dust into a cup, add a smidgen of dishwashing soap and water and voila, pigment wash!
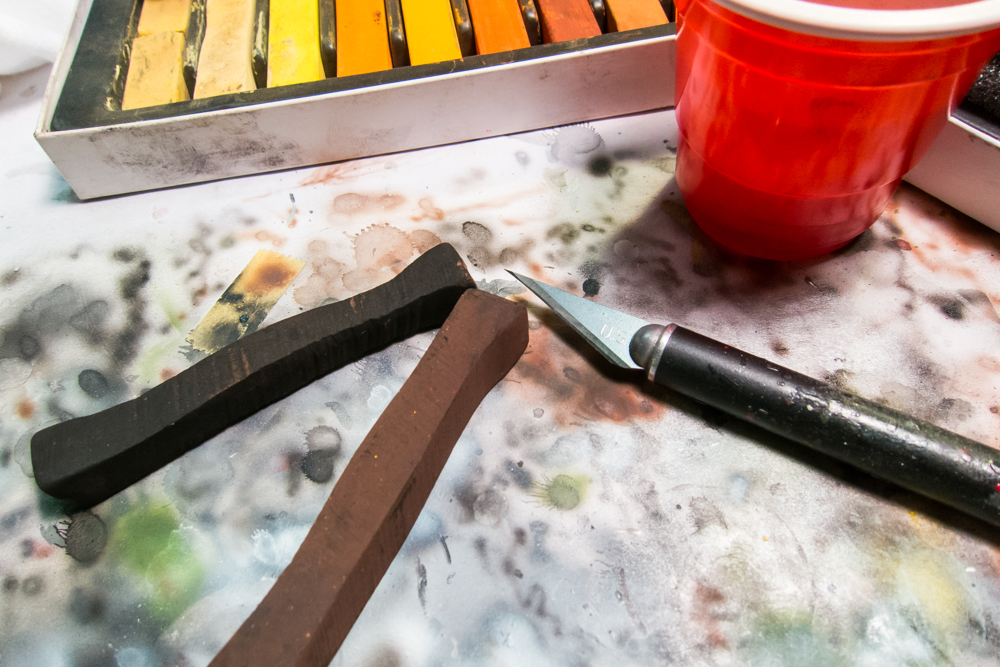
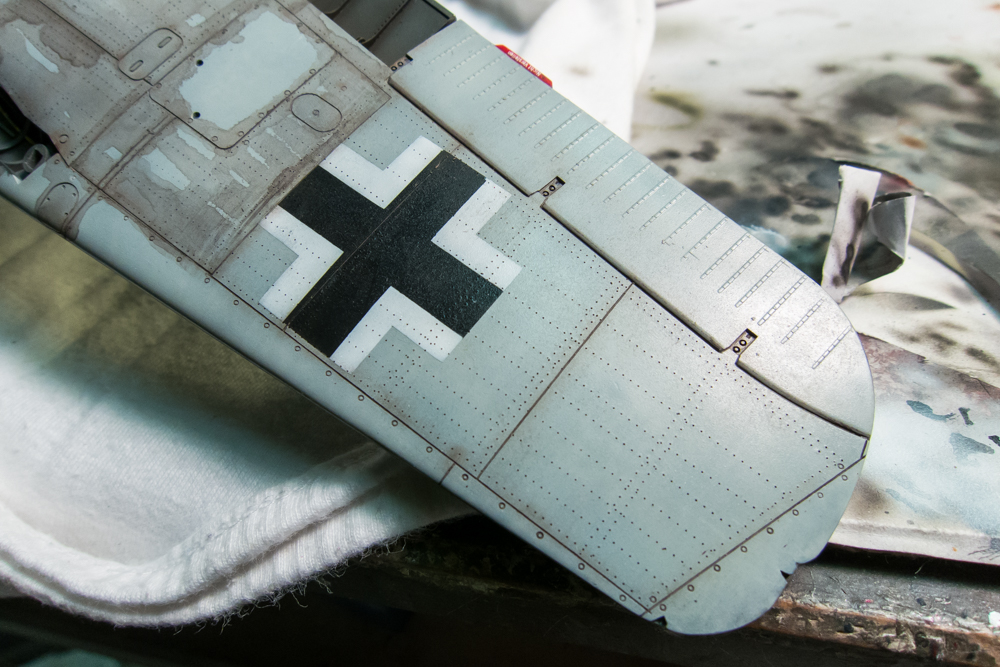
I distribute the wash over the model using a paintbrush.

After it dries, I wipe it off using a damp paper towel. The remaining wash caught in the recesses highlights the detail.
Re: 1/32 Hasegawa Bf109K-4 Weisse 8
Posted: Sun Apr 28, 2019 10:09 am
by BlackSheep214
So that’s how you do it! I had bought some grey color chalk set to learn how to do it. Now I have to look for the brown color chalk set. It does look very easy to do.
In all honesty, I look to you, Kenny, and others to learn the different weathering techniques because you make it all look too easy. I’m still intimidated to this day in trying because I’m always afraid I’ll mess it up or it’s all wrong. I guess I just don’t have confidence yet but still want to do it regardless. I’m more of a type of person that feels I need someone physically here to show me how it’s done. But what’s stopping me from trying on my own? I don’t know.

Armor is the biggest intimidation of all for me to weather than aircrafts as well.
Re: 1/32 Hasegawa Bf109K-4 Weisse 8
Posted: Sun Apr 28, 2019 10:55 am
by LyleW
All I know is my chin hurts from dropping .to the floor! Great stuff!
Re: 1/32 Hasegawa Bf109K-4 Weisse 8
Posted: Sun Apr 28, 2019 3:33 pm
by KennyX
jkim wrote:Hey Thomas! You can call me John.
Yes, I also post over at LSP under the screen name Thunnus. I don't know why I chose that... I shoulda just kept it JKim to be consistent but oh well.
The pigment wash that I use is just a homemade concoction of pastel pigment and water. I use appropriate colors of pastel chalk and scrape some dust into a cup, add a smidgen of dishwashing soap and water and voila, pigment wash!
I distribute the wash over the model using a paintbrush.
After it dries, I wipe it off using a damp paper towel. The remaining wash caught in the recesses highlights the detail.
Hey John, thanks for breaking that down! Helped me pinpoint weaknesses in my pigment wash game. Very cool! Danke my man!
Re: 1/32 Hasegawa Bf109K-4 Weisse 8
Posted: Sun Apr 28, 2019 9:16 pm
by jkim
Here are the actual chalks that I use to make my washes.
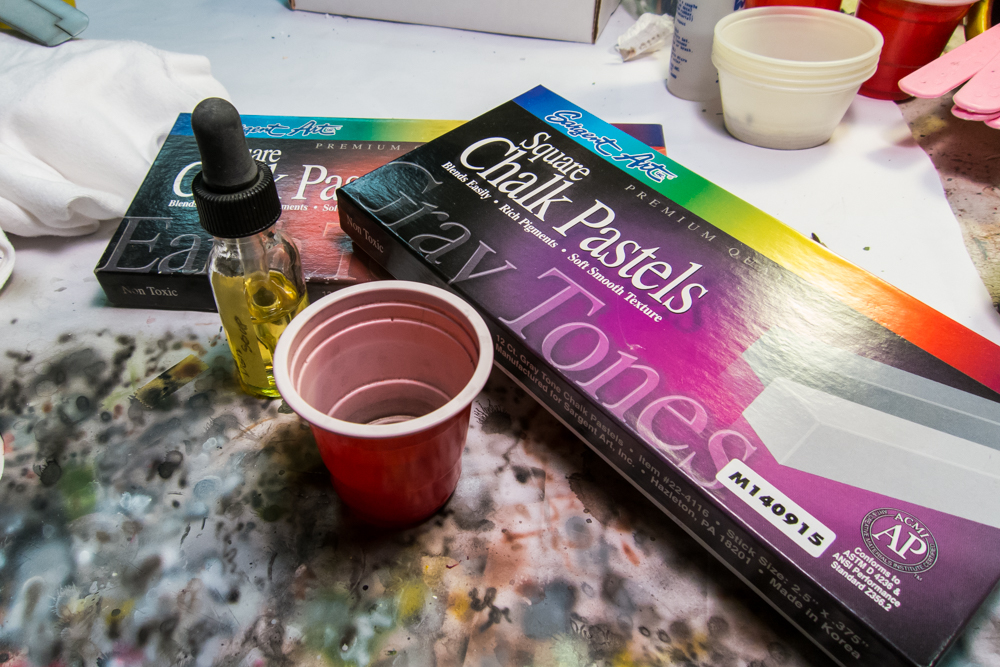
Don't be afraid of messing up because you can't. It's water-based so you can wipe it ALL of if you don't like the result.
Re: 1/32 Hasegawa Bf109K-4 Weisse 8
Posted: Mon Apr 29, 2019 12:19 am
by jkim
Actually... I take that back. Do the wash on a GLOSS finish and you can remove it all if you want. Doing it on a FLAT finish might give you some tide marks.
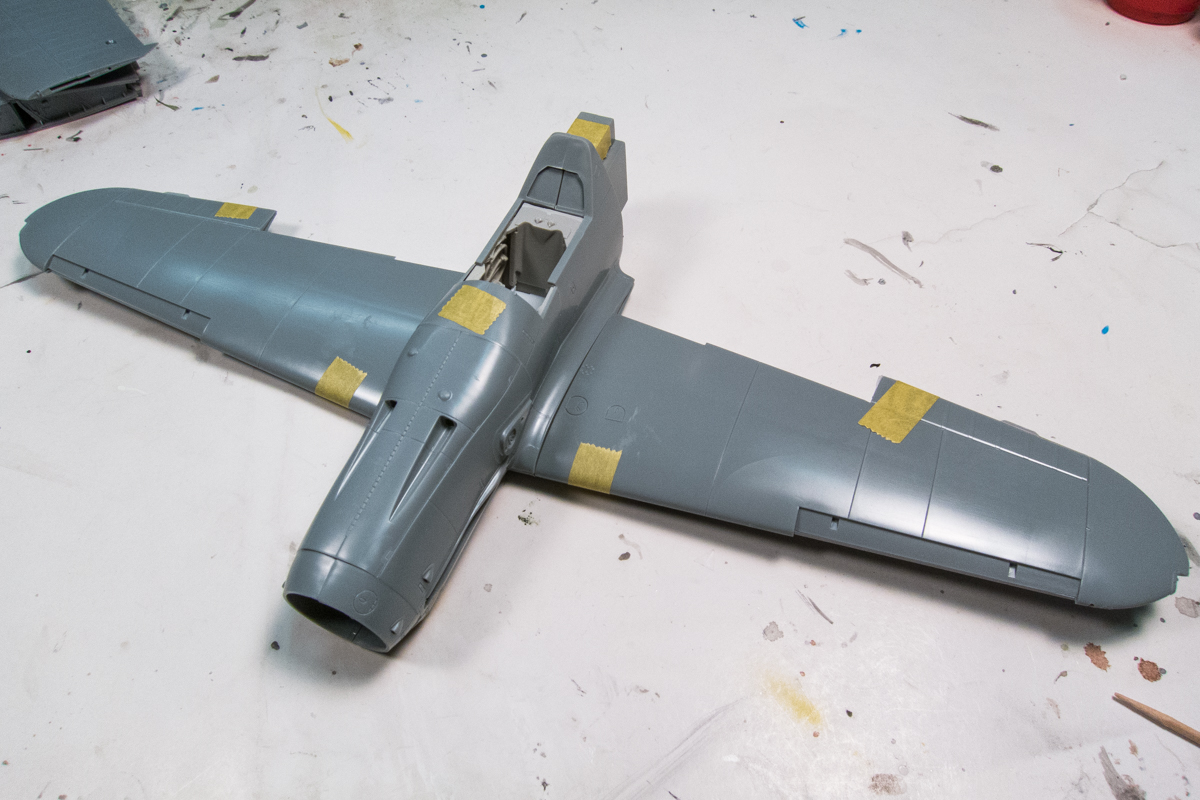
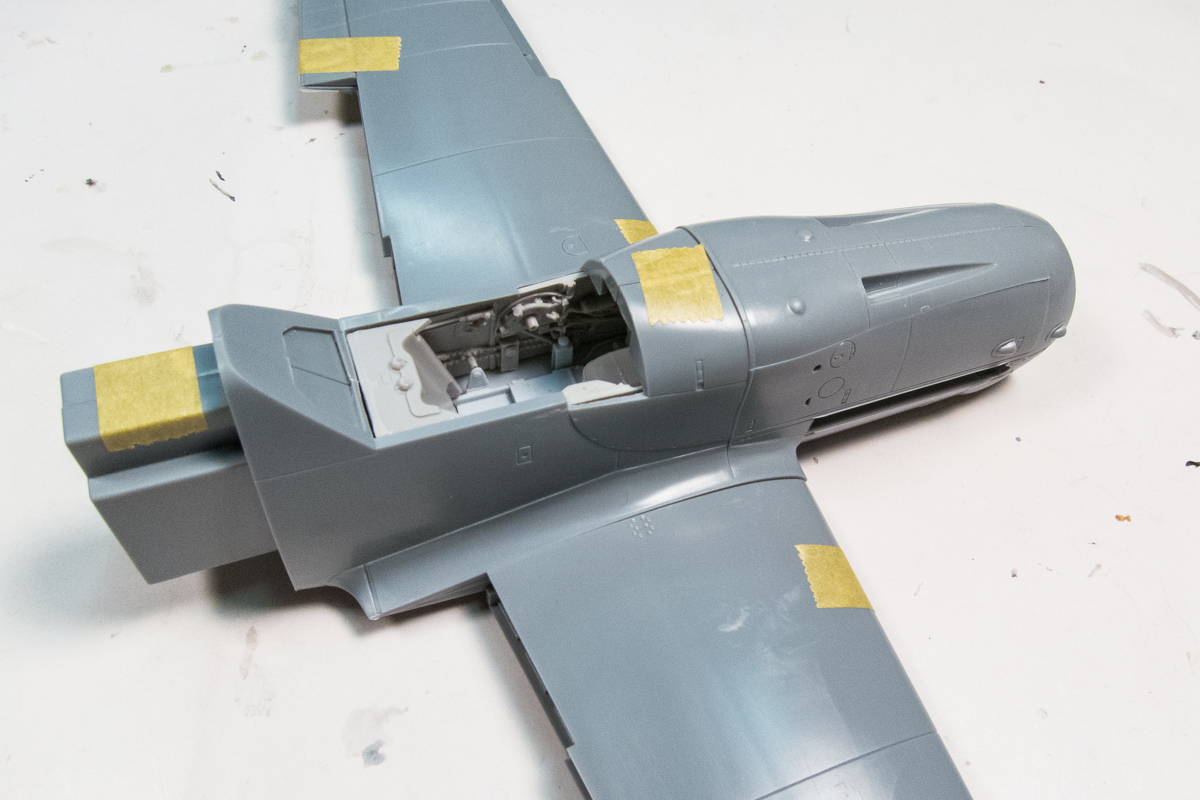
I played around with fitting the Eagle Editions cockpit into the fuselage. First, I wanted to check fit of the kit without the cockpit.
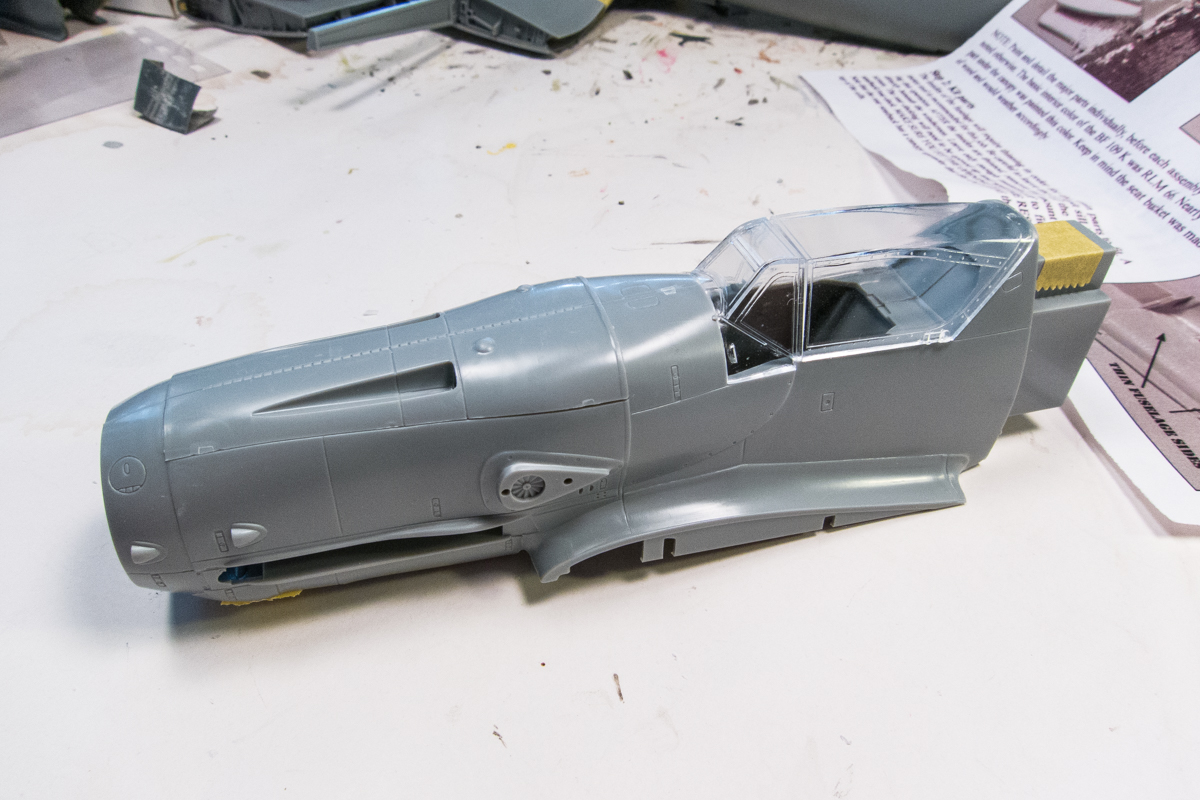
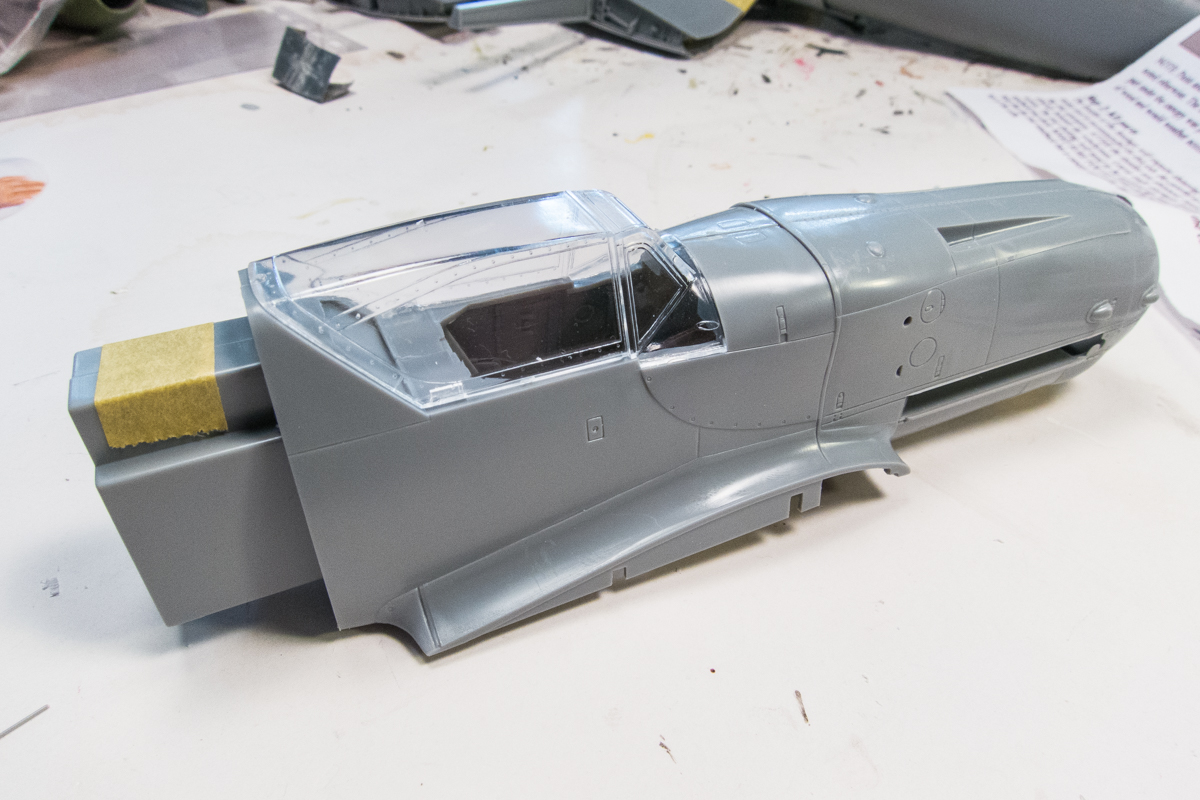
The molded details on the interior of the fuselage walls has to be removed. I scraped it off using a curved x-acto blade and then finished it off with rough sandpaper.

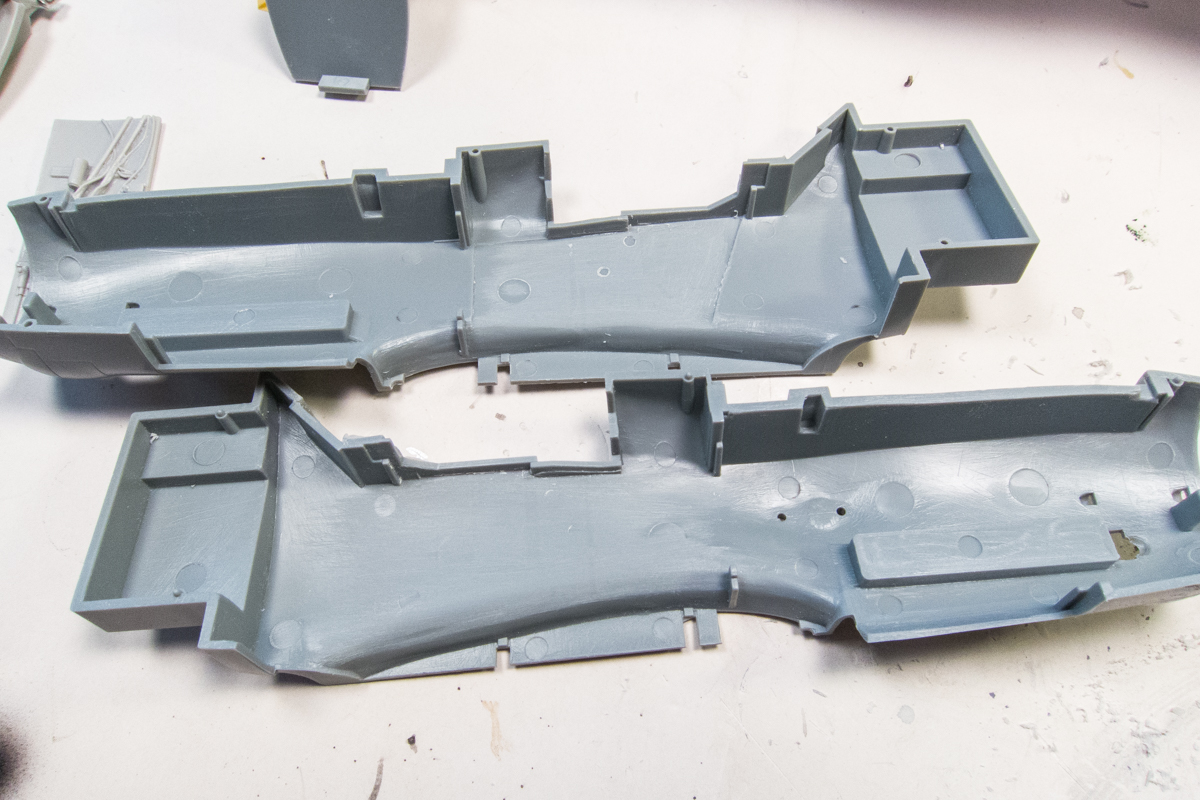
The rear sill needs to be trimmed to accommodate the new sill. Once that is done, I stick the sidewalls into place using blue-tack.
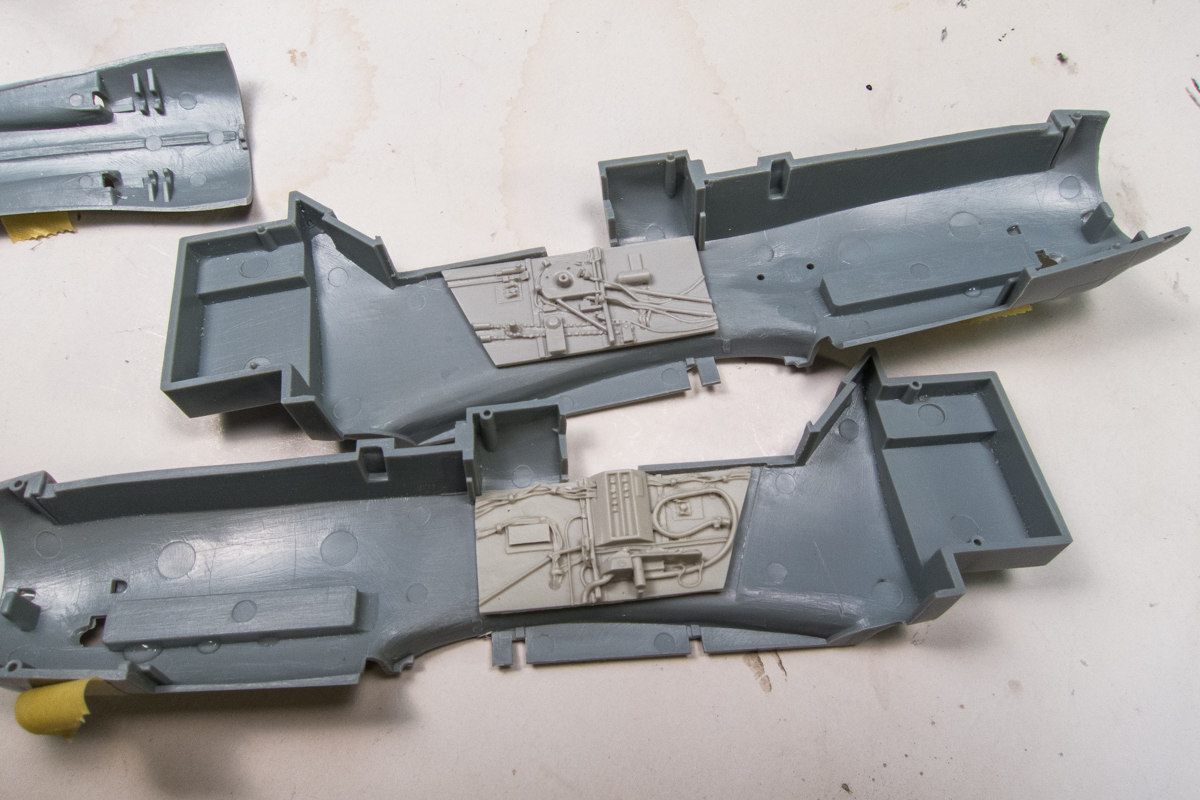
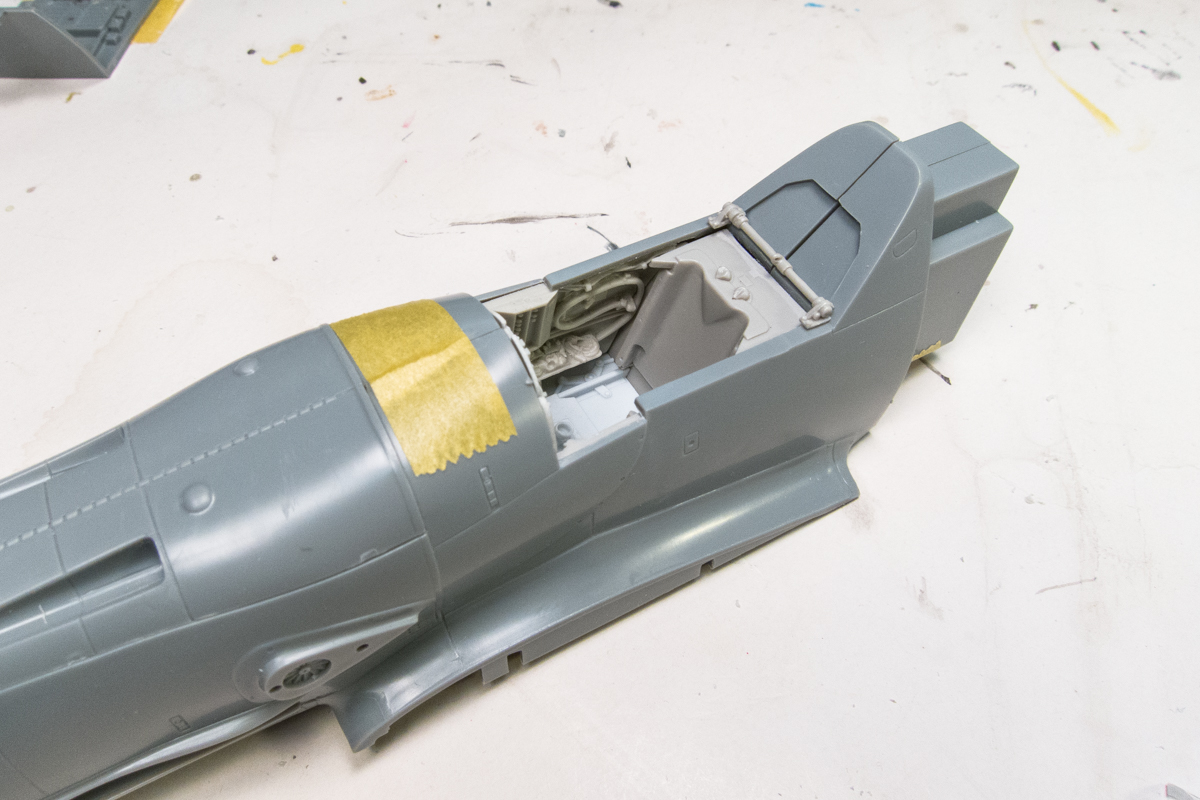
Then the cockpit rear wall, front bulkhead and floor and slipped into place and secured with tape.
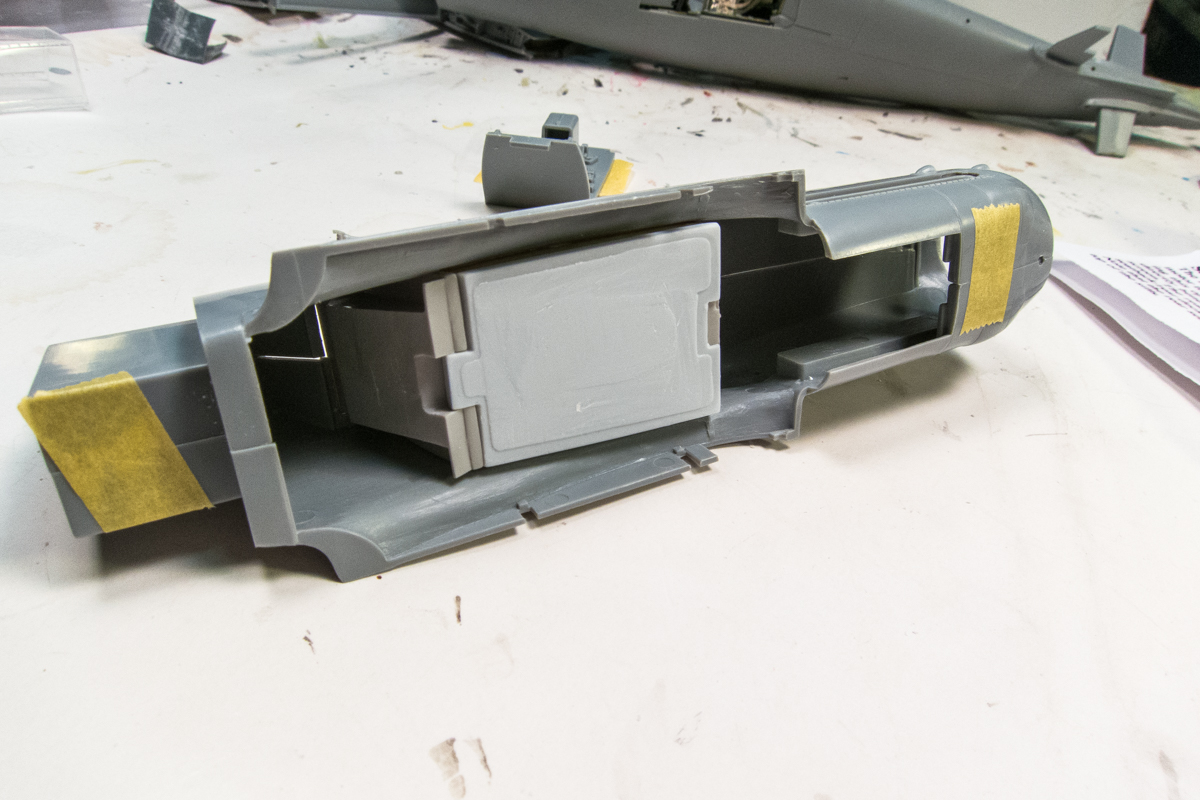
Hmmm... not bad. The junction between the rear sill and fuselage has be repaired but otherwise fit is pretty good.
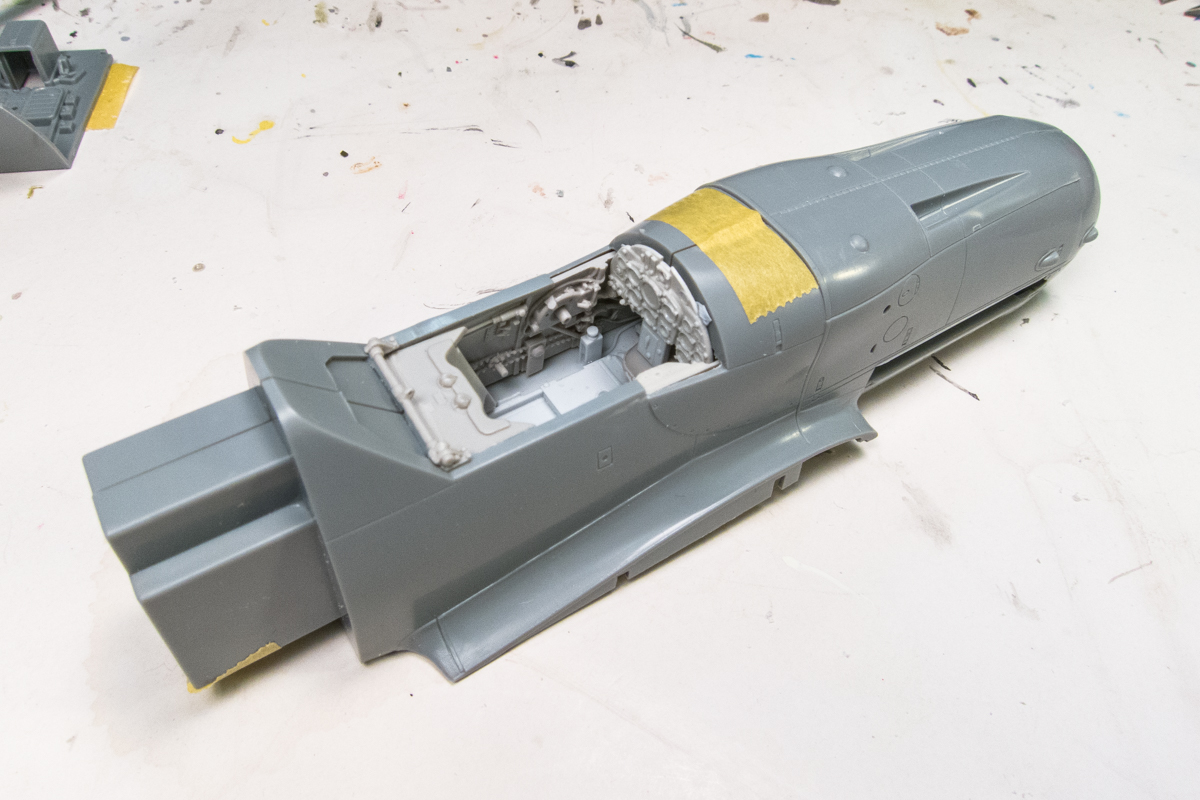
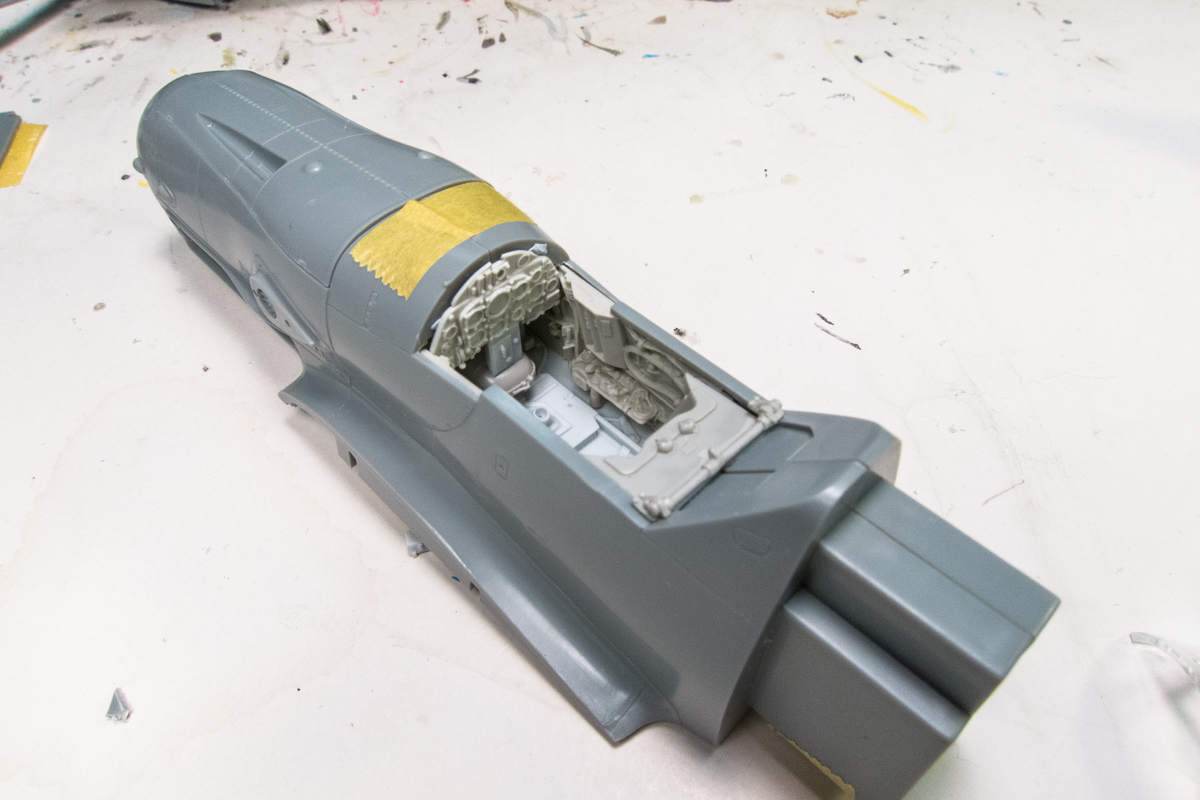
That rear bar resting on the sill was sawed away from the resin piece since it seemed like it will obstruct the fit of the canopy. I may have to shorten it.
The wing assembly has a spar so I wanted to check to see if it would conflict with the resin cockpit. It did so I had to trim two of the mounting tabs on top of the spar.
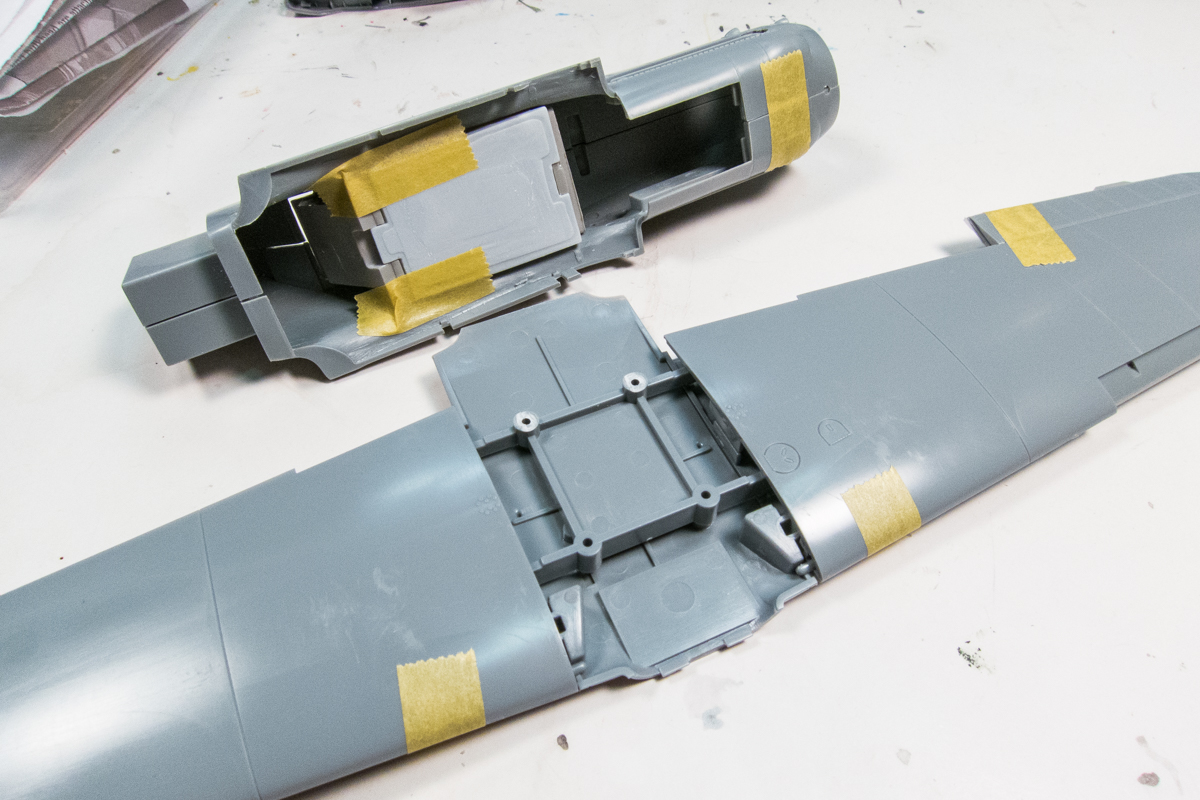
Once I did that, the wings sat into place fairly well. The fit is ok but there are some gaps that will need to be addressed once it come time for glue, I'm guessing.
Re: 1/32 Hasegawa Bf109K-4 Weisse 8
Posted: Mon Apr 29, 2019 6:48 am
by LyleW
Cool! It is with great trepidation I’d take on removing that much material...on purpose.
Re: 1/32 Hasegawa Bf109K-4 Weisse 8
Posted: Mon Apr 29, 2019 6:51 am
by Floki
Looks like it's all going to fit in there just like it's meant to that's always a good feeling.
Re: 1/32 Hasegawa Bf109K-4 Weisse 8
Posted: Mon Apr 29, 2019 6:57 am
by LyleW
Floki wrote:Looks like it's all going to fit in there just like it's meant to that's always a good feeling.

Re: 1/32 Hasegawa Bf109K-4 Weisse 8
Posted: Mon Apr 29, 2019 12:02 pm
by Thomas_M
John, sorry for having given you a wrong name! I am this done after a long day at work, and I am over 50!
Man, really, I wished I could give you a hug, or a beer, whatever you prefer, for this great explanation! That is what I so much love about our hobby, and the people who come together to share some tricks!
These days I am trying to get the chrome off from parts of a 1931 Cadillac by Jo-Han. Slowly, but it works. But be assured, I did spend the reamining brain cell to store the information and inspiration you gave here!