Maddog Manufacturing Production for 2019

Talk about anything modeling: kits, tools, paint, etc...
User avatar
speedgraflex
Moderator
Posts: 11401
Joined: Fri Feb 10, 2017 11:08 pm
Contact:

Re: Maddog Manufacturing Production for 2019

Post by speedgraflex »

Mark, is this Saturday’s progress in studio? What a great update! Go, Maddog, Go! I feel your pain with the cutting out of delicate parts. I nearly always use a pair of clippers to do this, and I usually cut farther away from the piece, leaving small stumps. It is only after the piece is free of its styrene prison that I will clip closer to the piece itself. After I wrote that, I have to quickly add that I am experiencing all the joy and the pain of working in 1/72—where a little paint goes a long way and a piece of flash will take far longer to clean up due to the size of the part. So, yes. I feel ya.

Image

Are you going to make a diorama...

:lashed:
Make more models!
User avatar
Duke Maddog
Elite Member
Posts: 7669
Joined: Tue Jun 03, 2014 11:22 am
Location: Rowland Heights, CA

Re: Maddog Manufacturing Production for 2019

Post by Duke Maddog »

Thanks for the great comments guys! I love seeing all your great posts here.

Blacksheep, senior moment indeed! Re-paint already done. Hopefully I'll be able to get it as smooth as the rest of the turret. Then there will be some rust and rain streaking off those rivets. That should be interesting to do.

Bruce, the work in that update all happened in my overcrowded hobby room while I was sitting directly under two B-52's and a KC-135 tanker. As for that delicate part, I tried to cut it at a distance from the part intending to clean it up afterward, but the tension or something was too much; the part just snapped. I figured all four of those other attachments would cause it to break as well. Thus the scratch-built addition. Yeah, cleaning up 1/72 scale parts is indeed a challenge sometimes! :lashed:

Nice pic by the way. I can't help wondering if that is Paul Bunyon's picnic table in the background! LOL! :giggles: It sure doesn't look in scale with that turret. And yeah, I'm thinking I need to do a base for this and the two AA guns that go with it. It won't be a diorama per se, but it will look similar enough to your pic, sans Paul Bunyon's table....


Now that I got all the armor done that I finished, I'm going to try and focus on some of the ships, aircraft, helicopters and real space models that I've got in progress now. Stay tuned, more to come.
The Duke
Virtuoso of Miniatures

"Do you know what the chain of command is? It's the chain I get and beat you with 'till you understand who's in ruttin' command!"
-Jayne Cobb, Firefly Episode 2 "The Train Job"

We are modelers - the same in spirit, in hunger to insanely buy newly released kits, hustlers in hiding our stash from our better halves and experts in using garbage as replacements for after-market parts.
User avatar
Medicman71
Elite Member
Posts: 11316
Joined: Mon Apr 07, 2014 9:32 am
Location: Houston, Tx

Re: Maddog Manufacturing Production for 2019

Post by Medicman71 »

And the machine continues! Looks great Duke!
Mike

Sponsored by Boeing, Lockheed Martin, Northrop Grumman, Saab, BAE, and Dassault
User avatar
Duke Maddog
Elite Member
Posts: 7669
Joined: Tue Jun 03, 2014 11:22 am
Location: Rowland Heights, CA

Re: Maddog Manufacturing Production for 2019

Post by Duke Maddog »

Thanks Medic! I'm trying to keep things going.
The Duke
Virtuoso of Miniatures

"Do you know what the chain of command is? It's the chain I get and beat you with 'till you understand who's in ruttin' command!"
-Jayne Cobb, Firefly Episode 2 "The Train Job"

We are modelers - the same in spirit, in hunger to insanely buy newly released kits, hustlers in hiding our stash from our better halves and experts in using garbage as replacements for after-market parts.
User avatar
Duke Maddog
Elite Member
Posts: 7669
Joined: Tue Jun 03, 2014 11:22 am
Location: Rowland Heights, CA

Re: Maddog Manufacturing Production for 2019

Post by Duke Maddog »

Well, it's been awhile thanks to being back to work on several home repair projects. Despite that, I did manage to get some progress done because of some time on the bench and Hobby Day.

I'll start with some aircraft.

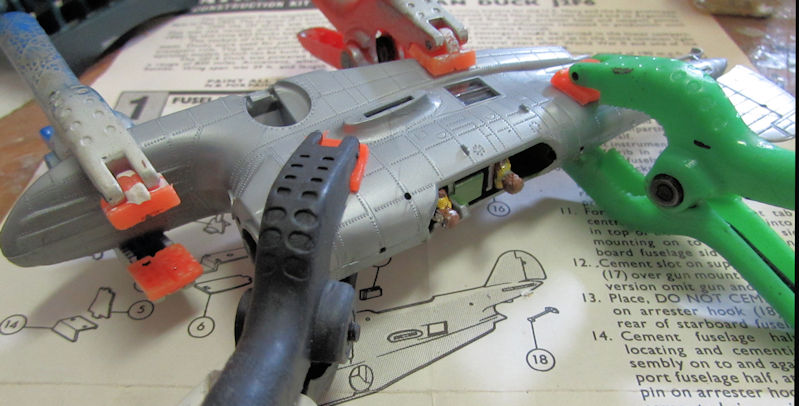
This first on is the Grumman Duck I had started. I got the interior painted and the windows installed in the sides of the fuselage so it was time to close this bird up:
Image

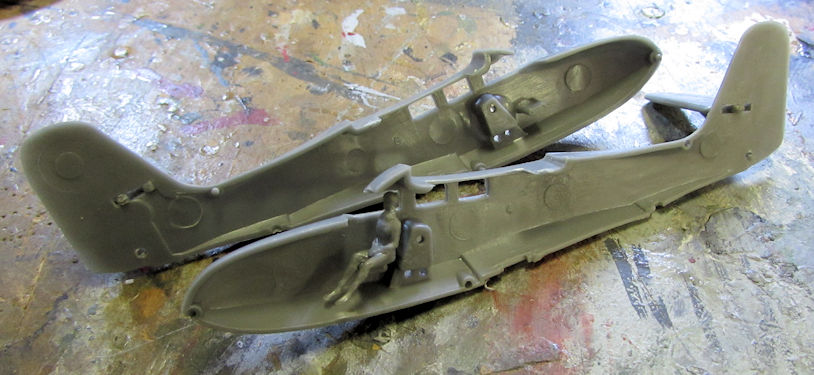
This next one is an ancient USAirfix kit of the Widgeon floatplane. I got it for free, and since I started it at Hobby Day now I know why: No clear parts. Oh well, I started it anyway; adding the pilot to the interior:
Image

Adding the side windows won't be an issue; doing the canopy is going to be interesting...

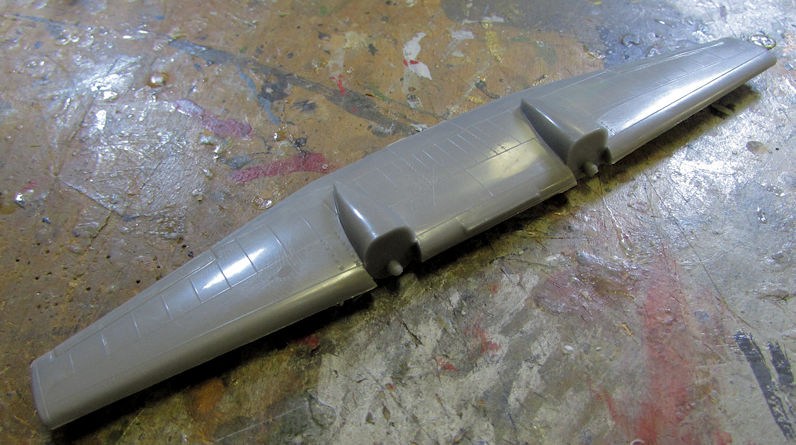
I went ahead and assembled the wing:
Image

Followed by the engines:

Image

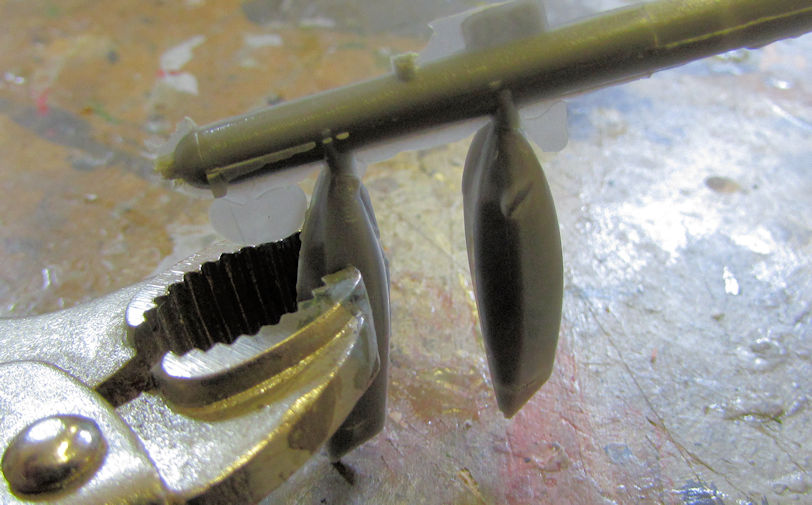
I let them dry for a bit and while that was happening, I assembled the outrigger floats:
Image

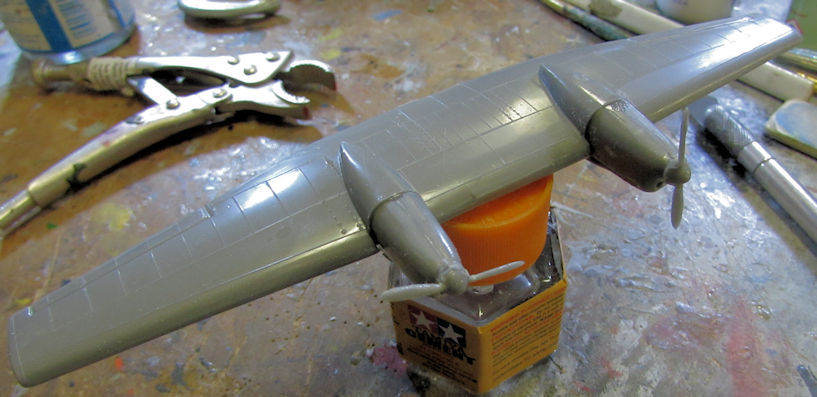
Later on I added the engines to the wing. There's gonna be a ton of sanding to do on that:
Image

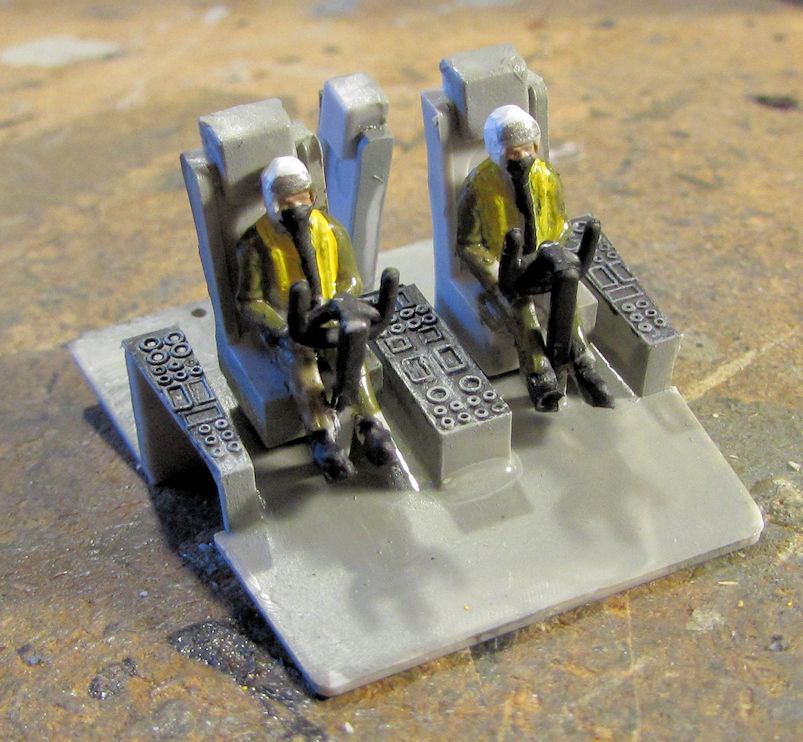
Moving on to my Big Bird, I painted the cockpit and pilots on the Shinmeiwa:
Image

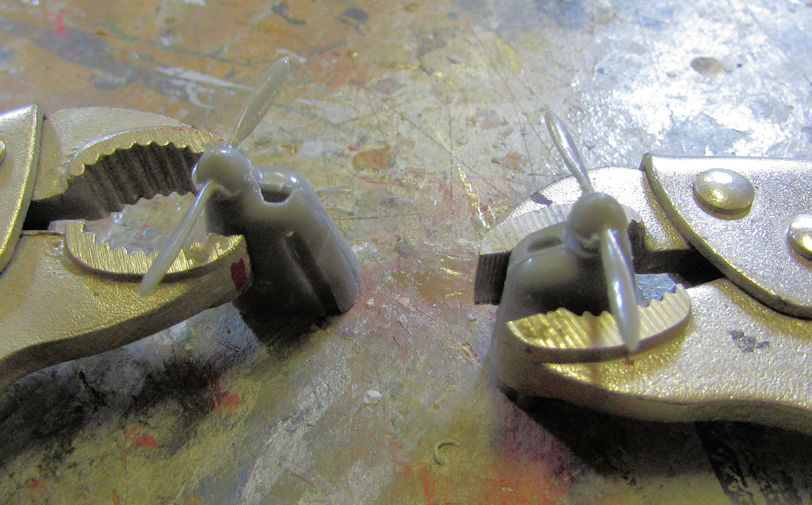
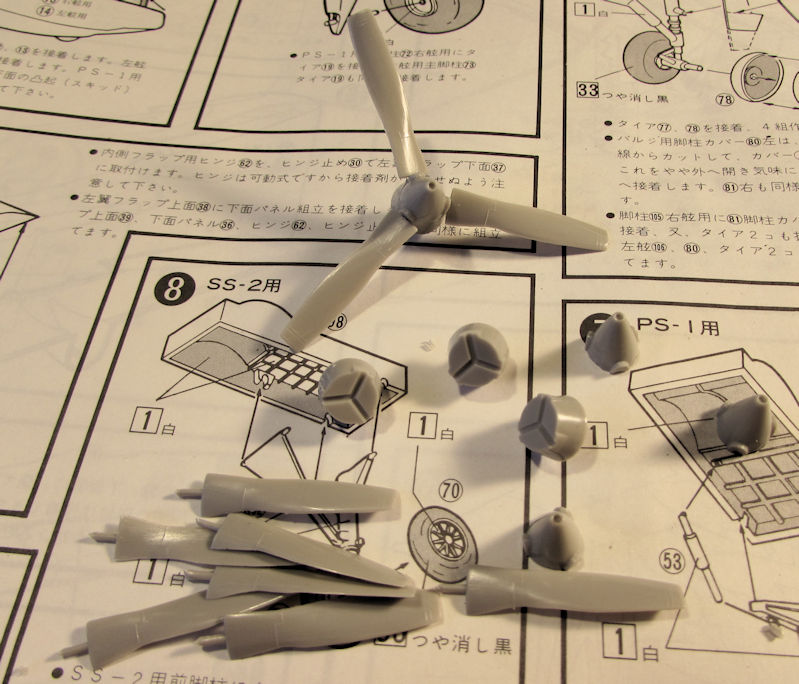
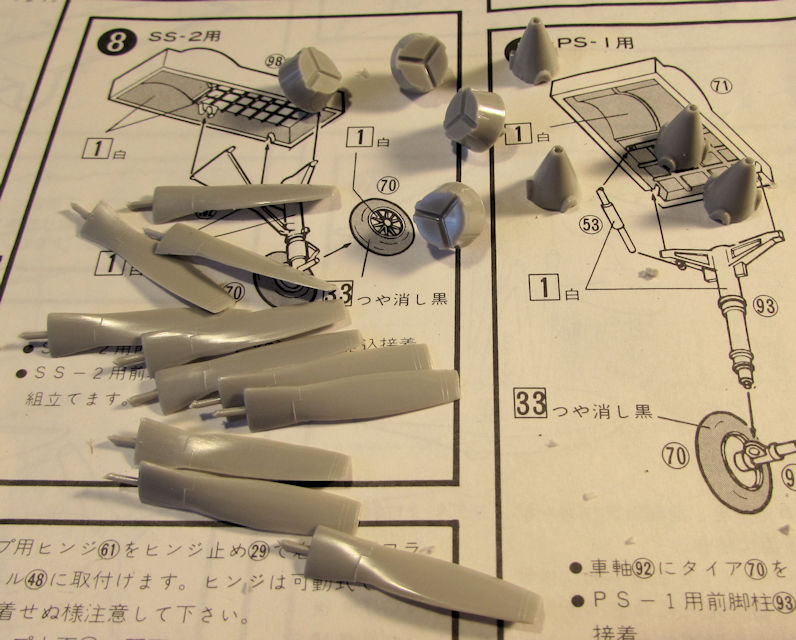
Then I decided to move in and assemble the propellers. I had thought that I just needed to add the cones to the centers of the propellers, but no! Hasegawa had to do this to me:
Image

Here's the first one assembled:

Image

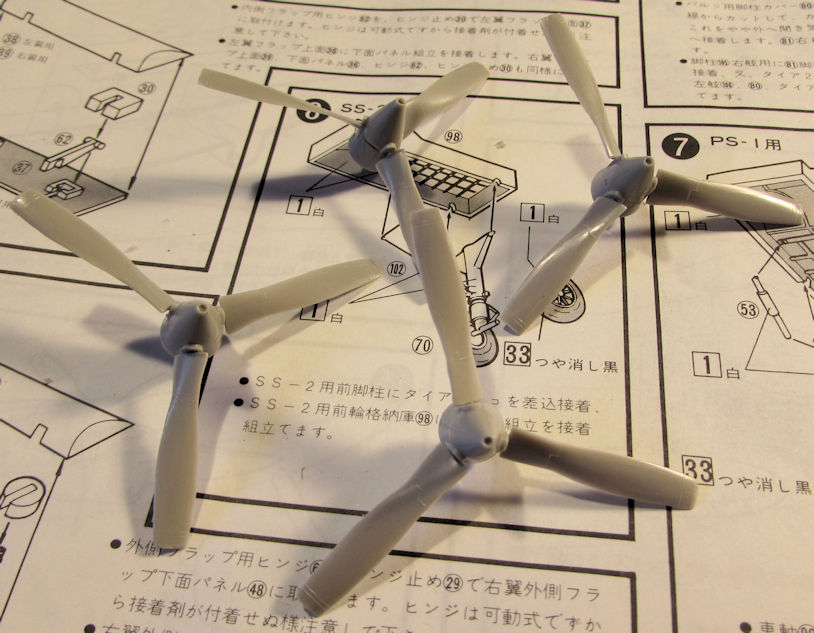
Finally, I got them all done and they are all hopefully the same direction:
Image

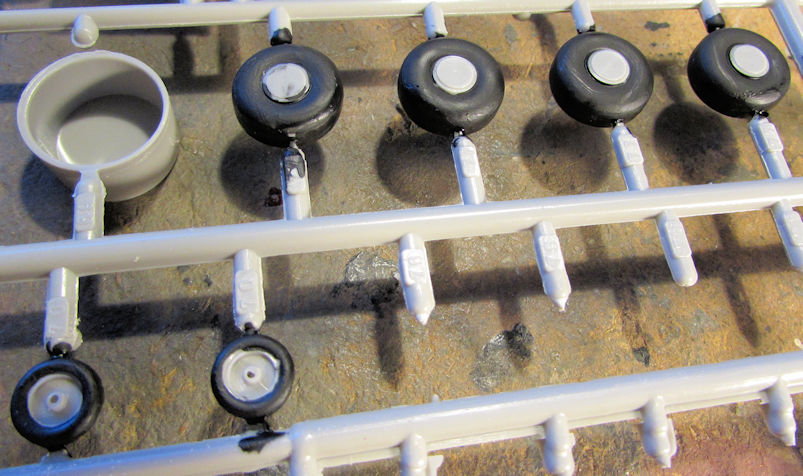
I then went through the kit and assembled everything that was molded in two halves, starting with the wheels which I also painted:
Image

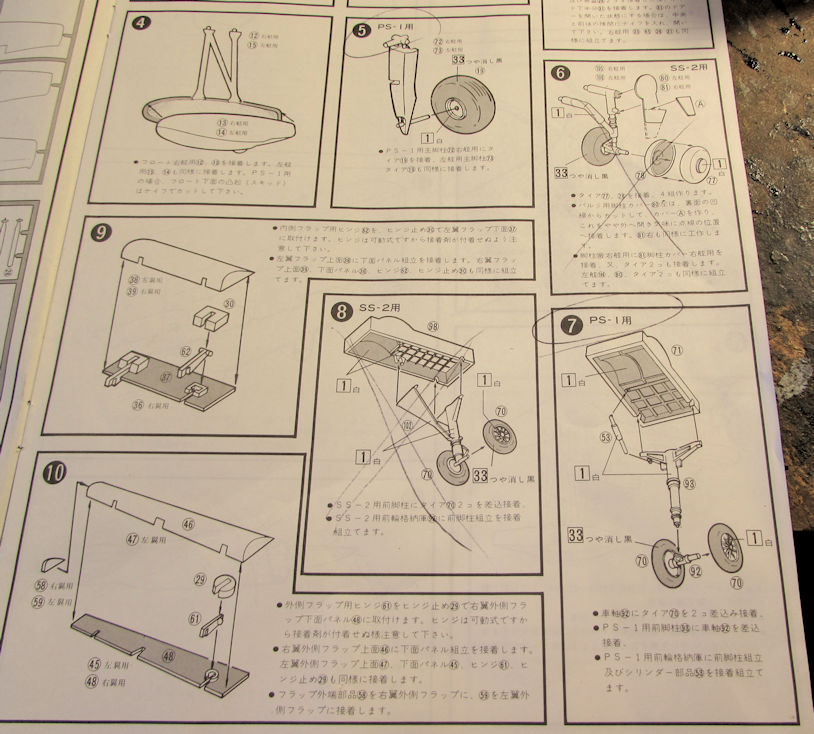
I them realized on the instruction sheet that there were two version options on this plane in the kit. Using Google Translate on my phone, which told me to "paint [certain part} the color of the woman"(?!) I managed to somehow decipher enough "code" to determine which step was for which version. I had to cross certain steps out and edit the sheet to insure I don't mess this up too badly:
Image

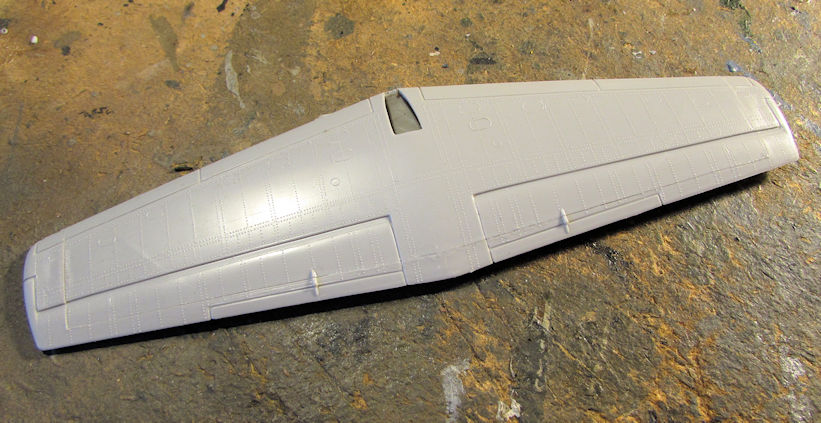
Moving on, I then assembled some more parts:
Image

Image

That's as far as I got with that.

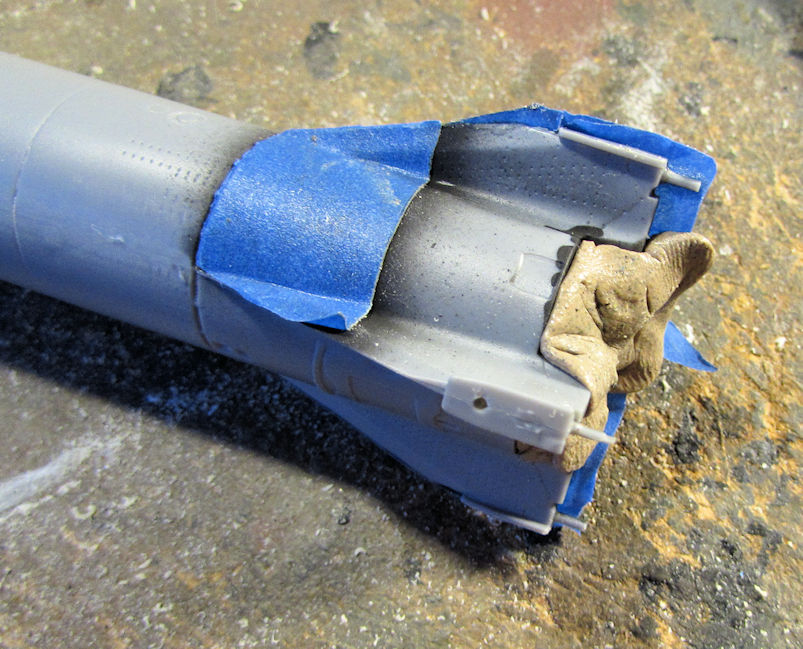
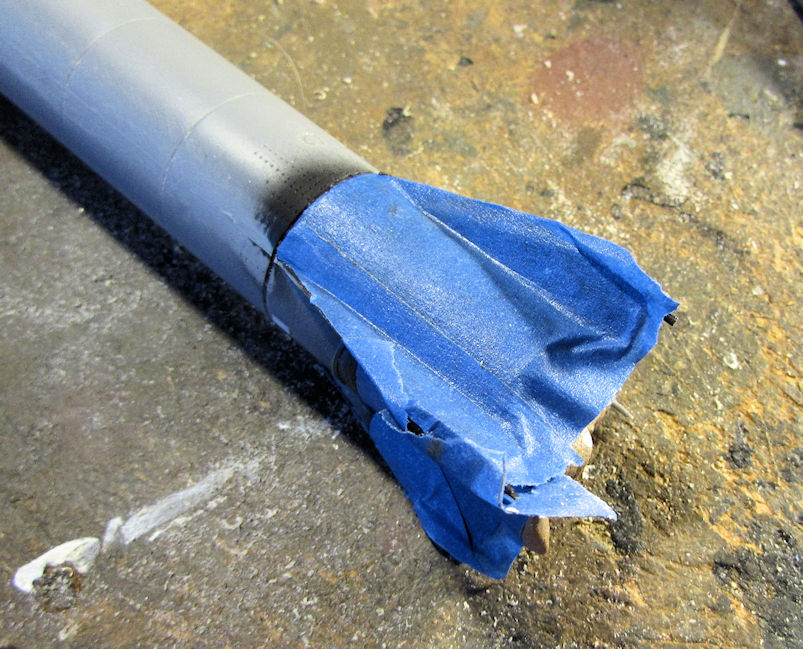
I then pulled out my Redstone rocket and masked off the base where it needs to stay black:
Image

Image

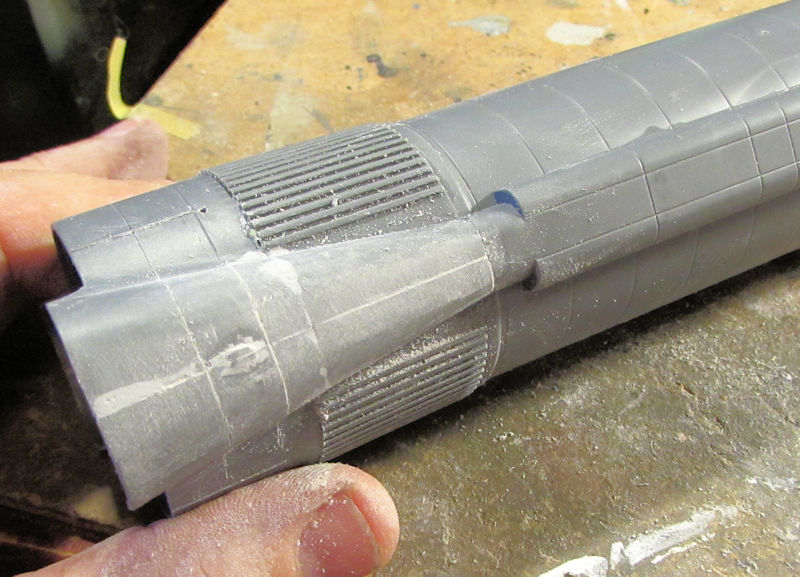
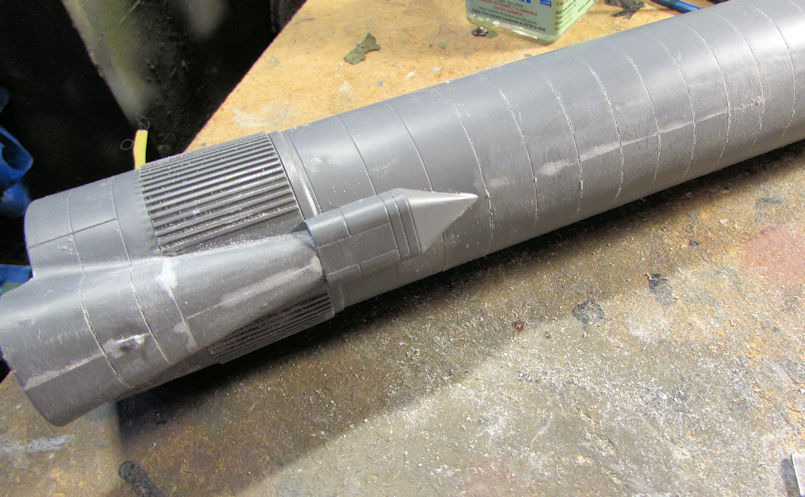
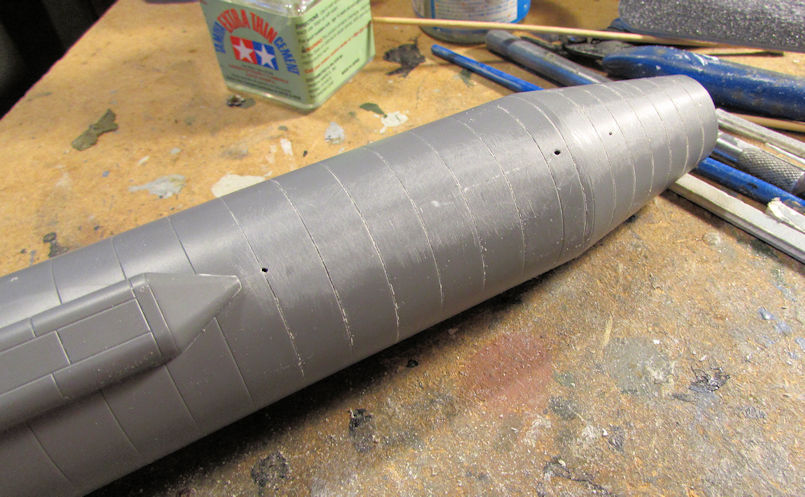
I spent some time trying to polish this as well. Speaking of trying to polish, I spent quite a bit of time sanding the Mr. Surfacer and smoothing out the seams on my Atlas rocket:
Image

I took some time to make sure the lines were still scribed out:
Image

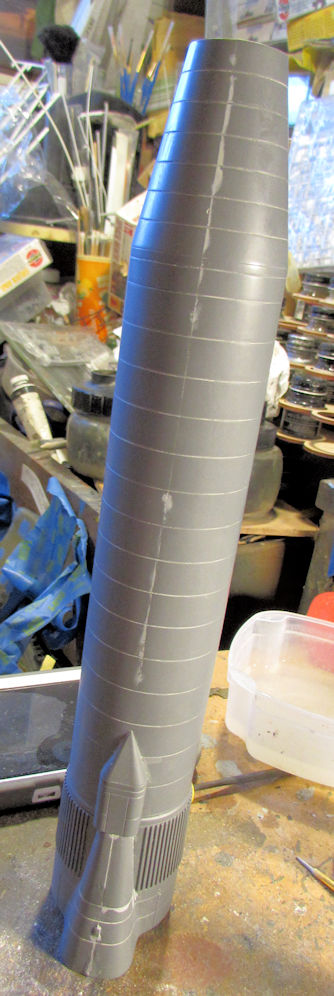
This part was the toughest:

Image

I made some progress in smoothing this out quite a bit, but I still have a long way to go to make this smooth enough for a metal finish:
Image

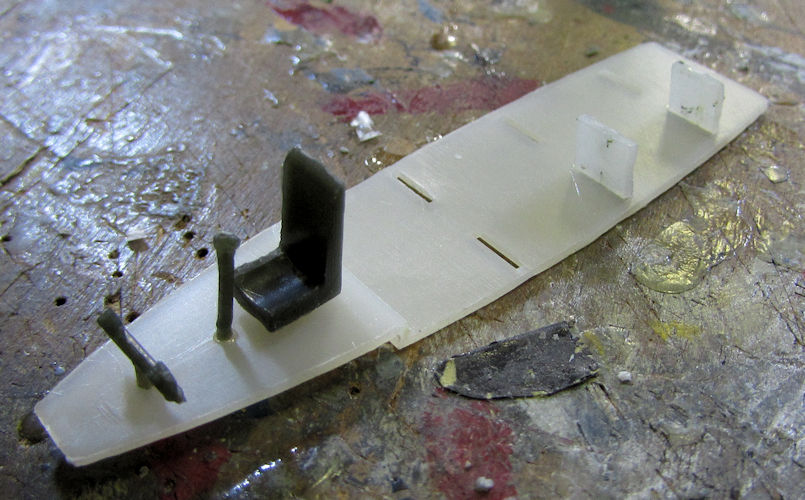
My last little aircraft is an unusual kit I found of a Russian Troop carrying glider. I never knew they had them! I started with the interior. The two upright squares were for holding the benches, but since the benches wouldn't be seen, I decided to leave them off:
Image

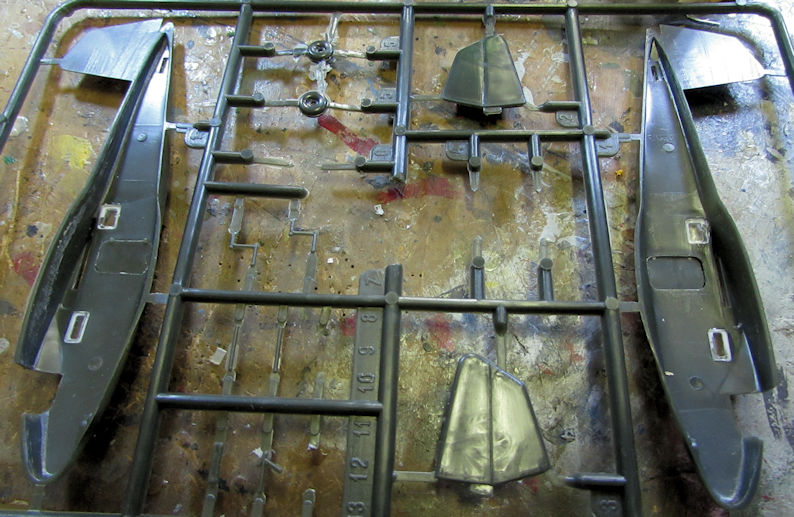
I then added the small windows and side doors to the fuselage halves. Here's a shot of them and the rest of the sprues:
Image

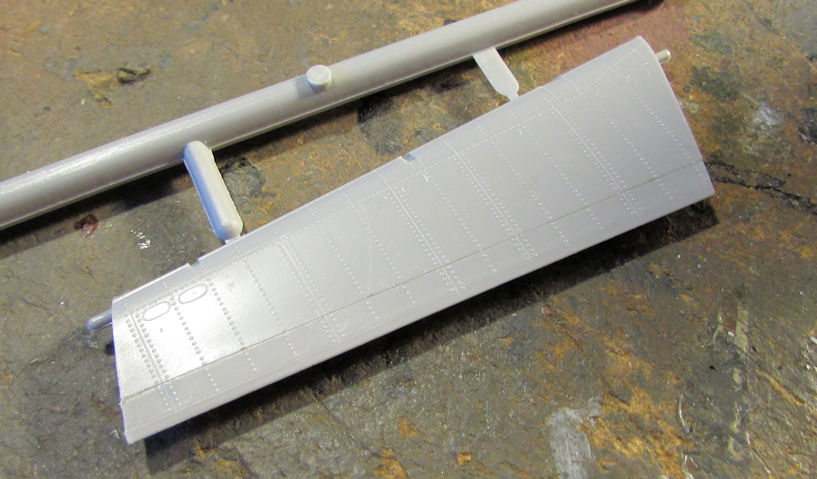
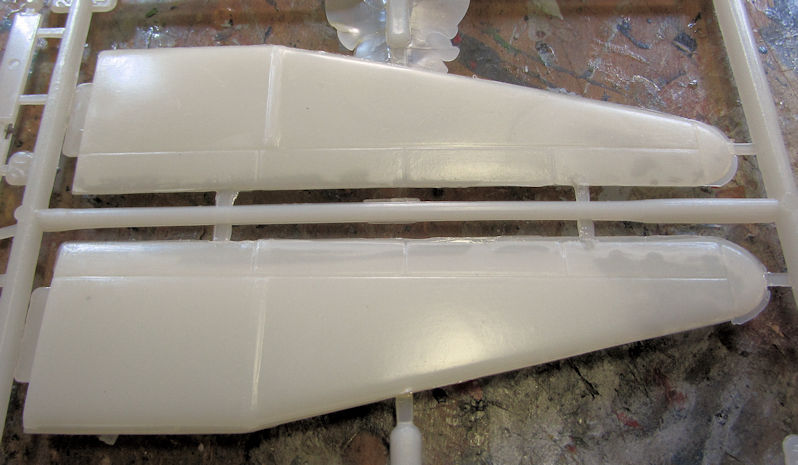
I then assembled the wings. This plastic is interesting; fusing almost instantly with Tamiya Extra Thin. I don't really know why they used two different types of plastic:
Image

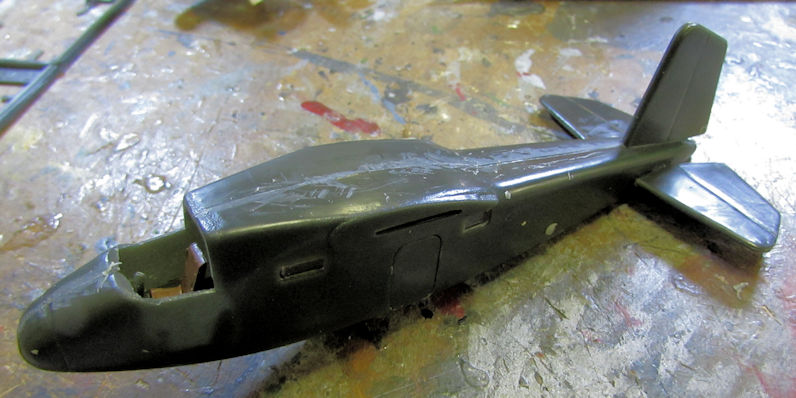
I finally painted the interior of the fuselage and then assembled the fuselage together and added the tail feathers:
Image

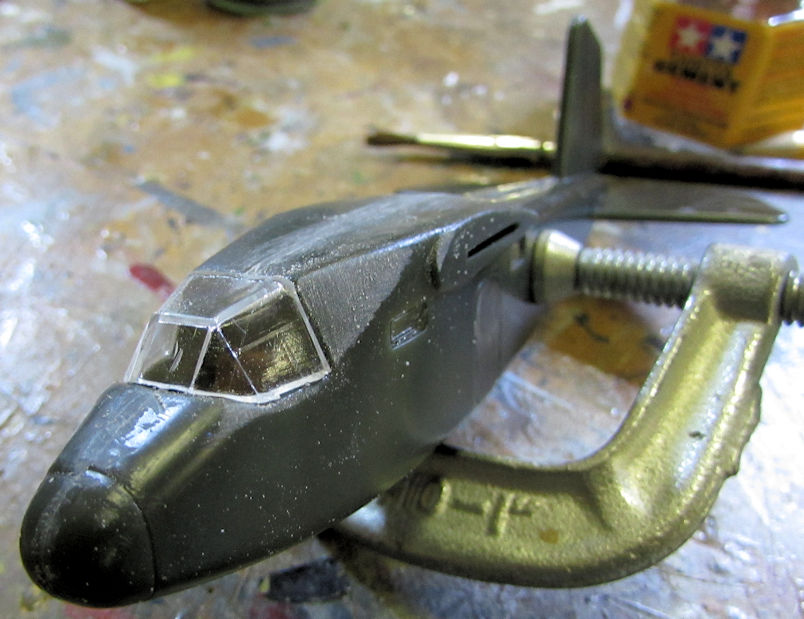
I found that the fuselage halves were molded differently and didn't match the line of the canopy so I sanded it to form:
Image


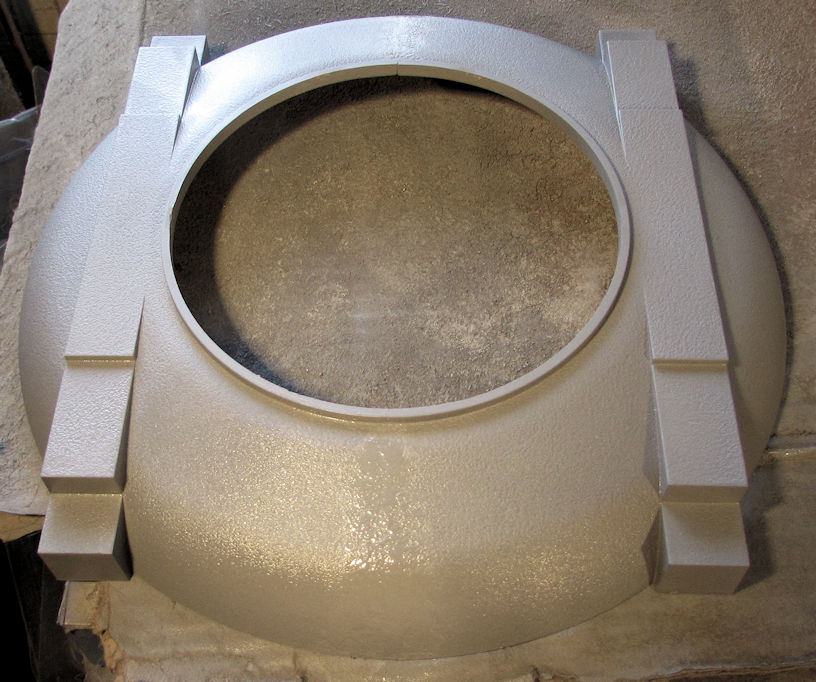
That's all my aircraft progress, now to show my armor. But first, here's some buildings/structures I was working on first. The base of the turret was primed with a grey primer to see how well I covered that seam. I'm not that happy with it:
Image

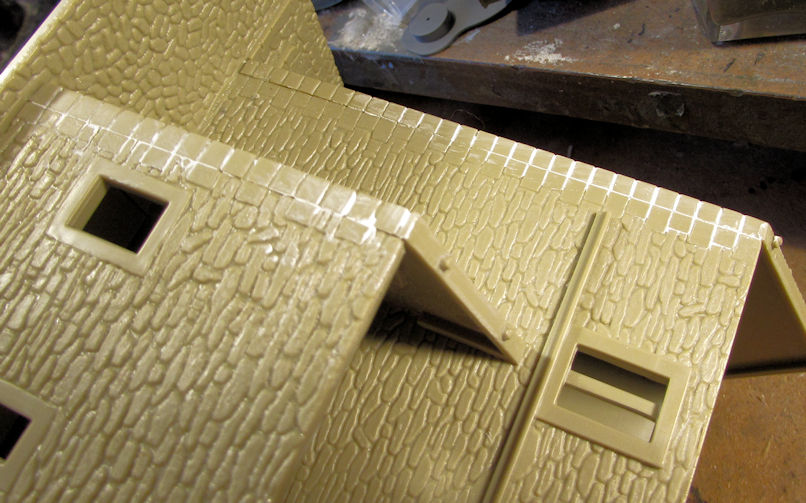
I then pulled out the church and started to seal up the seams along the walls and the base and all the corners with acrylic putty:
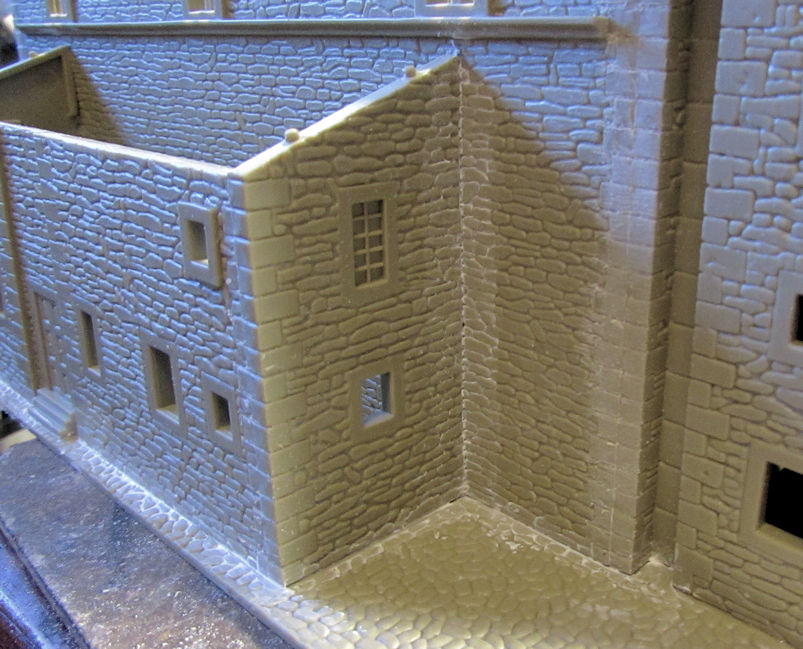
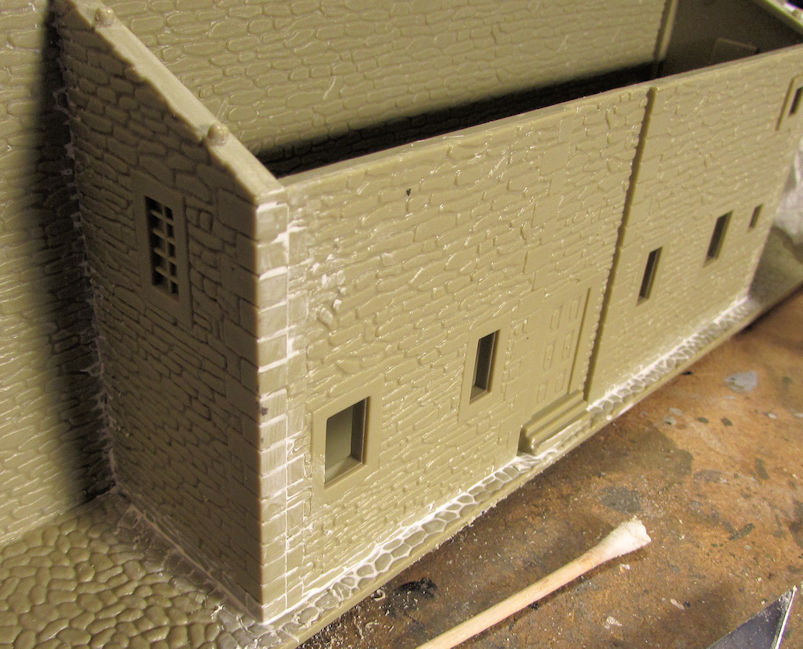
Image

Image

Image

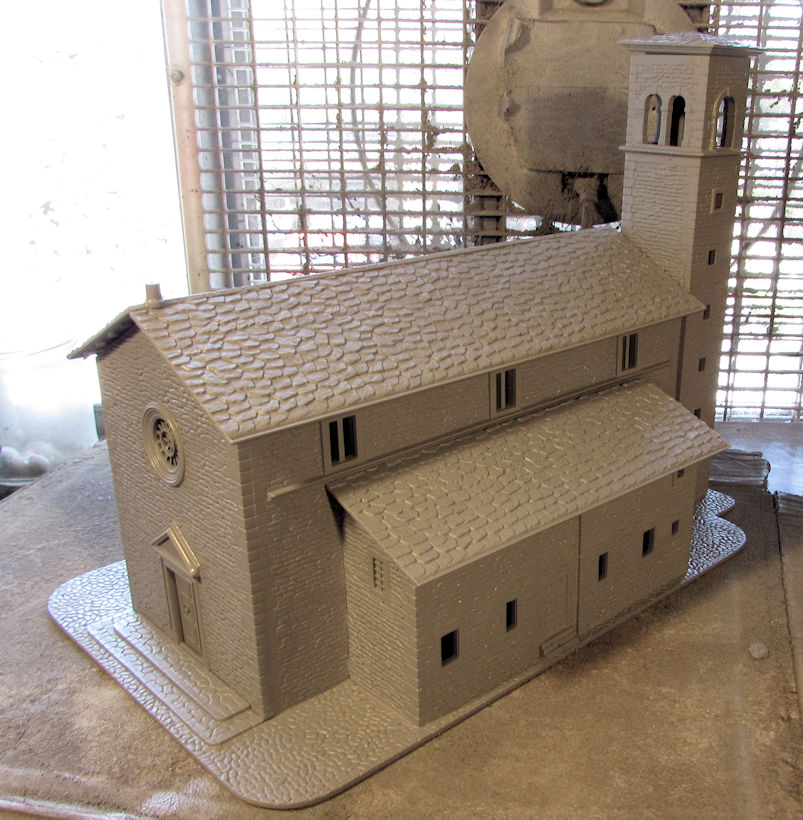
After all of that, I shot a grey primer all over the church too:
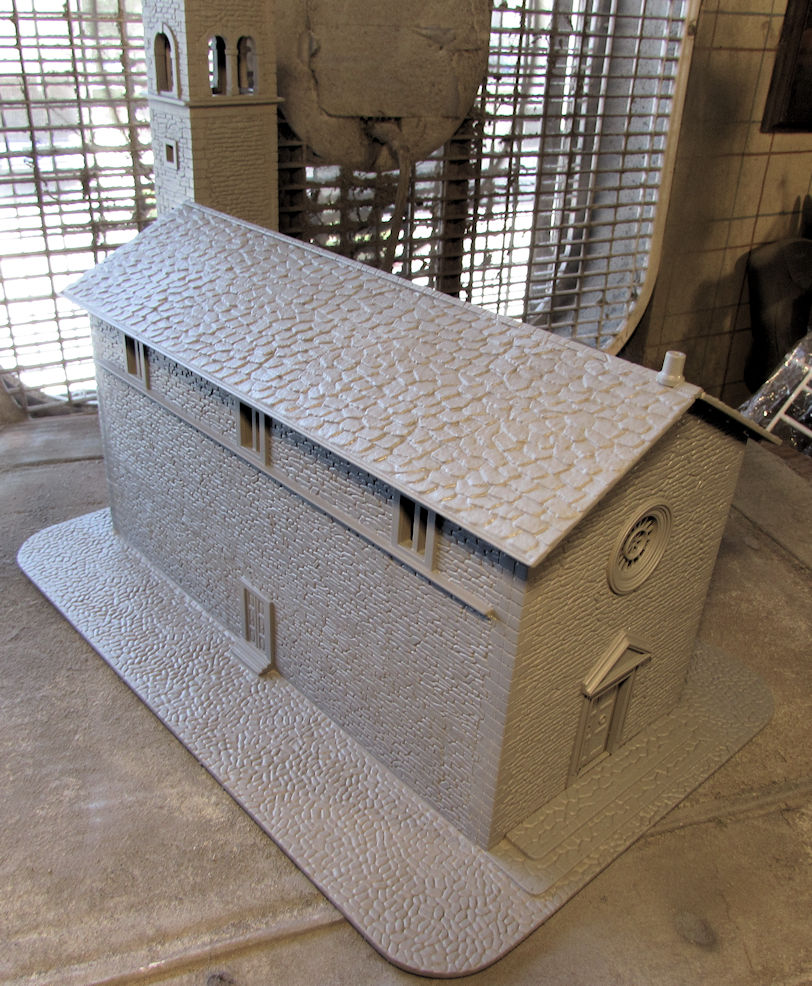
Image

Image

I did notice the roof of the belfry is propped up. That's the let the bats out.

I also ordered a brand new cross for this from my church's bookstore/gift shop. I expect to have it in sometime two weeks from now.

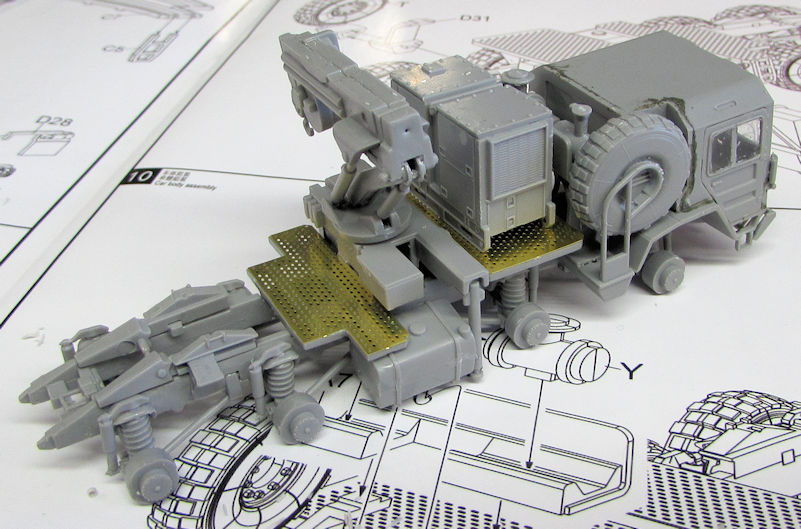
Finally, I decided to make some extensive progress on my George Creed commemorative build. I assembled the cab, adding the photo etch to it too:
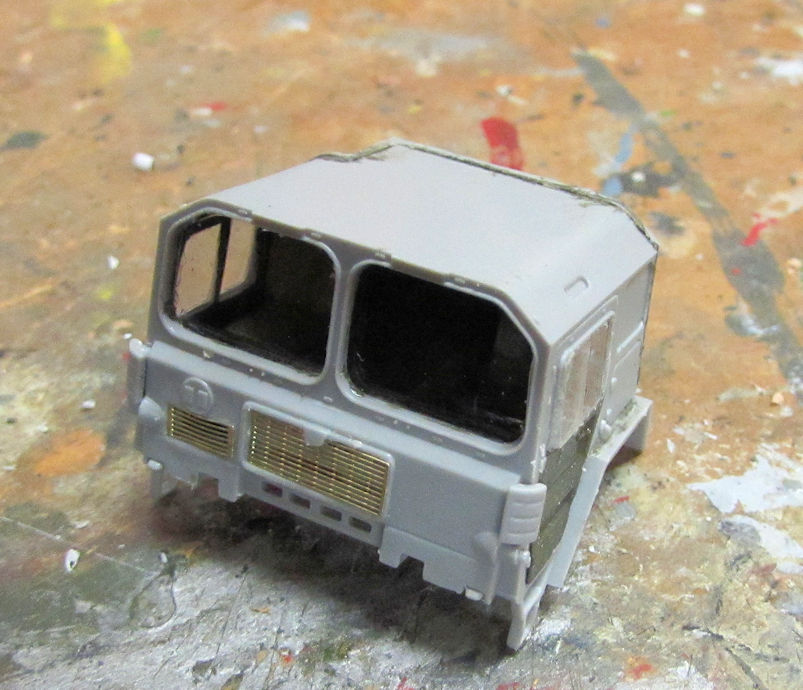
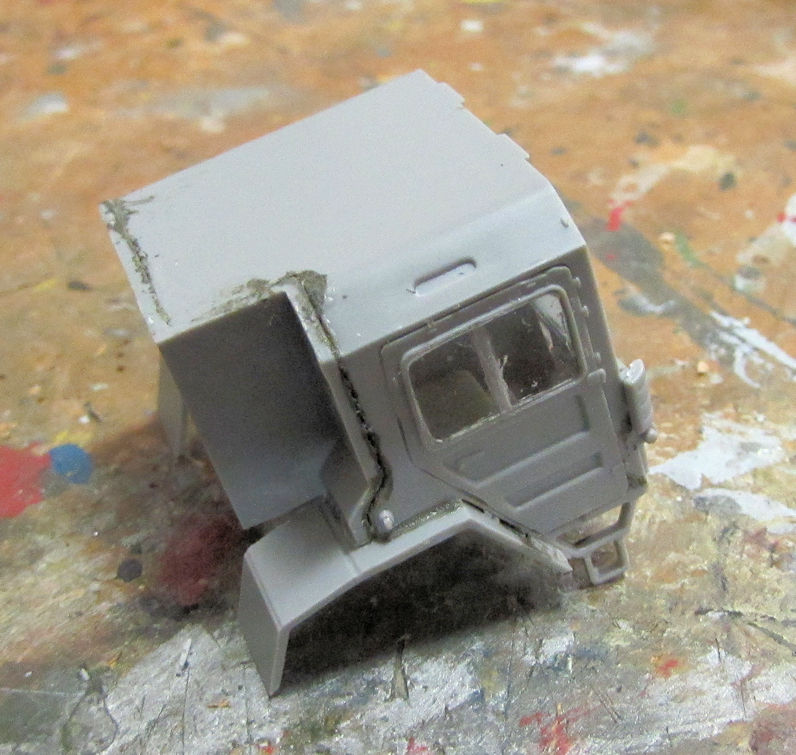
Image

Image

Next I added the photo etch to the chassis and finished with a few more final detail parts:
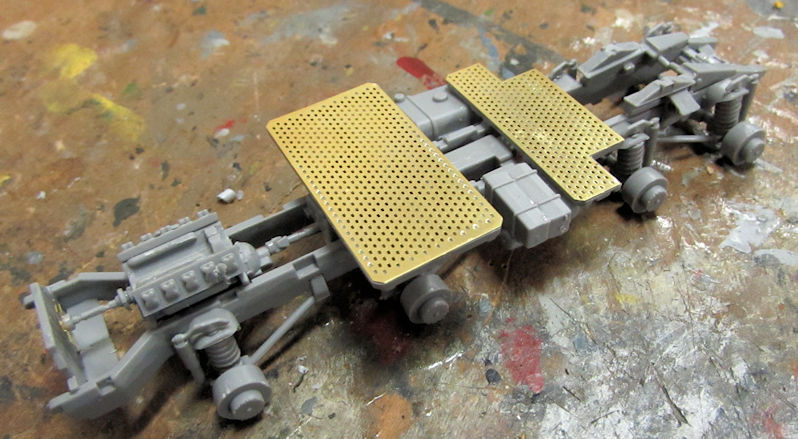
Image

Here's a shot of the cabin dry-fit to the chassis:
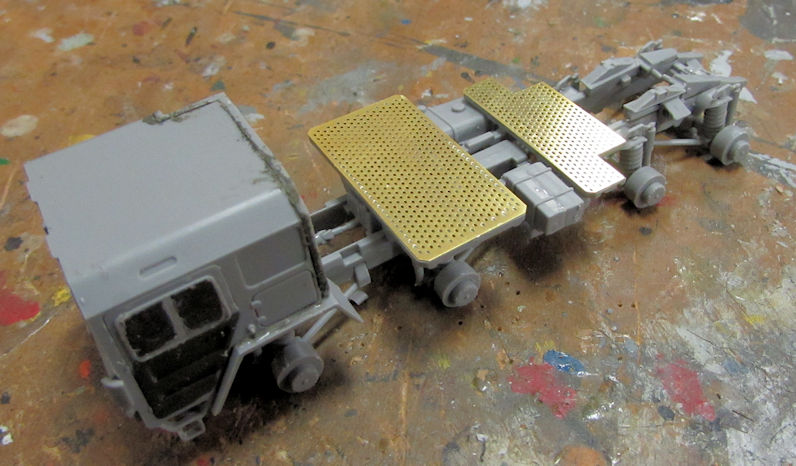
Image

I moved on to assemble the crane for this and later on I added that and other parts to the chassis and cab, dryfitting everything together:
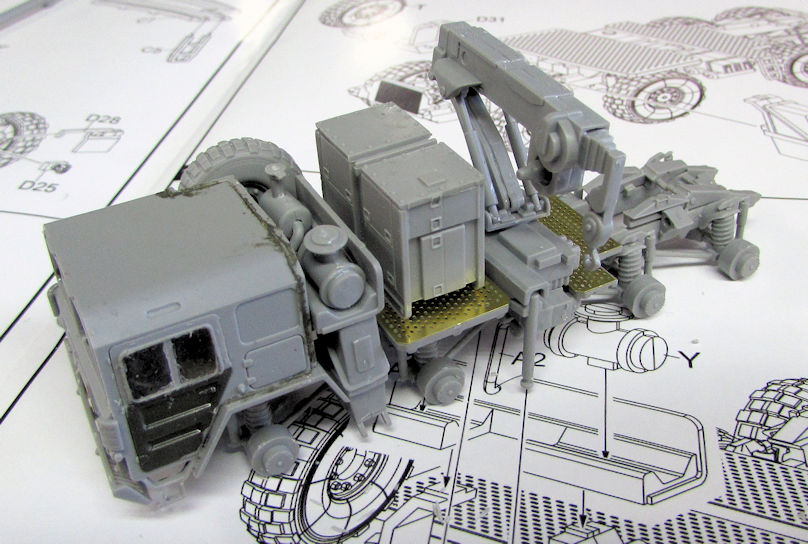
Image

Image

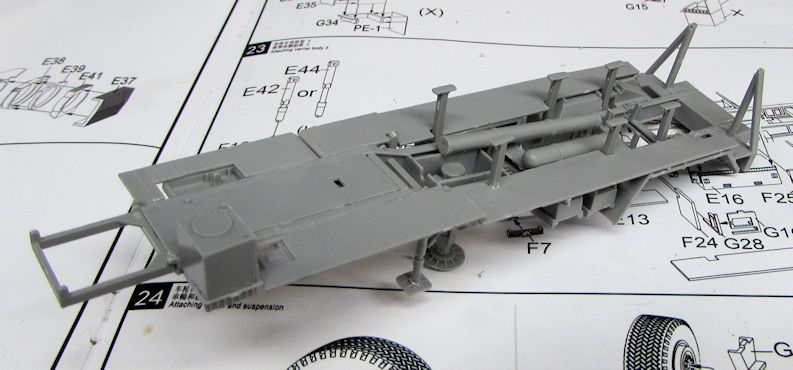
Finally I finished the assembly of most of the trailer; adding the side platforms and other detail parts:
Image

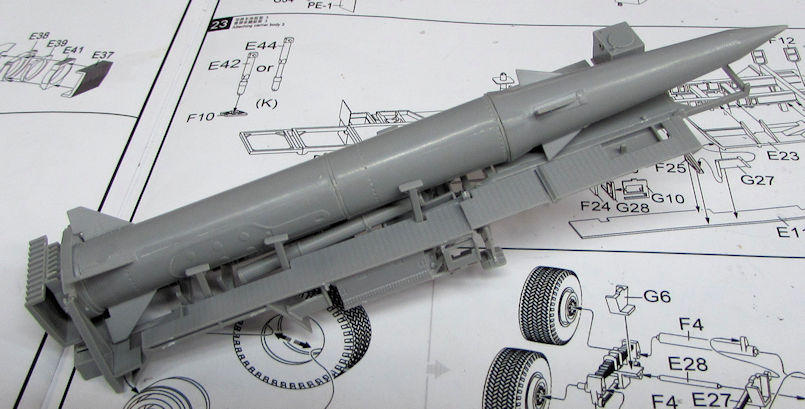
After that I decided to dry fit the Pershing to the trailer to see how it looks:
Image

That's all I had for this week. I don't know if I'll be able to get anything done the next few weeks with all the work I have and the very high temps coming our way.

Thanks for looking in, comments are welcome.
The Duke
Virtuoso of Miniatures

"Do you know what the chain of command is? It's the chain I get and beat you with 'till you understand who's in ruttin' command!"
-Jayne Cobb, Firefly Episode 2 "The Train Job"

We are modelers - the same in spirit, in hunger to insanely buy newly released kits, hustlers in hiding our stash from our better halves and experts in using garbage as replacements for after-market parts.
User avatar
Medicman71
Elite Member
Posts: 11316
Joined: Mon Apr 07, 2014 9:32 am
Location: Houston, Tx

Re: Maddog Manufacturing Production for 2019

Post by Medicman71 »

Very nice stuff Duke! :shoutout:
Mike

Sponsored by Boeing, Lockheed Martin, Northrop Grumman, Saab, BAE, and Dassault
User avatar
LyleW
Admin
Posts: 15037
Joined: Fri Dec 13, 2013 7:25 am
Location: Mt. Washington KY

Re: Maddog Manufacturing Production for 2019

Post by LyleW »

Wow! Quite the varied works.
To make each build less crappy than the last one. Or, put another way, "Better than the last one, not as good as the next one!"..
User avatar
Stuart
Elite Member
Posts: 11924
Joined: Sun Apr 06, 2014 1:06 pm
Location: North Wales

Re: Maddog Manufacturing Production for 2019

Post by Stuart »

Hi Mark - wow! A great collection of wip.

Is that Grumman Duck the old Airfix kit? It's supposed to be quite good although it's one I've never got to.

What aircraft is the Big Bird? The cockpit looks great.
Stuart Templeton 'I may not be good but I'm slow...'
User avatar
Stikpusher
Moderator
Posts: 21225
Joined: Sat Apr 05, 2014 8:37 pm
Location: Ceti Alpha 5

Re: Maddog Manufacturing Production for 2019

Post by Stikpusher »

Nice work so far Mark... and look what is coming out soon....

Image


for your wishlist... :whistle:


:stirpot:
"Surely I have made my meaning plain? I intend to avenge myself upon you, Admiral. I have deprived your ship of power, and when I swing 'round, I intend to deprive you of your life."

FLSM
User avatar
speedgraflex
Moderator
Posts: 11401
Joined: Fri Feb 10, 2017 11:08 pm
Contact:

Re: Maddog Manufacturing Production for 2019

Post by speedgraflex »

Hi Mark! What are your plans to hide the seam? I am curious. I was thinking in the present day photo the concrete may have been repaired but I honestly wonder if my assumption is correct. Maybe the concrete ought to be smooth finished and the company who made the kit got a little too chuffed when making the concrete texture. Good luck with the missing can o’ pea too! I was thinking it would be fun to just scratch build the canopy but perhaps a more sensible option is to visit the Squadron store to see if any vacuum formed version exists? As I am starting some 1/72 projects I find your construction stages incredibly informative! Thanks!
Make more models!
Post Reply

Return to “Modeling Discussion”